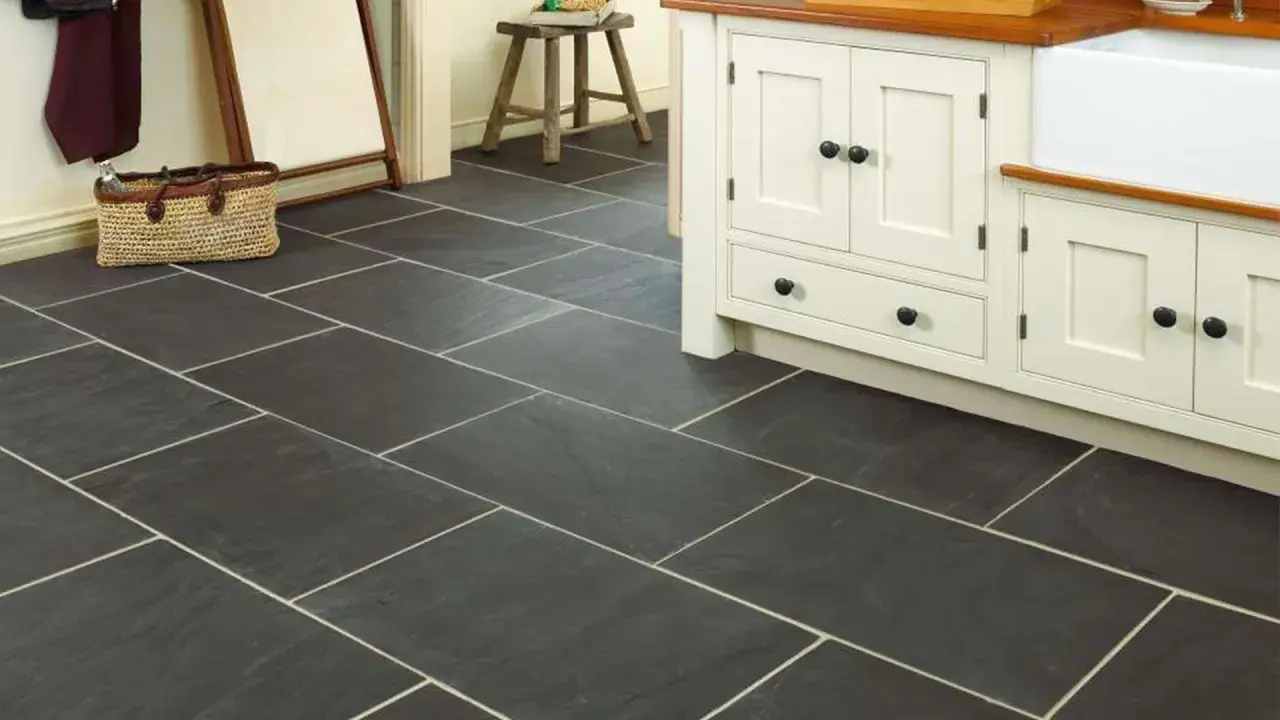
Slate brings texture and depth to a bathroom, entryway, or mudroom, but that same texture also holds grit, soap residue, and dulling film. This article explains how to clean slate floors safely, what products actually help, and when routine care stops being enough. I’m keeping it practical so you can protect the stone instead of just making it look clean for a day.
The essentials at a glance
- Start dry: dust mop or vacuum first so grit does not act like sandpaper.
- Use a neutral pH stone cleaner for regular washing, not vinegar or abrasive bathroom sprays.
- Keep water under control. Slate likes damp mopping and quick drying, not soaking.
- Soap film, muddy residue, and darkened spots usually need gentle agitation, not stronger chemicals.
- Sealer helps resist stains, but it does not make slate stain proof.
- If water stops beading or the floor darkens fast, it is time to check the sealer.
Start by reading the stone before you reach for a cleaner
Slate is a natural stone with texture, tiny clefts, and variable porosity, so the right method depends on what you are standing on. A honed slate floor behaves a little differently from a rough, cleft finish, and a sealed floor gives you more margin than an unsealed one.
When I look at a slate floor, I check three things first: how much texture it has, whether the surface has a sealer, and where the floor lives. A bathroom floor sees soap, moisture, and body oils. A kitchen floor sees grease. An entryway collects grit. The cleaner can be the same, but the way you apply it should not be.
- Textured slate traps dust in the low spots, so dry cleaning matters more than on smooth tile.
- Sealed slate is easier to maintain, but the sealer still wears over time.
- Unsealed slate stains faster, so spills and standing water become more urgent.
Once you know what kind of slate you are dealing with, the daily routine becomes much simpler and much safer.
Use a routine that keeps grit off the floor
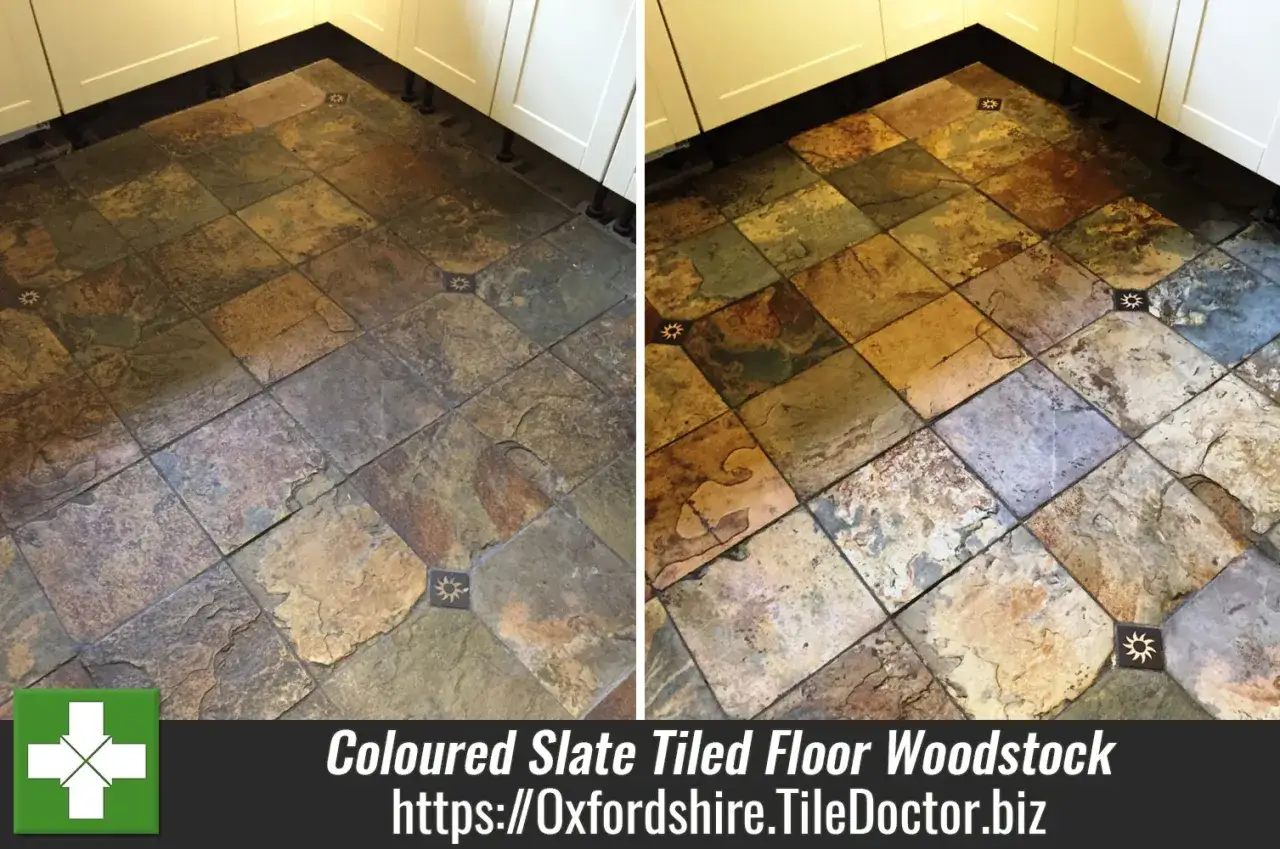
The simplest maintenance is usually the most effective. I start with dry removal every time, because sand and dirt are what make slate look tired long before the stone itself is worn out.
| Tool | Best use | Why it helps slate |
|---|---|---|
| Dry microfiber dust mop | Daily or every other day in busy areas | Lifts grit before it can scratch the textured surface |
| Vacuum with a soft brush attachment | Edges, grout lines, corners | Pulls debris out of clefts and joints without dragging it around |
| Damp microfiber mop | Weekly cleaning | Uses less water than a sponge mop and leaves less residue |
| Clean, dry towel | Final pass after mopping | Prevents water spots, haze, and puddles in textured areas |
My basic routine is straightforward:
- Dust mop or vacuum first.
- Mix a stone-safe, neutral pH cleaner according to the label.
- Lightly dampen the mop. It should not drip.
- Work in small sections so dirt does not spread back across the floor.
- Rinse or swap mop water often.
- Dry the floor, especially around grout lines and low spots where water lingers.
In a bathroom, I also pay attention to the splash zone near the tub or shower. That area usually collects residue faster than the rest of the room, so a quick wipe after use can keep the floor looking cleaner between full washes. Once the routine is in place, the harder part is knowing what to do when the floor already looks cloudy or stained.
Remove soap film and stubborn marks without scratching the finish
When slate starts looking dull, the problem is often not deep damage. It is usually a mix of film, residue, and dirt sitting in the texture. The goal is to loosen that buildup without opening the stone up to more moisture or abrasion.
I like to think in terms of the problem, not the product. Here is the cleaner approach I use most often:
| What you are seeing | What usually works | What to avoid |
|---|---|---|
| General grime | Neutral pH cleaner and a microfiber mop | All-purpose sprays with harsh degreasers |
| Soap film | Light agitation with a soft nylon pad or soft brush, then rinse well | Abrasive scouring powders and rough scrub pads |
| Muddy footprints | Dry removal first, then damp cleaning in small sections | Starting with a wet mop and spreading the mud around |
| Greasy spots | A stone-safe heavy-duty cleaner used exactly as directed | Vinegar, lemon-based products, and kitchen degreasers not made for stone |
| White haze or powdery residue | Check for trapped moisture, dirty rinse water, or efflorescence | Scrubbing harder before the cause is identified |
If the floor is in a bathroom, soap scum can be especially persistent near a shower or tub. In that case, the stone-safe cleaner matters more than elbow grease. The wrong cleaner can make the surface look cleaner for a few hours and duller for months.
Avoid the products and habits that damage slate
Slate is durable, but it is not forgiving when the wrong cleaner gets used over and over. The biggest mistakes are usually the easiest ones to make because they are sold as convenient shortcuts.
- Skip vinegar, lemon juice, and acidic bathroom cleaners. They can dull stone and damage some finishes.
- Avoid scouring powders and abrasive creams. They can scratch the high points of textured slate and leave a patchy shine.
- Do not use toilet bowl cleaners or rust removers unless they are specifically approved for stone. Some contain acids strong enough to attack the surface.
- Do not mix ammonia and bleach. That is a safety issue, not just a stone-care issue.
- Do not flood the floor. Excess water can leave residue behind and stress grout and edges.
- Do not assume “stone-safe” on the label is enough. I still check whether the cleaner is pH neutral and intended for natural stone floors.
One detail people miss is that a cleaner can be technically strong and still be wrong for slate. A product that cuts soap residue quickly may also strip the protection that keeps future stains from setting in. That is why I prefer the least aggressive option that still does the job. After that, the sealer becomes the next piece of the maintenance puzzle.
Know when the sealer is fading
Sealer does not make slate stain proof. It slows absorption and gives you time to clean spills before they sink in. That distinction matters, because a floor can look fine on the surface while losing protection underneath.
A simple water test is often enough to tell you a lot. Put a few drops of water on a dry area and wait about 10 minutes. If the water beads, the sealer is still doing its job. If the stone darkens or the water soaks in quickly, resealing is due.
For many homes in the United States, resealing falls somewhere in the 1 to 3 year range, but traffic and moisture matter more than the calendar. A busy bathroom floor may need attention sooner than a guest bath or a low-traffic hallway. I would not treat the timeline as a rule. I would treat it as a starting point and let the water test decide.
These are the signs I take seriously:
- Water darkens the slate instead of sitting on top of it.
- Spills leave a mark that used to wipe away easily.
- The floor looks blotchy after cleaning, even when it is dry.
- Grout stains faster than it used to.
- White haze, flaking, or recurring mineral deposits keep coming back.
If the stone is flaking, the color looks uneven after cleaning, or moisture keeps returning from below, I stop thinking in terms of maintenance and start thinking in terms of repair or professional restoration. Once the sealer is under control, the floor usually rewards consistency instead of constant intervention.
The habits that keep slate looking rich for years
The floors that age best usually do not get treated with miracle products. They get treated with a few boring habits, done consistently. That is especially true in bathrooms, where water, soap, and grit all show up at once.
- Place mats at entries so dirt never reaches the stone in the first place.
- Keep a dry towel nearby for quick cleanup after splashes or tracked water.
- Use felt pads under furniture and vanity stools.
- Rinse mop water often so you are not spreading residue back onto the floor.
- Clean grout separately if it is darker than the slate itself.
- Watch the floor after it dries, not just while it is wet.
That last point matters more than people think. Wet slate can look uniformly dark and clean even when residue is still sitting in the texture. Once it dries, the real condition shows up. If you keep the surface dry, the cleaner neutral, and the sealer in good shape, slate stays handsome without much drama. That is the maintenance rhythm I trust most: remove grit, clean gently, dry well, and reseal before the floor starts absorbing everything again.
