
Marble looks effortless when it is clean, but the wrong cleaner can dull it fast. The short answer to what can I use to clean marble is a pH-neutral stone cleaner or, for everyday wipe-downs, a very diluted mild dish soap with warm water. After that, the real work is simple: rinse well, dry the surface completely, and avoid products that leave acid, grit, or film behind.
The safest marble routine starts with gentle products and dry finishes
- Use a pH-neutral stone cleaner or diluted mild dish soap for routine cleaning.
- Choose microfiber, a soft cloth, or a rag mop so you do not scratch the finish.
- Avoid vinegar, lemon, citrus sprays, abrasive powders, and most tile or grout cleaners.
- Treat soap scum with a non-acidic remover before you try anything harsher.
- If a mark looks dull or whitish, it may be etching, not dirt.
- Dry marble after cleaning to reduce streaks, water spots, and residue.
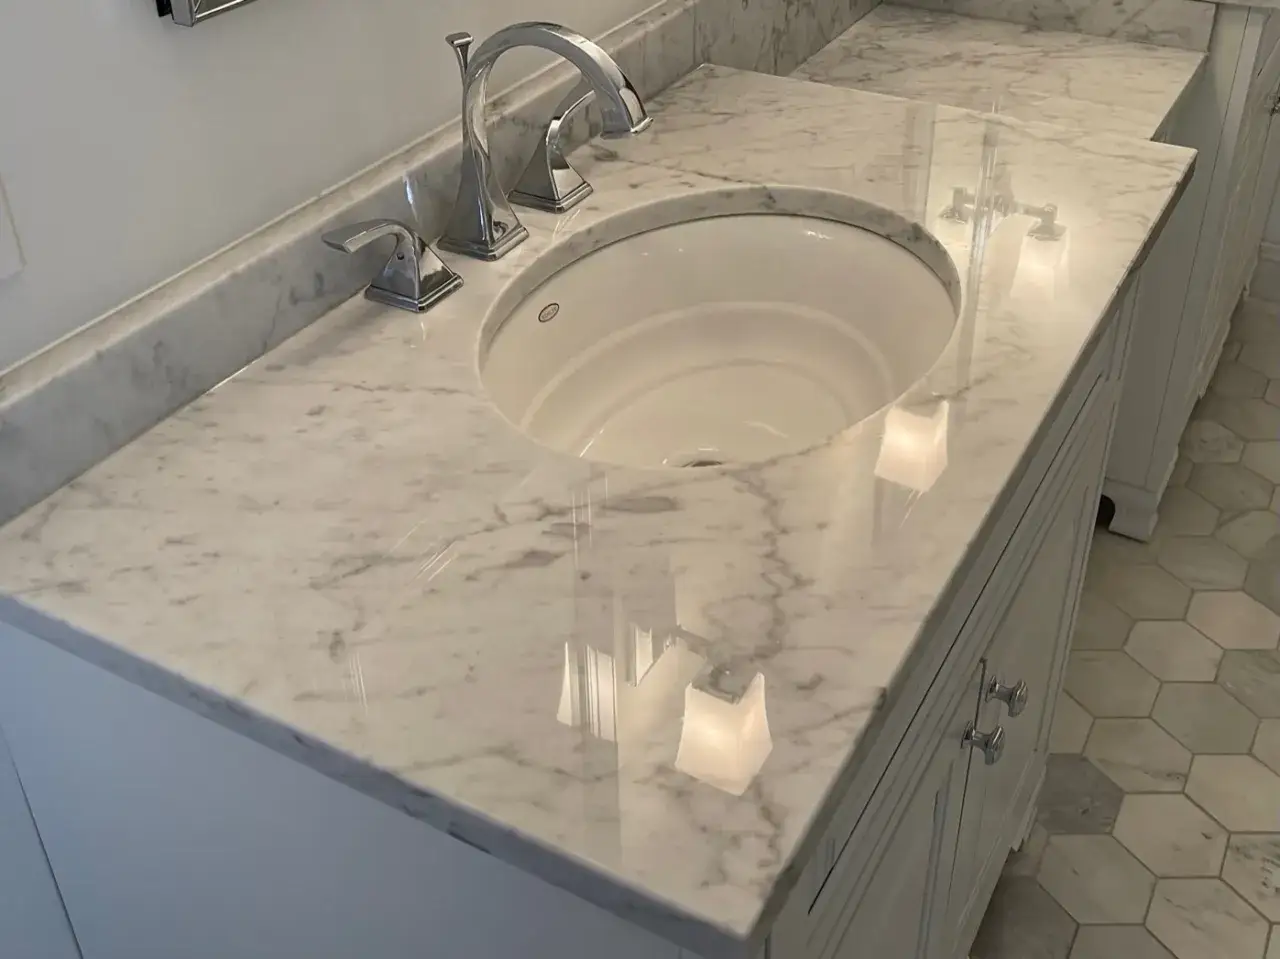
What I would use on marble first
For routine care, I keep the chemistry mild. The Natural Stone Institute recommends neutral cleaners, stone soap, or a mild liquid dishwashing detergent mixed with warm water, and that is the same starting point I trust for most marble countertops and bathroom vanities. I also keep the dose light, because too much soap can leave a film and streaks.
Whenever I clean marble, I pair the cleaner with a soft microfiber cloth, a clean soft rag, or a rag mop for floors. The surface should be wiped, rinsed with clean water, and dried right away so residue does not settle into the finish.
| Cleaner or tool | Best use | Why it works | Watch out for |
|---|---|---|---|
| pH-neutral stone cleaner | Daily marble cleaning on countertops, vanities, and shower ledges | It gives you a dependable clean without the harsh chemistry that can damage marble | Buy one labeled for natural stone, not just a generic all-purpose spray |
| Diluted mild dish soap and warm water | Fingerprints, toothpaste splatter, and light everyday grime | Easy to find in the US and gentle when used sparingly | Use only a small amount, then rinse well so soap does not haze the stone |
| Microfiber cloth or soft rag | Wiping, rinsing, and drying | It lifts dirt without grinding grit into the polish | Use a clean cloth, not one that has picked up abrasive dust |
| Rag mop | Marble floors | It spreads cleaner evenly without flooding the surface | Change rinse water often so you are not moving dirt around |
What to avoid if you want the finish to last
Marble is a calcareous stone, which means acids react with it instead of just sitting on top. The Natural Stone Institute also warns that lemon, vinegar, and other acids can dull calcareous stone, so I treat any acidic or abrasive cleaner as off-limits for regular use.
- Vinegar and vinegar-based sprays
- Lemon juice, citrus cleaners, and products with acidic fragrance blends
- Bathroom tile, tub, or grout cleaners
- Abrasive powders, scouring creams, and gritty scrub pads
- Melamine scrub pads used with too much pressure
- Undiluted bleach or ammonia as an everyday cleaner
- Descalers and limescale removers made for ceramic, not stone
If a cleaner is marketed for bathrooms, showers, or grout, I read the label with suspicion. A product can be excellent on ceramic tile and still be wrong for marble, which is why the next step is a routine that stays within marble-safe chemistry.
A simple routine for bathrooms and countertops
For daily care, I like a routine that is almost boring. Clear the surface, wipe away loose dust or crumbs, clean with a pH-neutral product or diluted mild soap, rinse with clean water, and dry immediately. That last step matters more than most people expect because it prevents streaks, film, and the cloudy look that can make marble seem dirty even when it is not.
- Remove loose debris first so you do not drag grit across the stone.
- Mix warm water with a small amount of mild soap, or spray on a stone-safe cleaner.
- Wipe gently with microfiber instead of scrubbing in circles.
- Rinse with clean water so no soap residue stays behind.
- Dry with a soft cloth before water spots have time to form.
On floors, use a clean rag mop instead of soaking the surface, and refresh the rinse water when it starts looking cloudy. In shower areas, I like a quick squeegee pass after each use because it cuts soap scum before it starts building into a weekly job.
Once you have the routine right, the real challenge becomes identifying which marks are actually dirt and which ones are surface damage.
How to tell a stain from etching
Not every mark on marble is dirt. A stain usually means something has soaked into the stone and changed its color. Etching is different: it is surface damage from acid, and it often looks dull, cloudy, or lighter than the surrounding area. If the spot feels rough or has lost its shine, scrubbing harder usually makes it worse.
- Dark, brown, yellow, or rust-colored marks usually point to staining.
- Dull, whitish, or hazy patches usually point to etching.
- Soap film often looks cloudy and sits on top of the stone instead of changing the stone itself.
- If the area looks worse in strong light, the finish may be damaged rather than dirty.
That distinction matters because a stain can often be lifted with the right treatment, while etching usually needs polishing or restoration rather than another round of scrubbing. For soap scum, use a non-acidic remover first. If you need a stronger fallback on shower marble, some stone-care guidance allows a very diluted ammonia mix at about 1/2 cup per gallon of water, but I would use that only occasionally, rinse quickly, and never make it your weekly cleaner.
Once you can separate stain, film, and etching, you stop wasting time on the wrong fix.
Store-bought cleaner or a DIY mix
If I had to choose one option for most homes, I would choose a bottle labeled for natural stone and pH-neutral. It is more consistent than a kitchen-made mix and less likely to leave residue, which matters on polished marble and in humid bathrooms. DIY cleaning has a place, but it should stay simple.
| Option | Best for | Why I use it | Limitations |
|---|---|---|---|
| pH-neutral stone cleaner | Most routine cleaning | It is the safest all-around option and usually leaves the least film | Costs more than soap and water, but it saves guesswork |
| Diluted mild dish soap | Light grime and everyday wipe-downs | Cheap, accessible, and gentle when the mix stays weak | Too much soap can streak or haze the surface |
| Non-acidic soap scum remover | Bathroom buildup | Useful when hard-water film or shower residue starts to collect | Always test a small spot first |
| Stone-safe poultice | Deeper stains | Helps pull the stain out instead of grinding it into the stone | Match the product to the stain and follow the label exactly |
For me, the store-bought option wins in bathrooms because it is more consistent and less likely to leave residue. A DIY mix is fine for light daily wiping, but I would not build a marble routine around vinegar, lemon, or any other acidic shortcut.
When marble needs restoration instead of another cleaning pass
At a certain point, cleaning stops being the answer. If a spot still looks dull after washing and drying, if the area feels rough, or if the mark only shows up under the light instead of looking like dirt, stop scrubbing. More pressure does not fix acid damage, and it can make the finish look worse.
- Persistent dullness usually points to etching.
- Darkening that does not lift with cleaning usually points to a stain.
- Cloudy buildup near sinks or showers is often soap film or mineral residue.
- Widespread roughness or loss of reflection may need honing or repolishing.
My rule is simple: use the mildest cleaner that gets the job done, dry the surface every time, and call a stone professional when the damage is clearly beyond routine care.
