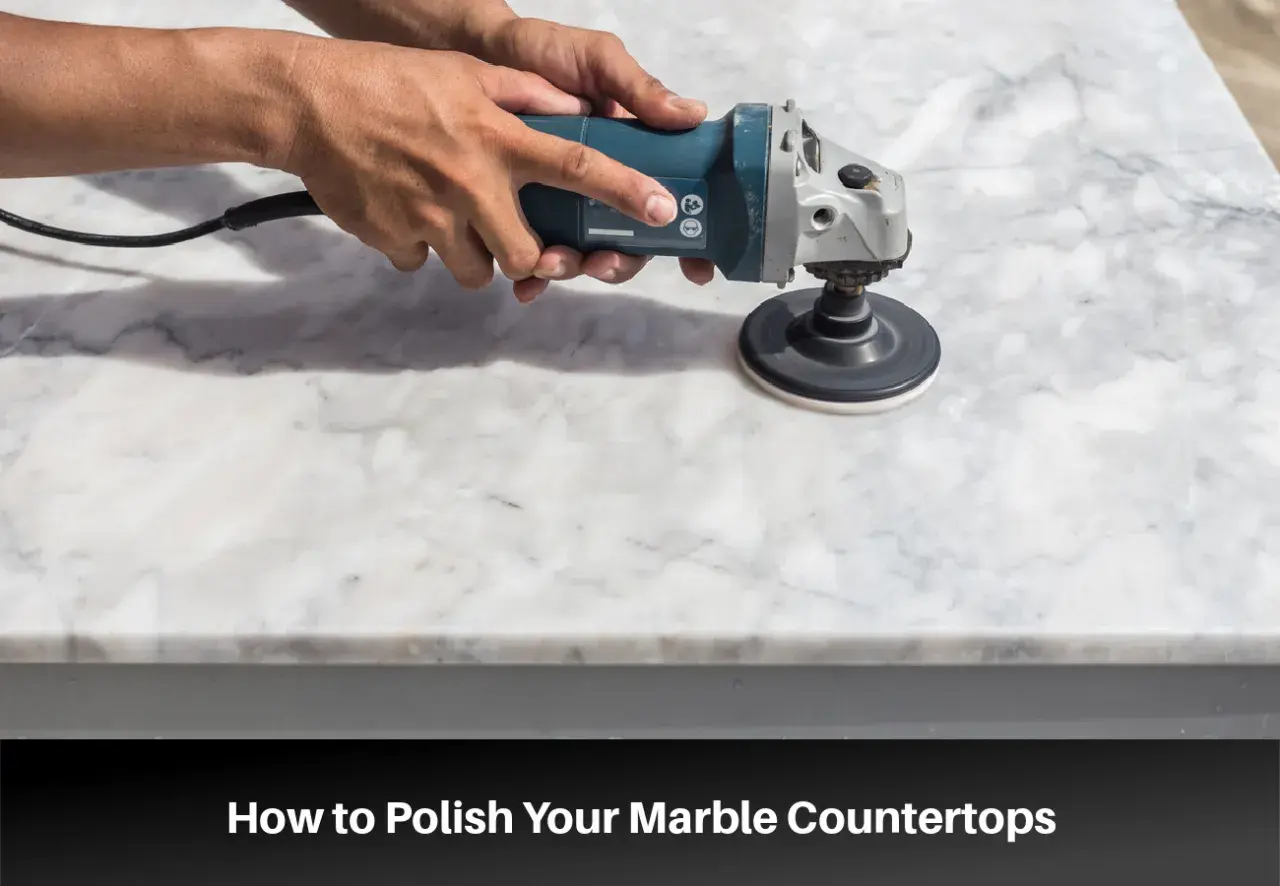
The safest route is to clean first, then polish only the dull spots
- Neutral cleaner first. Marble reacts badly to vinegar, lemon, and other acidic cleaners.
- Spot polish for etches. Small dull marks often respond to polishing powder and a soft or felt pad.
- Use wet, low-speed work for larger areas. That keeps heat and dust down and gives a more even sheen.
- Choose the finish before you begin. Polished, honed, and leathered marble age very differently.
- Seal for stain resistance, not shine. Sealer helps with spills, but it does not stop etching.
Choose the finish you want before you touch the tile
I always start by deciding what the surface should look like when I am done. A high-gloss floor, a soft satin wall, and a lightly textured shower floor are all valid marble finishes, but they call for different levels of polishing and very different expectations for maintenance.
| Finish | Look | What it hides | Where I usually use it |
|---|---|---|---|
| Polished | Bright, reflective, and high-contrast | Shows etches and scratches more clearly | Vanity walls, accent tile, low-splash zones |
| Honed | Satin, low-gloss, and softer | Hides wear and minor etching better | Floors, shower floors, busy bathrooms |
| Leathered | Textured with a muted sheen | Masks fingerprints and water spots well | Feature walls and areas where a relaxed look works |
If the tile is already installed, I usually try to restore the existing finish rather than force a different one onto part of the room. That avoids the patchy look that happens when one section is mirror-bright and the rest still reads as matte. Once the finish is defined, cleaning becomes the next nonnegotiable step.
Clean the marble the right way before any polishing starts
Marble is a calcareous stone, which means acids do not just clean it, they etch it. An etch is a chemical dull spot, not a stain, and once it is there, a normal cleaner will not bring back the gloss. I clean first with the gentlest routine that will remove grime without changing the stone.
- Remove grit first. Sweep or vacuum loose dirt so you are not dragging abrasive particles across the tile.
- Wash with a neutral cleaner. Warm water plus a pH-neutral stone cleaner, stone soap, or a mild liquid dish soap is the safest everyday route.
- Use soft tools. A microfiber cloth or clean rag mop is enough for most surfaces.
- Rinse thoroughly. Leftover soap film can leave streaks and make marble look dull even when it is clean.
- Dry the surface completely. On marble, drying is part of the finish, not an afterthought.
- Avoid abrasive and acidic products. Skip vinegar, lemon, scouring powders, abrasive pads, and harsh bathroom descalers.
In a bathroom, this matters even more because soap residue and hard-water spots can disguise the real condition of the stone. Once the dirt film is gone, you can see whether the problem is a simple etch, a broader haze, or actual wear.
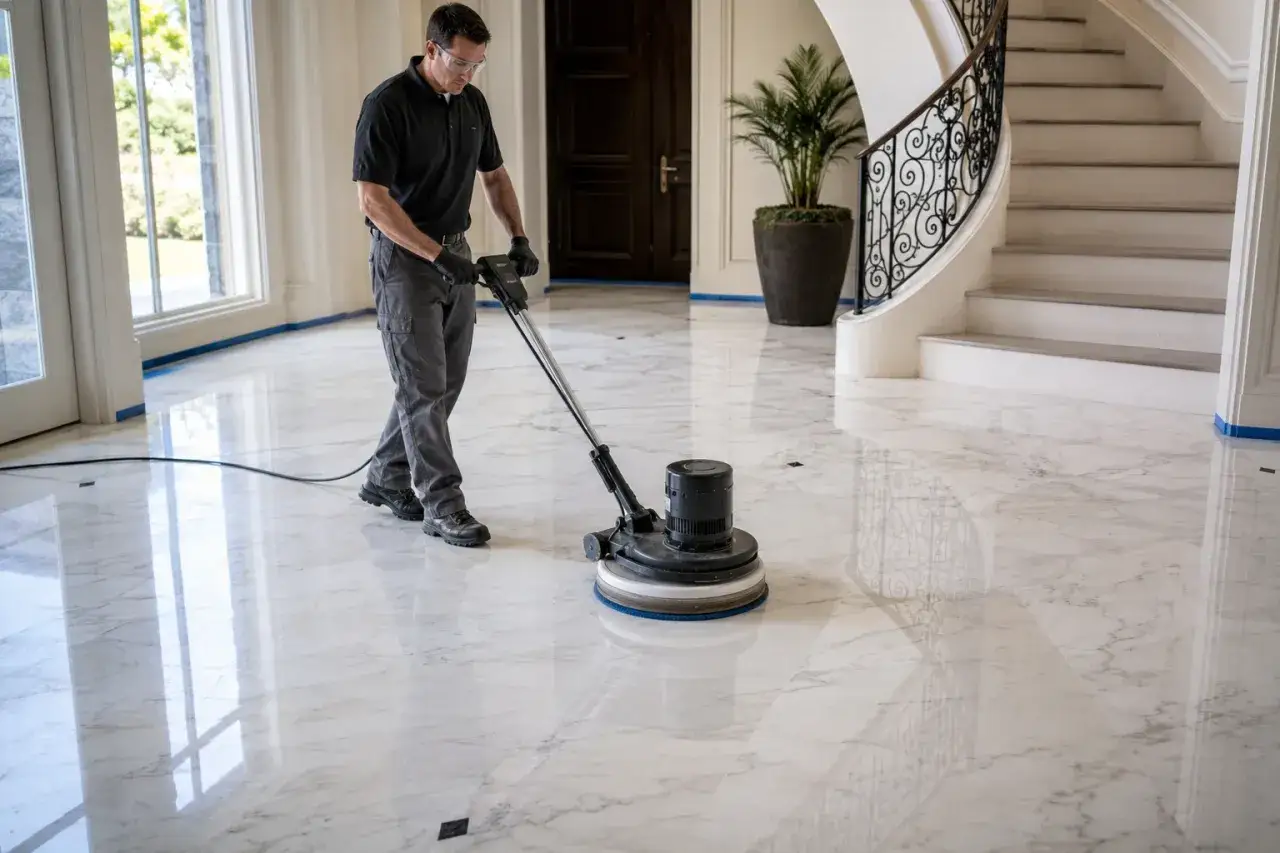
Polish small etches before you attempt a whole-room repair
For light rings, water marks, or a few dull spots, I start with a spot repair rather than a full resurface. That keeps the job smaller and lowers the chance of creating a shiny patch that looks brighter than the rest of the field.
- Test a hidden tile. Work on a closet edge, behind a vanity, or another out-of-the-way area first.
- Clean and dry the stone completely. Any residue will interfere with the polish and make the result uneven.
- Mask nearby grout and trim. I protect metal edges, painted surfaces, and adjacent finishes before I start rubbing.
- Use the least aggressive product that works. For a light etch, a marble polishing powder or etch remover is often enough.
- Keep the area damp and moving. Work in small overlapping circles with a felt pad or soft buffing pad, and do not let the surface dry out mid-pass.
- Inspect in side light. Raking light shows streaks and uneven gloss better than overhead bathroom lighting.
- Stop when the repair blends in. More pressure is not a shortcut; it usually just creates swirl marks or a halo.
For a broader dull patch, I switch from a spot polish to wet polishing with progressively finer abrasives, keeping the tool moving and overlapping each pass. I do not jump from a coarse pad straight to the finish step, because marble will telegraph every shortcut. That difference matters, because the line between spot repair and full restoration is where most DIY jobs go wrong.
Know when polishing powder stops being the right tool
Some marble problems are beyond a simple touch-up. If the scratches catch a fingernail, the tile has lippage, or the whole room has an uneven sheen, the job has moved from cleaning into restoration. At that point, I decide whether the surface needs light honing, full mechanical polishing, or a professional stone restorer.
| Situation | What I would do | Typical U.S. budget |
|---|---|---|
| Small dull ring or water mark | DIY spot polish | $25 to $90 in supplies |
| Grouped etches or one room with obvious haze | Pro spot restoration | $150 to $600, often with a minimum service charge |
| Whole floor needs an even gloss | Professional restoration | About $5 to $15 per square foot |
Those are working ranges, not fixed quotes. Access, room size, edge detail, and the amount of prep work can move the price quickly. If the tile is cracked, loose, or badly chipped, polishing will not solve the structural issue, and I would repair that first instead of trying to make damaged stone look better than it is.
Even when the repair is finished well, daily care decides whether the shine survives.
Keep the finish stable with the right daily care
The easiest way to preserve marble is to stop problems before they become visible. I treat polish as a maintenance system, not a one-time event, especially in bathrooms where water, body oils, shampoo, toothpaste, and cleaning sprays all land on the same surface.
- Wipe spills quickly. Acidic products like vinegar, citrus juice, and some bath cleaners can etch marble fast.
- Dry standing water. A squeegee or microfiber towel after a shower does more for shine than most people expect.
- Use soft mats and rugs. Grit trapped under shoes or bath mats acts like fine sandpaper.
- Clean with a neutral product only. I keep the everyday routine gentle so I am not stripping the finish each week.
- Check the sealer with a water test. If a few drops darken the stone quickly, the surface likely needs resealing.
- Remember what sealer does and does not do. A penetrating sealer helps with stains, but it will not prevent acid etching or restore lost gloss.
I also avoid over-cleaning. Excess soap, harsh scrub pads, and repeated descaling can make marble look tired long before the stone itself is actually worn out. The goal is steady, boring maintenance. That is what keeps the surface bright without making it feel overworked.
The bathroom choices that make marble easier to live with
If I were specifying marble tile for a bathroom today, I would be selective about where I put the highest sheen. Polished marble looks excellent on vanity walls, splash zones, and accent panels where the surface stays relatively dry. On floors and shower bases, I usually prefer honed or lightly textured marble because it is more forgiving under real use and less likely to show every footprint, water spot, and small etch.
That is the part most people miss: marble stays beautiful longer when the finish matches the room. If the stone is fighting your cleaning routine every week, the surface is too demanding for that location. Keep the cleaner gentle, fix etches early, and choose the amount of gloss that fits the space, and the tile will hold its character instead of fading into a patchwork of dull spots.
