When people talk about cut vinyl flooring, they usually mean shaping planks, tiles, or sheet goods so the room closes up cleanly around walls, pipes, door jambs, and bathroom fixtures. The difference between a floor that looks built in and one that looks rushed is usually in the trim work, not the brand name on the carton. In this guide, I focus on the cuts that matter, the tools that actually help, and the mistakes that turn a small project into a frustrating one.
The few details that make the biggest difference
- Measure twice, then dry-fit before making the final cut.
- Sheet vinyl usually wants a template; planks and tiles usually want a score-and-snap approach.
- A sharp blade, a straightedge, and a flat work surface matter more than brute force.
- Leave the manufacturer’s required expansion gap at walls and fixed objects.
- In bathrooms, pipes, toilets, and door jambs are the cuts that most often expose mistakes.
- If a cut lands too short or damages a locking edge, replacement is usually better than a patch.
What people usually mean by cut vinyl flooring
I use the phrase for three different jobs: trimming a new plank or tile to fit a room, cutting a sheet to a template, and cleaning up installed edges around a fixture. In a bathroom, that usually means working around a toilet flange, vanity toe-kick, doorway, or pipe penetration. The material changes how you cut it, but the goal stays the same: make the edge disappear without forcing the floor.
That distinction matters because vinyl is not one product. A rigid click plank, a flexible sheet, and a peel-and-stick tile all behave differently once the blade touches them. If you treat them the same, you usually get either a chipped edge or a cut that is too tight to install properly. Once that is clear, the next step is choosing the format that gives you the cleanest result.
Which vinyl format trims the cleanest
| Format | Best use | Typical cut method | What I watch for |
|---|---|---|---|
| Sheet vinyl | Small bathrooms and rooms where you want fewer visible seams | Template, trace, and cut with a sharp utility knife | It shows every measuring error, especially around pipes and curves |
| Luxury vinyl plank | Simple layouts, DIY projects, and rooms with straight runs | Score and snap for short cuts; saw or cutter for longer ones | Locking edges can chip if you force them |
| Luxury vinyl tile | Patterned bathroom floors and compact spaces | Knife and straightedge for most cuts | Alignment matters as much as the cut itself |
| Rigid-core vinyl | Busy homes and moisture-prone rooms | Score-and-snap or a flooring cutter, depending on thickness | It is less forgiving than softer vinyl when the blade is dull |
For bathrooms, I usually think in terms of layout before I think about brand. A narrow powder room with a lot of curves often favors sheet vinyl because the floor can read as one continuous surface. A more rectangular bath with a straight vanity run often favors plank or tile because the cuts stay cleaner and the install is simpler. The right format lowers the difficulty before the first cut is even made, which is why the next question is always the same: what tools do you actually need?
The tools and prep I would set up first
I keep the tool list short on purpose. A clean cut usually comes from a sharp blade and a controlled setup, not from adding more tools. For most jobs, I want:
- A measuring tape and pencil or chalk.
- A straightedge and framing square.
- A sharp utility knife with spare blades.
- A jigsaw or flooring cutter for longer or thicker pieces.
- Clamps if I am working on a bench.
- Safety glasses, and a respirator if I am using a saw that throws dust.
Prep matters just as much. I want the subfloor dry, clean, and flat before I trim anything for final fit. I also check the manufacturer’s required gap at the perimeter and around fixed objects; many floating vinyl systems call for roughly 1/4 inch to 5/16 inch, but I trust the carton over any rule of thumb. For material planning, I usually buy 10% extra for a simple room and closer to 15% if the bathroom has lots of corners, pipes, or door cuts. That buffer saves more projects than it costs.
Once the room is set up properly, the actual cutting process becomes much more predictable. That is where the method changes depending on whether I am dealing with a wall, a pipe, or a tight fixture.
How I cut it around walls, pipes, and fixtures
Straight cuts along a wall
For straight runs, I measure from the last full row or from the wall to the scribed edge, mark the piece clearly, and check the line again before the blade moves. On planks and tiles, I prefer a score-and-snap cut for short sections because it keeps the edge cleaner than overworking it with a saw. On sheet vinyl, I trace the full outline first, then cut against a straightedge. If the piece is going behind baseboard or quarter-round, I still leave the required gap rather than forcing it tight to the wall.
Pipe and toilet openings
Curves are where patience pays off. For sheet vinyl, I make a paper template first and transfer that shape to the material. For planks or tiles, I mark the center of the pipe, then open the hole gradually instead of trying to land the final size in one pass. Around a toilet flange, I want the opening neat enough that the trim or flange cover can hide the edge without stress. If I have to choose between a perfect circle and a safe fit, I choose the safe fit every time. A tiny amount of hidden clearance is better than a cut that binds when the floor settles.
Read Also: Do Dark Floors Make Rooms Look Smaller? The Truth
Door jambs and thresholds
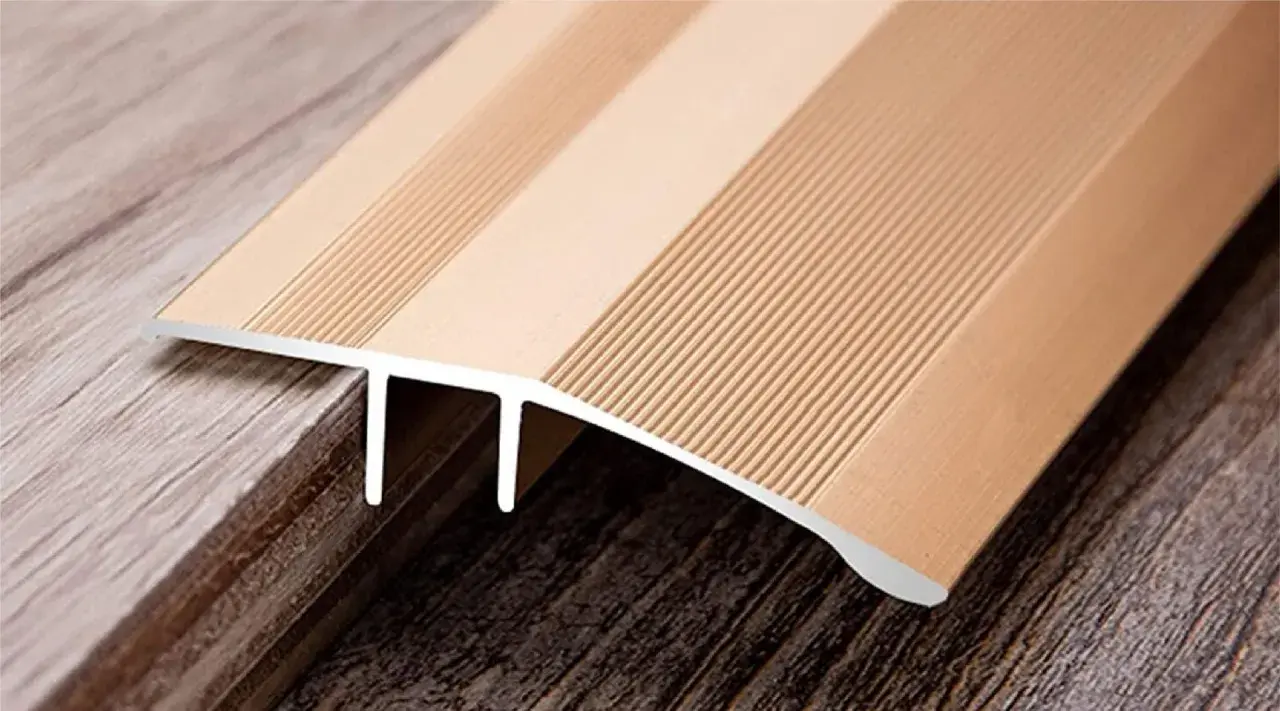
Doorways are where rushed installs become obvious. I prefer to undercut the casing when possible so the flooring slips underneath and the trim hides the joint. If the project uses a transition strip, I make sure the cut line stays straight and the edge lands where the transition can actually cover it. That detail matters in bathrooms because the eye lands on thresholds quickly, especially when the room opens to tile, wood, or carpet in the hall.
Once those shaping cuts are under control, the main risk is no longer layout. It is the little errors that make the finish look unplanned.
Mistakes that create gaps or jagged edges
- Using a dull blade. Vinyl tears before it slices, and the edge looks fuzzy instead of crisp.
- Measuring once and cutting once. I recheck every critical line, especially near curves.
- Cutting too tight against a wall or fixture. Vinyl needs room to move, even when it feels stable.
- Forcing a snap on a piece that has not been scored deeply enough. That is how chips happen.
- Ignoring bumps in the subfloor. A clean edge cannot hide a bad base underneath it.
- Trying to use the wrong tool for the thickness. A thick rigid-core plank may need a cutter or saw where softer sheet vinyl would not.
I also watch for a subtler mistake: cutting a visible edge as if it will never be seen. In a bathroom, it probably will be seen. Light from a vanity mirror or hallway doorway makes rough edges obvious, so I treat the visible side of the room with a little more care. That leads naturally to the bigger decision: when is a trim enough, and when should you stop and replace the piece?
When trimming is enough and when you should replace the piece
If the cut is only slightly oversized, trimming usually solves the problem. If the locking edge is damaged, the piece is cut short, or the floor has already buckled because of a moisture issue, I stop trying to salvage it. A bad fit hidden under trim is one thing; a cut that compromises the way the floor locks together is another.
In practical terms, I replace the piece when one of these is true:
- The cut landed inside the visible field and cannot be hidden.
- The edge is chipped, crushed, or split along the wear layer.
- The piece no longer keeps the required expansion space.
- The subfloor problem is still there and would keep affecting the fit.
That judgment call saves time. It is usually faster to cut a new piece correctly than to spend an hour trying to disguise a mistake that will bother you every time you walk into the room. And in bathrooms, the final fit only works if the room itself is ready for it.
The bathroom checks I would not skip
Bathrooms are unforgiving in ways living rooms are not. Before I make the final cut, I check three things: the subfloor must be sound, the layout must respect the required expansion gap, and the exposed edges must be planned around trim, transitions, or fixtures. Waterproof vinyl is not a substitute for a dry, stable substrate; if the floor underneath has moisture problems, the top layer will not solve them.
I also think about the room as a finished surface, not just a set of pieces. The best cut looks intentional because it follows the geometry of the space, lines up with the fixtures, and disappears under the details. When that happens, the bathroom feels finished instead of patched together, which is exactly what a well-cut vinyl floor should do.
