
Grout width changes more than the final look of a tile surface. It affects how large a bathroom feels, how much variation the installation can hide, and how forgiving the finish will be when the tile or substrate is not perfectly consistent. The real decision in thin grout lines vs thick ones is less about taste alone and more about matching the tile, the pattern, and the conditions on site.
The right joint width depends on the tile, the pattern, and the finish you want
- Thin joints usually fall around 1/16 to 1/8 inch and create a cleaner, more continuous look.
- Thicker joints often start around 3/16 inch and can make handmade, rustic, or irregular tile look more intentional.
- For cementitious grout, joints under 1/8 inch usually call for unsanded grout, while 1/8 inch and wider generally call for sanded grout unless the product says otherwise.
- Very narrow joints only work well when the tile dimensions, edge quality, and substrate flatness all support them.
- At corners and changes of plane, use caulk or another movement joint instead of grout.
What thin and thick grout lines actually do
When I talk about narrow joints, I usually mean roughly 1/16 to 1/8 inch. Wider joints often start around 3/16 inch and can move up to 1/4 inch or more, depending on the tile and the look you want. That width does three jobs at once: it changes how the tile reads visually, how much variation it can hide, and how visible lippage and layout shifts will be.
In practice, grout width is as much about tolerance as style. A tight joint on rectified porcelain can feel crisp and controlled. The same joint on a handmade ceramic tile can look forced because the edges and dimensions are not consistent enough to support it. For cementitious grout, the old width split still matters too: joints under 1/8 inch usually belong in unsanded territory, while 1/8 inch and above usually use sanded grout, with wider joints sometimes needing a more heavily sanded or specialty mix.
| Joint width | How it usually reads | Best fit | Main tradeoff |
|---|---|---|---|
| 1/16 to 1/8 inch | Clean, restrained, almost continuous | Rectified porcelain, wall tile, accurate mosaics | Shows tile variation and lippage quickly |
| 3/16 to 1/4 inch | More defined, more traditional | Standard ceramic, rustic looks, mixed surfaces | Reads busier and uses more grout |
| 5/16 inch and up | Clearly gridded, more expressive | Handmade tile, brick, irregular stone | Can feel heavy if the tile itself is too uniform |
Once you see width as a functional choice, the visual question becomes easier to read. The room does not just get “more modern” or “more traditional”; it gets calmer, busier, flatter, or more textured depending on how the joints interact with the tile itself.
How grout width changes the look of tile
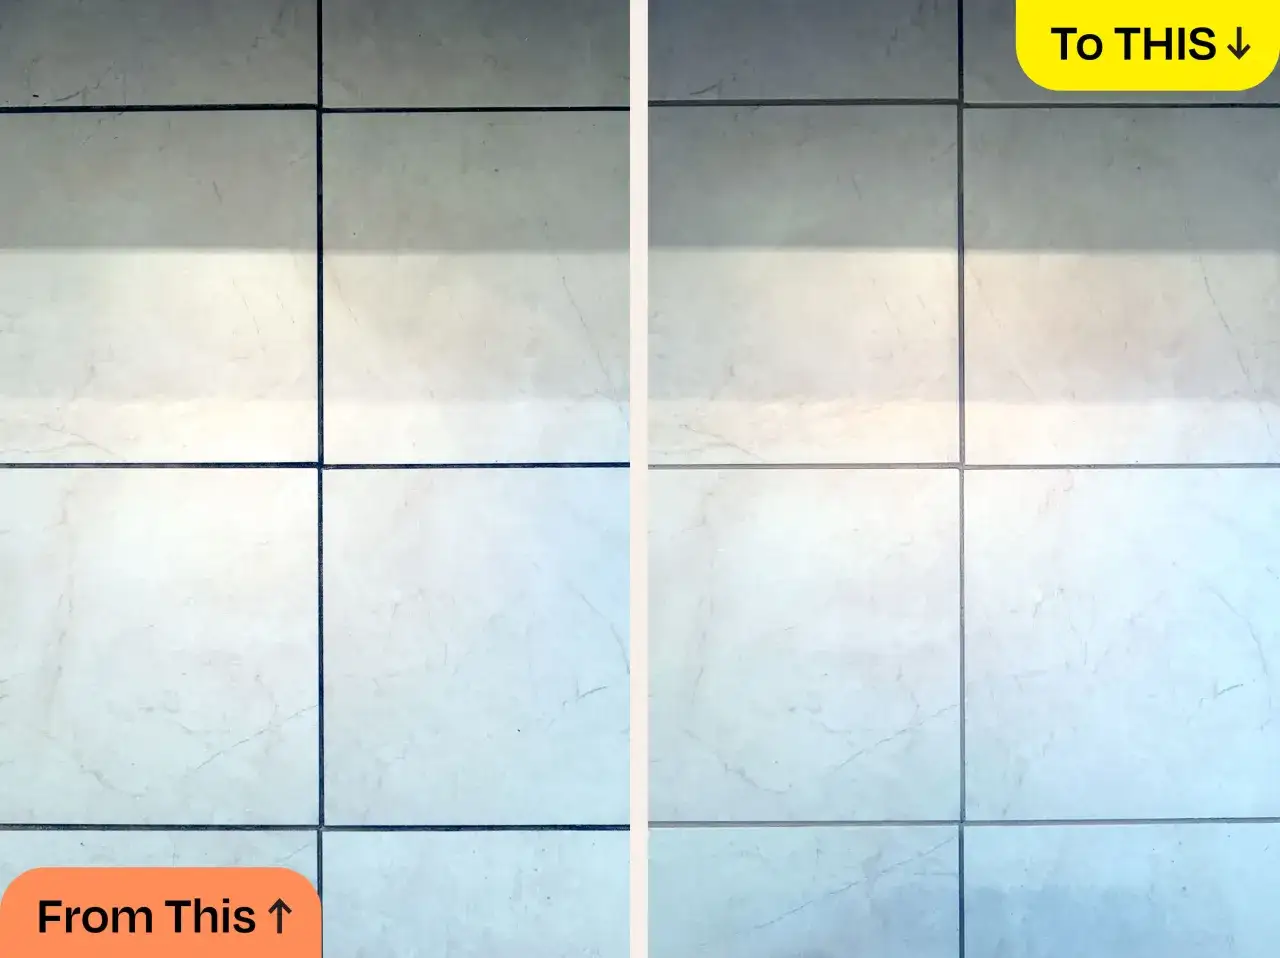
Grout color matters, but width changes the reading of the surface just as much. A matching grout can make even a wider joint recede, while a dark contrast against light tile can make a narrow joint look sharper and more graphic than the numbers suggest. That is why design boards can be misleading if they show tile color without showing the joint in the same light.
| Visual factor | Thin joints | Thick joints |
|---|---|---|
| Overall mood | Calm, continuous, restrained | More articulated, more patterned |
| Tile shape | The field feels more unified | Each tile edge stands out more |
| Small bathrooms | Can make the room feel less segmented | Can make the wall read busier |
| Grout contrast | Still noticeable if the color is dark | Very noticeable, especially with strong contrast |
This is where people sometimes overstate the idea that thinner is always better. It is not. A 1/16-inch joint in a high-contrast color can feel more graphic than a 3/16-inch joint in a close match. If you want the tile to be the star, use a grout color that recedes. If you want the layout itself to become part of the design, let the joints show a little more.
The visual payoff of narrow joints is real, but it only works cleanly when the installation can support it. That brings us to the practical side.
The practical tradeoffs in cleaning, moisture, and durability
More grout means more exposed grout surface to clean. That does not automatically make wider joints a bad choice, but it does mean more area for soap film, shampoo residue, and staining to collect. Narrow joints can be easier on the eye and less busy in a shower, yet they also expose every inconsistency in the tile and every slight dip in the substrate.
In bathrooms, I care more about the system than the joint width alone. Grout is not the waterproofing layer; the waterproofing belongs behind the tile. And at corners, tub edges, shower pan transitions, and other changes of plane, I still want a proper movement joint with caulk or another approved sealant. If grout is asked to do that job, it will eventually crack.
Product choice matters here too. High-performance cement grouts and epoxy grouts can make upkeep easier, but they do not erase the geometry of the joint. A poor tile layout with fancy grout still looks poor. A good layout with the right grout width usually ages much better.
That is why the tile type matters so much.
When narrow joints make sense and when they do not
I am comfortable pushing narrow joints only when the tile itself earns them. The Tile Council of North America notes that a joint smaller than about three times the average tile-to-tile variation can start to look irregular, and that is the rule I keep in mind when a product has real dimensional spread.
Rectified porcelain and large-format tile
Rectified tile is mechanically finished to tighter dimensions, which makes tighter joints realistic. On clean-lined porcelain, I usually start around 1/16 to 1/8 inch and only widen if the tile data sheet or the layout demands it. That gives the room a crisp finish without pretending the tile is more perfect than it is.
Small mosaics and simple wall runs
Mosaics often handle tighter joints well because the sheet format already breaks the surface into small modules. In a backsplash, a shower niche, or a simple vertical wall run, thin joints can help the tile read as one continuous material instead of a patchwork of pieces.
Read Also: How Often to Regrout Floor Tiles? The Real Lifespan Guide
Where I would not force it
If the tile has rustic edges, visible size variation, or a handmade profile, I would not fight for a hairline joint just because it looks modern on a mood board. The finish usually looks cleaner when the grout width respects the tile’s real variation instead of trying to erase it. I would rather open the joint slightly than end up with pinched lines, uneven spacing, or a layout that feels tense.
The same logic flips when the tile itself is less uniform, and that is where thicker joints start to earn their keep.
When thicker joints are the smarter choice
Thicker joints are not a compromise when they are chosen for the right reason. They give irregular tile room to breathe, and they can make the layout feel intentional instead of cramped. In many cases, the wider line is what makes the room feel finished rather than technically tighter.
- Handmade ceramic and zellige: the variation becomes part of the design instead of a defect.
- Natural stone and brick-look tile: a wider joint helps the pattern settle visually and absorb minor inconsistencies.
- Long plank tile or offset layouts: a bit more joint can help manage warpage and reduce the sense that every edge is fighting the next one.
Once you move past 3/8 inch, you are no longer in standard narrow-joint territory, and the grout mix should be chosen for that width instead of guessed at. I also pay close attention to offset patterns with long tile; a 33% offset is often kinder to the surface than a hard 50% brick layout when warpage is part of the product.
Once the tile choice is clear, the decision becomes more mechanical than aesthetic.
How I choose the width for a bathroom project
When I spec a bathroom, I do not start with a preference for thin or thick. I start with the tile data sheet, the edge quality, the pattern, and the flatness of the substrate. That sequence usually points to the right joint width faster than taste alone.
- Check the manufacturer’s minimum joint width and the tile’s size variation.
- Look at the edge profile. Rectified edges support tighter joints; irregular or hand-molded edges do not.
- Match the pattern to the tile. Running bond, herringbone, and plank layouts often need more forgiveness than a straight stack.
- Choose the grout type at the same time. Under 1/8 inch usually means unsanded cement grout; 1/8 inch and wider usually means sanded, unless the product data says otherwise.
- Mock up a few tiles in the actual room light before the full install.
| Project condition | I usually lean toward | Why |
|---|---|---|
| Rectified porcelain wall tile on a flat substrate | 1/16 to 1/8 inch | Clean look, consistent edges, low visual noise |
| Standard ceramic subway tile | 1/8 inch | Balanced look with enough tolerance for normal variation |
| Handmade tile or rustic stone | 3/16 to 1/4 inch | Hides irregularity and feels intentional |
| Long plank tile or offset pattern | 1/8 to 3/16 inch, or per manufacturer minimum | Gives the layout room to absorb warpage and lippage |
If I had to simplify it further, I would say this: choose the narrowest joint that the tile and the substrate can honestly support, then stop there. That gives you the cleanest look without making the installation fight itself.
The details that make the finish feel intentional
Once the width is set, the finish still depends on a few details that are easy to miss. Grout color can soften or exaggerate the grid, corner joints should be caulked cleanly, and the room’s lighting can change how large the lines read. I like to see the tile and grout together in the same light the bathroom will actually have, because daylight, mirror lighting, and warm vanity light all change the result.
- Mock up the joint: view several tiles with the actual grout color before the full install.
- Match the mood: use a close grout color for a quieter field; use contrast if you want the tile shape to stand out.
- Respect movement: keep grout out of corners and other changes of plane.
The safest rule is the least flashy one: choose the narrowest joint the tile and substrate can honestly support, then let color and pattern do the design work. That approach usually gives you a bathroom that looks deliberate on day one and still looks composed after cleaning, humidity, and normal wear.
