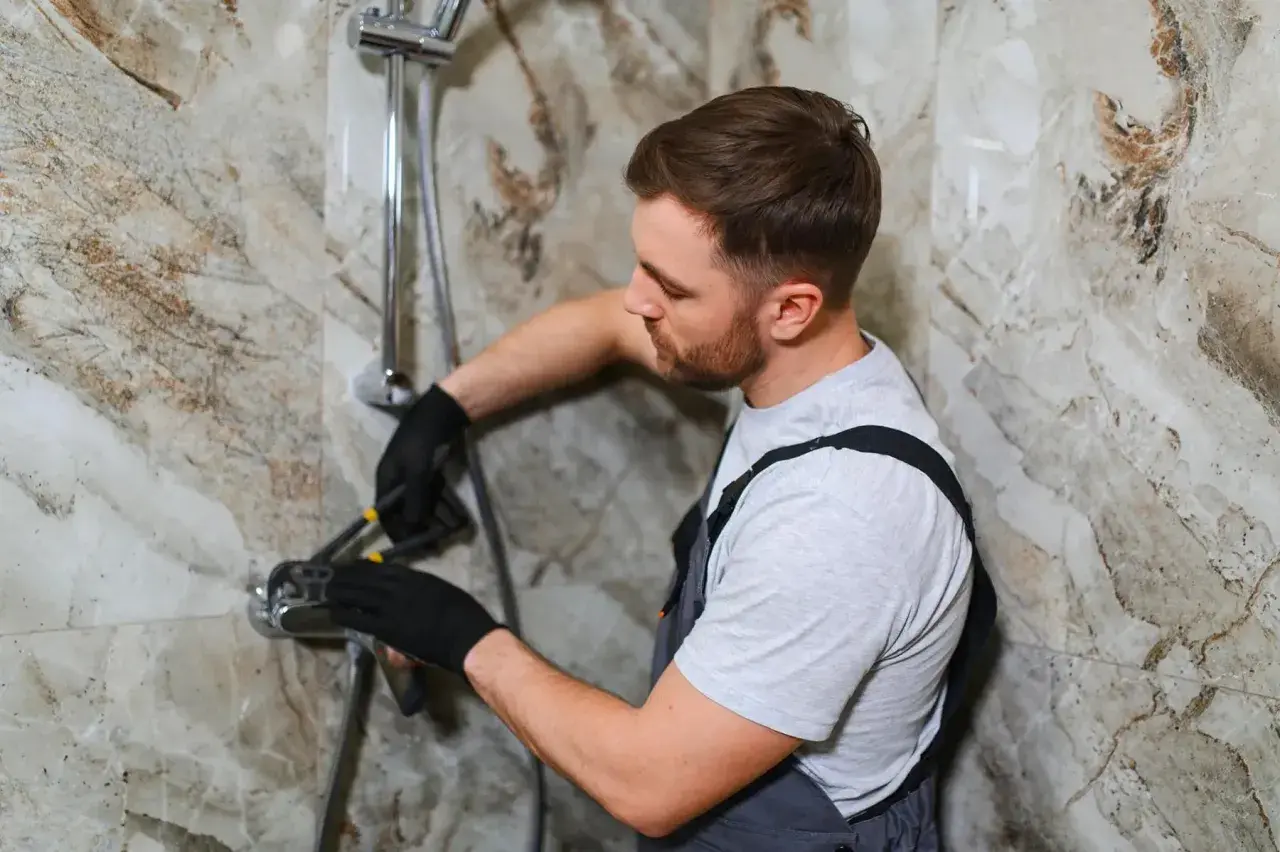
A new shower install can improve daily comfort, fix aging waterproofing, and make a bathroom feel more purposeful without changing the whole room. The details matter more than the finish: the base, drain, waterproofing, and wall system decide how well the shower performs long after the tile looks new. In this guide, I break down the installation sequence, realistic costs, the options worth comparing, and the mistakes that cause leaks or delays.
What matters most before you start a shower replacement
- The shower type you choose drives most of the cost, time, and design flexibility.
- Waterproofing and drainage matter more than tile selection.
- Simple prefab replacements are usually faster; custom tile and curbless builds take longer and cost more.
- Plumbing changes, glass, niches, benches, and permit work are the usual budget stretch points.
- Flood testing and ventilation are cheap safeguards against expensive repairs.
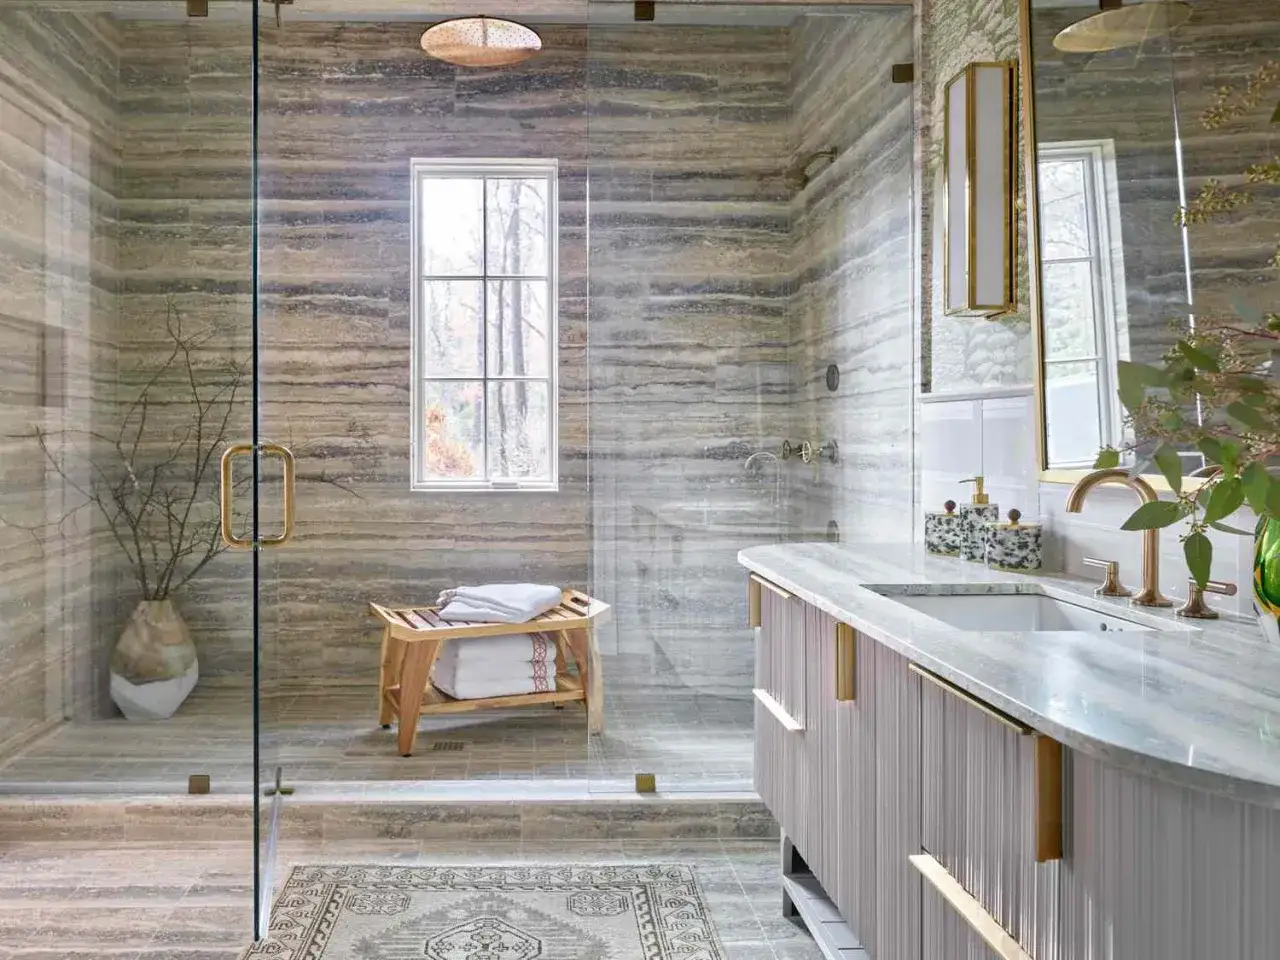
Start with the shower type that fits the room
Before I think about finishes, I narrow the project to the right shower format. That choice sets the pace for everything else, from demolition to plumbing to the final price tag. In most U.S. bathrooms, the main decision is between a prefabricated unit, a tiled shower, a curbless layout, or a tub-to-shower conversion.
| Option | Best for | Typical installed cost | Typical timeline | Main tradeoff |
|---|---|---|---|---|
| Prefabricated shower kit | Fast, budget-conscious replacements | $1,500 to $5,000 | 1 to 2 days for a straightforward swap | Less custom sizing and fewer finish choices |
| Tiled shower | Custom design and more premium finishes | $6,000 to $15,000+ | Several days, plus cure time | More labor, more waterproofing detail, more room for error |
| Curbless shower | Accessibility and a cleaner, modern look | $8,000 to $20,000+ | Usually longer because the floor often needs work | Requires very precise slope and drainage planning |
| Tub-to-shower conversion | Replacing a used tub with a larger shower | $3,000 to $15,000+ | Varies with plumbing and finish changes | Can affect resale appeal if the home loses its only tub |
If I want the lowest disruption, I lean toward a prefabricated system. If I want the most design control, I accept the cost and complexity of tile. And if accessibility is a priority, I plan the floor structure first, because a curbless shower is built around slope, drain placement, and waterproofing details rather than decoration. Once that choice is clear, the rest of the project becomes much easier to sequence.
The installation sequence I trust most
The cleanest shower projects follow the same logic: remove the old assembly, correct the structure, build a watertight base, then finish the visible surfaces. I like that order because it keeps the work honest. A beautiful wall system cannot rescue a poorly built pan.
- Measure the space and confirm the plumbing layout. I check the drain location, valve height, wall plumb, and any framing damage before anything comes out.
- Demo the old shower or tub surround. Once the finish is gone, hidden issues usually show up fast, especially around subfloors and lower wall framing.
- Repair the substrate. This is the point where rotted framing, weak subfloor sections, or bad blocking get corrected. Skipping this step usually means trouble later.
- Set the shower base or mortar bed. Prefab units need a level, supported bed. Tiled showers need a properly sloped pan, typically about 1/4 inch per foot toward the drain.
- Install the waterproofing system. This may be a sheet membrane, a liquid-applied membrane, or an integrated panel system. The tile is decorative; the membrane is what protects the structure.
- Build the walls and details. Niches, benches, corners, and pipe penetrations all need careful sealing because these are the places water finds first.
- Set the valve trim, showerhead, and enclosure. At this stage, I want the fixtures aligned, the glass measured correctly, and the door swing checked against real clearances.
- Test the shower before calling it done. A leak check or flood test catches problems while they are cheap to fix. I would rather delay final trim than hide a defect behind new tile.
The practical lesson is simple: the visible finish only works if the hidden layers are right. That becomes even more important when the budget starts moving, which is the next thing most homeowners want to understand.
What usually drives the budget up
Shower quotes can look wildly different because they are not pricing the same job. A like-for-like replacement is one thing. Moving the drain, changing the footprint, adding glass, or rebuilding the floor is something else entirely. When I compare bids, I focus on scope first, price second.
| Budget driver | Typical impact | Why it matters |
|---|---|---|
| Changing the shower footprint | Moderate to major increase | Often requires framing, subfloor, and waterproofing adjustments |
| Moving the drain or valve | Moderate to major increase | Plumbing labor rises quickly when walls or floors have to be opened |
| Custom tile | Moderate increase | More labor, more cuts, more curing time, and more detail work |
| Curbless construction | Major increase | Usually needs floor recessing or structural planning to maintain proper slope |
| Frameless glass | Moderate increase | Tempered glass, fabrication, and accurate measurements add cost |
| Benches, niches, and extra fixtures | Small to moderate increase each | Each feature adds labor, sealing, and layout time |
| Permits and inspections | Small to moderate increase | Required in many U.S. jurisdictions when plumbing or structural work changes |
For planning purposes, I usually think in broad ranges: a basic prefabricated replacement can stay near the lower end of the market, a mid-range walk-in shower often lands in the mid-thousands, and a custom tiled or curbless build can climb well beyond that. If the footprint stays the same and the plumbing does not move, the quote usually stays more manageable. Once the budget is clear, the real risk is not overspending on tile, but undermining the shower with one small mistake.
The mistakes that create leaks, mold, and callbacks
Most shower failures are not dramatic on day one. They start as tiny installation compromises and show up months later as loose grout, damp framing, or a door that never quite seals. These are the errors I pay the most attention to.
- Assuming tile is waterproof. Tile and grout shed water, but they do not stop moisture on their own. The waterproof layer has to do that work.
- Getting the pan slope wrong. If water cannot move toward the drain, it pools. Pooling leads to stains, mildew, and premature failure.
- Mixing incompatible products. Some membranes, adhesives, and setting materials are not designed to work together. A system mismatch can void warranties and weaken the assembly.
- Ignoring corners and penetrations. Shower heads, mixing valves, niches, and bench joints need careful sealing because those are common leak points.
- Rushing cure times. Grout, thin-set, sealants, and liquid membranes all need proper curing. Finishing early can trap moisture or weaken bonds.
- Forgetting ventilation. A good fan does not replace waterproofing, but it helps the room dry faster and reduces long-term humidity stress.
My rule is blunt: if a contractor treats waterproofing as a detail instead of the core of the job, I would be cautious. Good finishes are easy to admire; good moisture management is what keeps the bathroom healthy. That is also why the next question matters so much: whether the project is realistic as a DIY job or better left to a pro.
When a DIY approach makes sense and when it does not
I do not think every shower project needs the same level of labor. A simple insert swap is not the same thing as rebuilding a tiled wet room. The hard part is knowing where the line is before you spend money twice.
| Project type | DIY fit | Why |
|---|---|---|
| Like-for-like prefabricated replacement | Possible for experienced DIYers | Still requires accuracy, but the system is more forgiving than custom tile |
| Custom tile shower | Usually better with a pro | Waterproofing, slope, and layout all need precision |
| Curbless shower | Pro territory for most homeowners | Floor height, structure, and drainage all have to work together |
| Drain relocation or major plumbing changes | Pro territory | Hidden errors here are expensive and hard to diagnose later |
| Fixture trim or door replacement only | Often manageable | These upgrades are less invasive if the existing shower body is sound |
For timing, a straightforward replacement can be done quickly, while tile work usually takes longer because waterproofing, setting, and curing cannot be rushed. If the job touches framing, drain lines, or electrical work, I would bring in licensed help. The savings from DIY disappear fast if the wall has to be opened again to fix a leak.
What I would confirm before anyone opens the wall
Before I sign off on a shower project, I want a few answers in writing. That does not make the job complicated; it makes it accountable. A good contractor should be able to spell out the scope without hiding behind vague language.
- Is this a replacement, a conversion, or a full rebuild?
- Which waterproofing system is being used, and is it compatible with the drain and wall materials?
- Does the quote include demolition, disposal, plumbing rough-in, fixtures, glass, and final caulking?
- Will a permit or inspection be needed where I live?
- How will the shower be tested for leaks before final finishes go in?
- What is the timeline for special-order tile, glass, or hardware?
- What does the warranty cover, and what maintenance keeps it valid?
That checklist keeps the project grounded in the parts that actually matter: structure, moisture control, and clear scope. When those pieces are handled well, the shower feels better on day one and stays reliable for years, which is the real goal of any bathroom fixture upgrade.