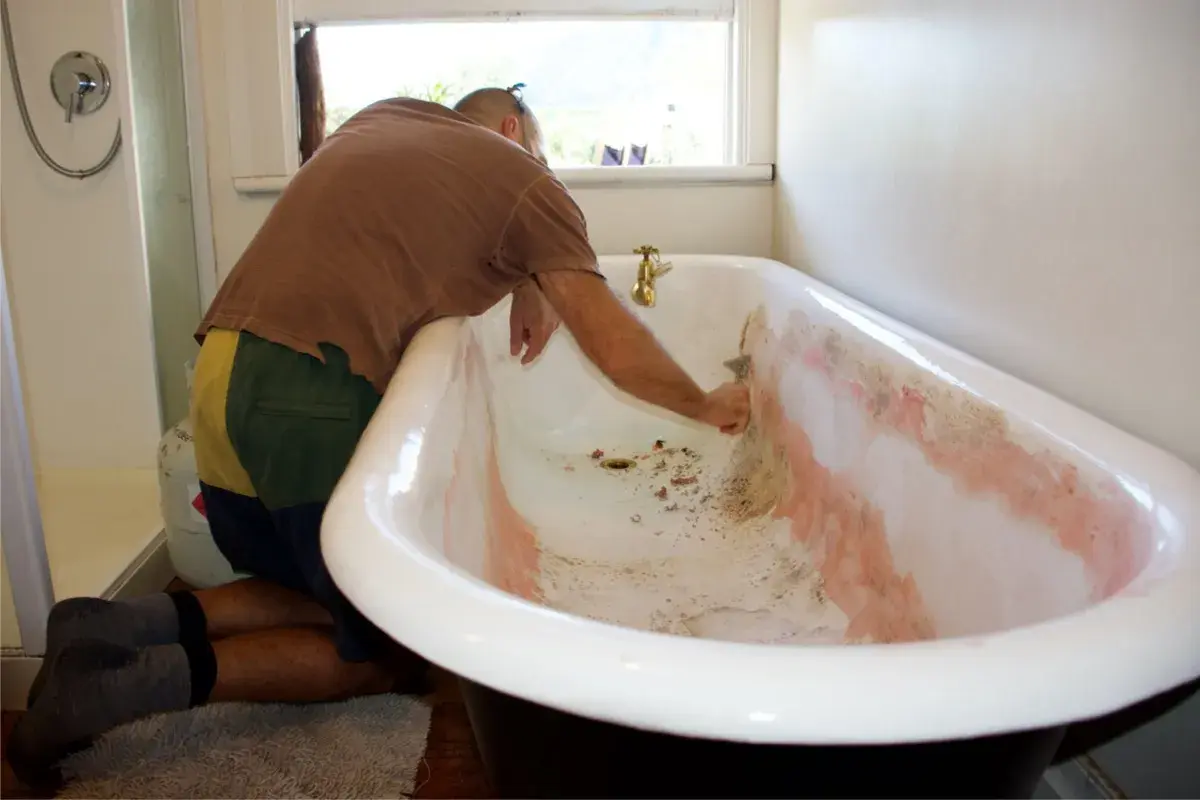
The safest refinishing jobs are the ones that are prepared like a paint project, not a quick touch-up
- Best candidates are sound tubs with dullness, stains, minor chips, or an outdated color.
- Expect roughly $50-$150 for a DIY kit and about $300-$700 for a pro refinish in many U.S. markets.
- Hands-on work often takes a day; cure time is usually 24-72 hours, sometimes longer.
- Poor cleaning and sanding are the main reasons a new finish peels or feels rough.
- Strong ventilation matters. I would not treat a bathroom fan as the only safety measure.
- If the tub flexes, leaks, or has deep structural damage, replacement is usually the smarter call.
What refinishing can fix and what it cannot
Bathtub refinishing is a surface repair, not a structural rescue. I use it for tubs that are still solid but look tired: yellowing, soap-stone buildup, a chalky finish, small chips, or a color that makes the whole bathroom feel dated. On cast iron and steel tubs, the result can be dramatic because the original shell is often still in excellent shape.
It is much less useful when the problem is underneath the finish. If the tub moves when you step in it, has active leaks, deep cracks, rust that has eaten through the metal, or widespread spidering in fiberglass, a coating will only hide the problem for a while. In those cases, refinishing can be a short-term cosmetic improvement, but it is not the fix I would bet on for a primary bathroom.
My rule is simple: if the tub is structurally sound and the damage is mostly visual, refinishing makes sense. If the shell is compromised, I start comparing repair, liner, and replacement instead. That decision is where the project either saves money or turns into a frustration, so I always check the tub carefully before I buy a kit.
Once you know the tub is a good candidate, the next question is how to prepare it so the new coating actually bonds.
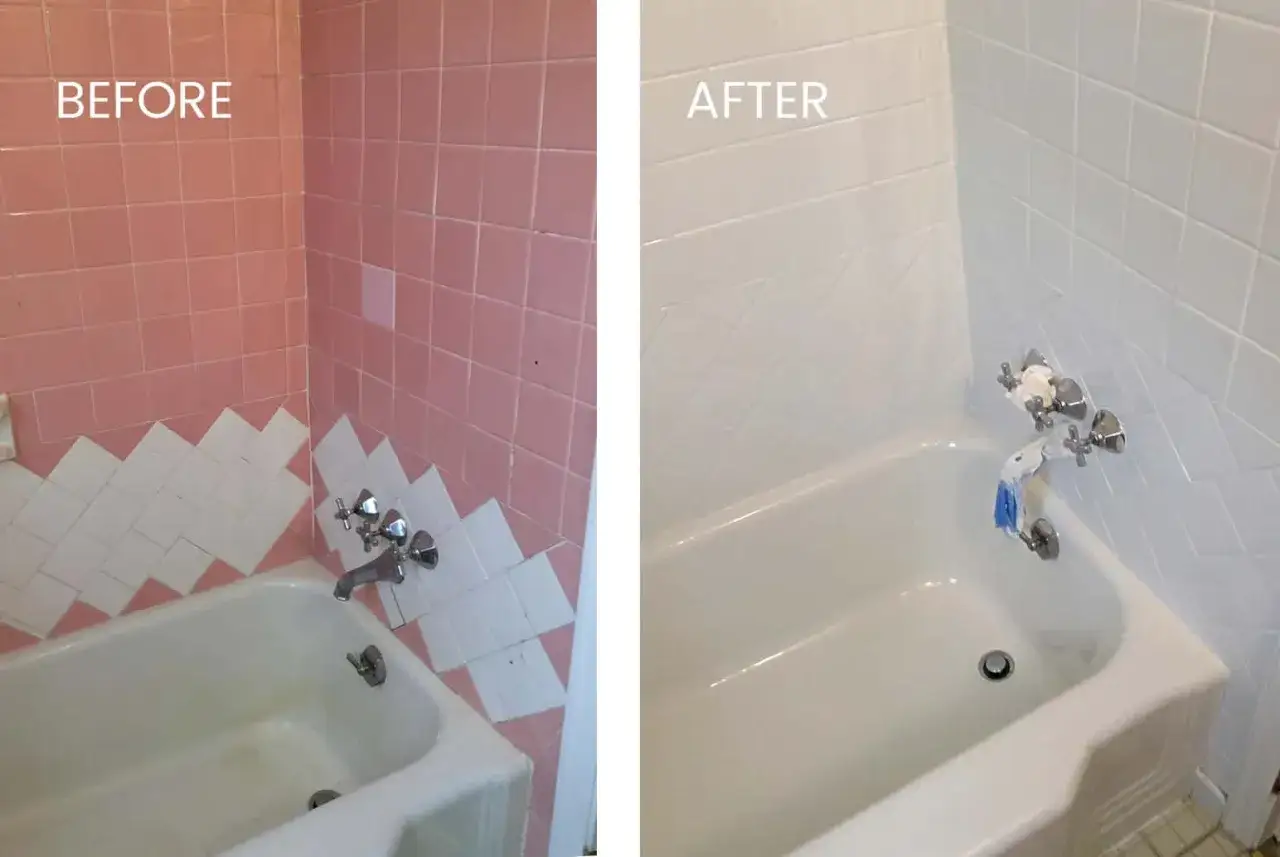
Prepare the tub and room before you open the coating
Preparation does most of the heavy lifting. The coating only looks good if it bonds to a clean, dull, dry surface, and that means the room has to be set up like a small finishing shop before the first product goes on.
- Remove the drain cover, overflow plate, faucet trim, and any hardware you can safely take off.
- Strip all caulk from the tub edge. Old silicone especially can ruin adhesion if even a thin film is left behind.
- Clean the surface with a strong bathroom cleaner or degreaser, then rinse thoroughly and let it dry.
- Sand or etch the glaze so the tub loses its shine. A glossy surface is the enemy of adhesion.
- Patch chips and pitted spots with a filler made for the refinishing system you are using.
- Mask walls, floor, vanity edges, and anything else you do not want permanently coated.
Ventilation is not optional. For stripping and coating products that give off solvents, I do not treat a bathroom fan or open window as enough on its own. I want cross-ventilation, a way to exhaust air out of the room, and protective gear that matches the product label. A dust mask is not the same thing as respiratory protection for solvent fumes.
Let the tub dry completely before coating. Trapped moisture is one of those hidden problems that causes blisters later, and it is annoying because you cannot see it until the finish starts failing. After prep is done properly, the actual refinishing steps go faster and look much cleaner.
Refinish the surface in the right order
Most kits follow the same basic sequence, even if the labels make the process sound more complicated than it is. I like to treat it as a controlled series of small decisions rather than one dramatic coat-and-pray moment.
- Repair the damage first. Fill chips, pits, and small cracks so the topcoat does not shrink into them later.
- Sand or etch again if needed. If the tub has any glossy areas left, the finish may bond unevenly.
- Remove all dust and residue. Vacuum, wipe, and repeat until the surface is clean enough that a white cloth stays clean.
- Apply the bonding or primer layer. Some systems use a separate adhesion step; others combine it into the coating itself.
- Roll or spray the finish in thin coats. Thin layers level better than one heavy pass, which is where drips and orange peel usually begin.
- Check corners, edges, and the drain area. Those spots often need the most attention because they collect extra material or get missed entirely.
- Leave it alone while it cures. This is the part most people rush and regret.
On timing, a hands-on DIY job often takes most of a day once prep is included, while professional work is frequently completed in a few hours. The cure window is separate from that labor window. Many products allow light use after 24 to 72 hours, but some need longer to fully harden, so I always follow the manufacturer’s cure instructions instead of guessing.
If the coating goes on smoothly, the tub should look even, glossy, and far newer than the old surface. From there, the bigger choice is whether the DIY route was worth the savings compared with hiring it out.
DIY kits versus professional reglazing
The right choice depends on the tub, the room, and how picky you are about the finish. I see DIY refinishing as a budget move with real limits, while professional reglazing is usually the better call when the tub matters to the room or the household uses it every day.
| Option | Typical U.S. cost | Best for | Main drawback |
|---|---|---|---|
| DIY kit | $50-$150 | Minor cosmetic refresh on a sound tub | Technique-sensitive, lower durability, more odor and cleanup risk |
| Professional reglazing | $300-$700, sometimes higher for specialty jobs | Primary bathrooms, vintage tubs, better finish consistency | Higher upfront cost and schedule dependency |
| Replacement | $3,000-$8,000+ | Structural damage, leaks, layout changes, or a full remodel | Demolition, plumbing work, and possible tile repair |
Material also matters. Cast iron and steel tubs usually reward refinishing because the shell is sturdy and the surface can be restored cleanly. Fiberglass can be refinished too, but only if the substrate is still stable; if it feels soft, flexes, or has widespread cracking, I get cautious fast. In practice, the stronger the underlying tub, the better the refinishing value.
If you are deciding purely on price, DIY wins. If you want the best odds of a smooth finish that holds up in daily use, professional work usually justifies the gap. That tradeoff becomes clearer once you know the mistakes that undermine the finish before it even has a chance to cure.
The mistakes that usually cause peeling or rough texture
Most refinishing failures are prep failures disguised as coating failures. That is the part many people miss, because the final layer gets the blame even when the real problem happened an hour earlier.
- Leaving soap scum, body oils, or silicone residue on the tub.
- Skipping enough sanding, so the new finish has nothing to bite into.
- Applying coats too heavily, which leads to runs, sagging, and thick edges.
- Touching the surface too soon or using the tub before the coating has cured.
- Using harsh cleaners afterward, especially abrasives or bleach-heavy formulas.
- Ignoring small rust spots or cracks instead of sealing them properly first.
I also see people underestimate temperature and airflow. Cold, damp rooms slow curing and can leave the finish looking soft or uneven. On the other hand, aggressive heat can make some products flash too quickly and trap application marks. Stable room conditions matter more than most DIY instructions admit, and they are one reason the finish can look great on day one but fail months later.
A refinished tub is not fragile, but it is less forgiving than a factory surface. If you treat it like sealed stoneware instead of raw porcelain, it will usually age much better. The final section is about keeping that new surface looking like it belongs in a finished bathroom, not a temporary repair.
How to make the new finish last longer than the first week
The maintenance plan is simple, but it has to be consistent. I tell people to use a mild, non-abrasive cleaner, a soft cloth or sponge, and nothing that scratches the surface. Suction-cup mats, metal scrubbers, and gritty powders are the fastest way to dull a newly refinished tub.
- Wait for the full cure before filling the tub, adding accessories, or re-caulking if the product instructions call for it.
- Use only gentle cleaners and rinse the surface after harsh bath products sit on it.
- Avoid bath oils and dyes that can stain a fresh coating if they are left sitting too long.
- Keep the room ventilated after showers so moisture does not linger around the sealed edge.
- Replace damaged caulk as soon as it starts to gap, because water intrusion ruins finishes from the edges inward.
One more detail I care about in a bathroom redesign: match the tub finish with the fixtures around it. A bright white refinished tub can look sharp next to fresh chrome or brushed nickel trim, while a warmer white may suit older tile better. The tub does not need to dominate the room; it just needs to look intentional. That is the difference between a surface repair and a bathroom that feels genuinely renewed.
The finishing details that make the tub look built in, not patched
After the coating has cured, the small visual details matter more than people expect. Reinstall clean drain and overflow hardware, refresh the caulk line with a neat bead, and clear away masking residue so the edge reads as a deliberate border instead of a repair line. I also like to replace scratched supply plates or tarnished trim at the same time, because the eye always notices the old hardware next to a new surface.
If you are using a refinishing job to modernize the room, keep the color choice simple. Bright white is the safest match for most U.S. bathrooms, but warm white or biscuit can blend better with cream tile and older fixtures. The goal is not to announce that the tub was refinished; the goal is to make the tub disappear into the room in the best possible way.
For anyone learning how to refinish a bathtub, the real takeaway is that this is a surface system, not a single product. Prep, coating, cure time, and maintenance all have to work together, and when they do, a tired tub can buy you years of extra life without a full replacement.