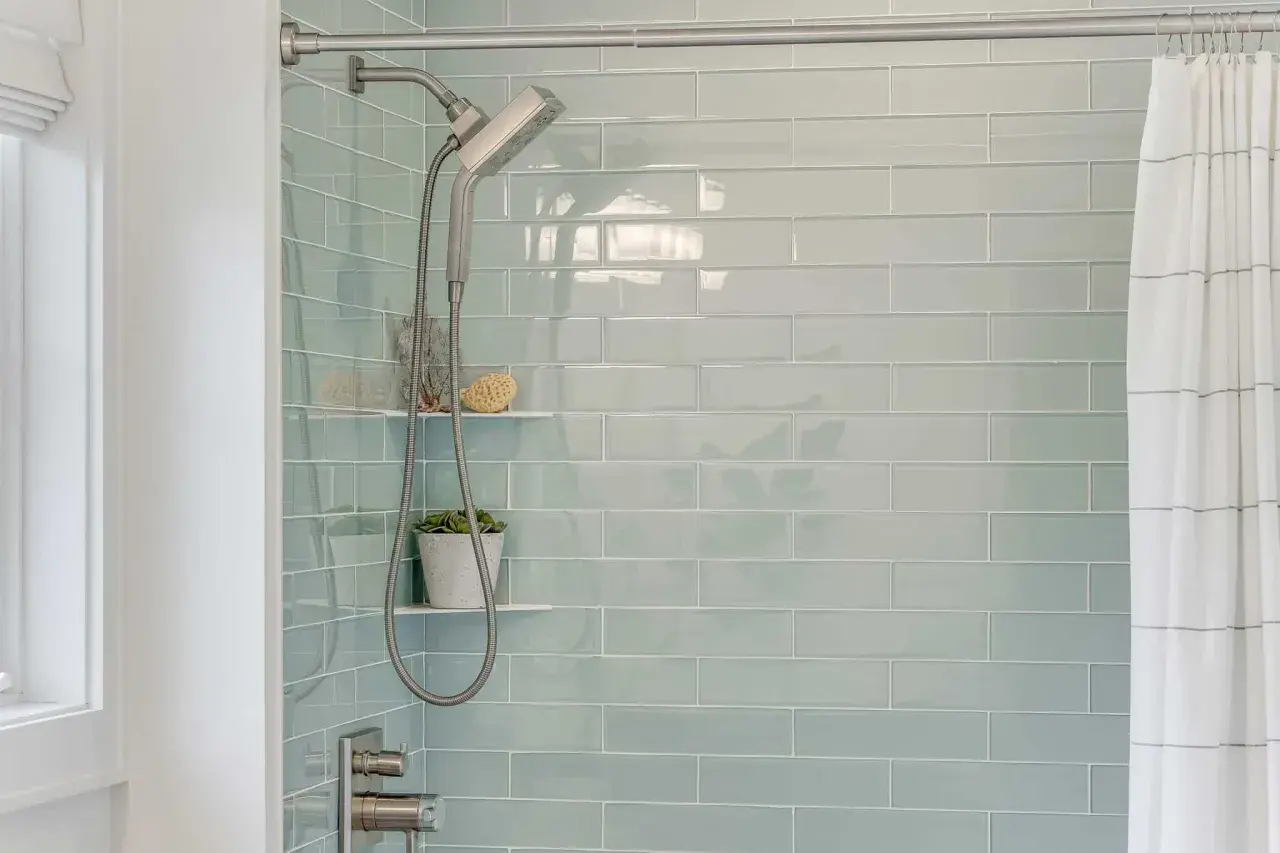
The best way to regrout tiles is usually slower than people expect, because the bond comes from careful removal, clean joints, and the right grout choice. In bathrooms and showers, those details matter more than the color on the bag. I’m focusing here on the steps that actually change the result: when regrouting is worth doing, which grout to choose, how deep to remove the old material, and how to finish so the new lines last.
The strongest regrout starts with removal, the right product, and patient curing
- Regrouting works best when the tile is stable and the old joints are the problem, not the substrate.
- Match grout type to joint width and tile finish instead of choosing by habit.
- Remove enough old grout for the new material to lock into the joint, not just cover the surface.
- Use grout in the field joints, but flexible silicone at corners and other change-of-plane joints.
- Clean at the right moment, then let the grout cure before sealing or exposing it to heavy water.
Start by checking whether regrouting is the right fix
Before I pick up a grout saw, I look at the tile assembly itself. Regrouting makes sense when the joints are stained, pitted, cracked, or missing, but the tiles are still firmly bonded and the surface feels stable underfoot. If the grout keeps cracking in the same places, or the tiles sound hollow and move, the problem is deeper than the joint fill.
I also separate a cosmetic problem from a structural one. If the grout is merely discolored, a grout colorant can sometimes restore the look without a full tear-out. If the grout is soft, crumbly, or washing out, I treat it as a repair job, not a touch-up. Once I know the tile field itself is worth saving, I choose the grout type before I touch a tool.
Choose the grout that matches the joint and the tile
The right grout depends on joint width, exposure to moisture, and the tile surface. That matters more than most people think, especially in modern bathrooms where large-format tile and tighter joints are common.
| Grout type | Best use | Main strengths | Watch-outs |
|---|---|---|---|
| Sanded cement grout | Most floor joints at 1/8 inch and wider | Durable, familiar, good for standard bathroom floors | Can scratch polished stone, some glass, and delicate glazed surfaces |
| Unsanded cement grout | Narrow joints under 1/8 inch and more delicate tile | Smoother finish, safer on sensitive surfaces | Not the best choice for wider joints because it can shrink or crack |
| Epoxy grout | Showers, stain-prone areas, and heavy-use bathrooms | Low porosity, strong stain resistance, usually no sealer needed | Shorter working time and more demanding cleanup |
| Single-component or pre-mixed grout | Smaller DIY projects and repairs where convenience matters | No batching error, simpler handling | Product-specific limits and a tighter cleanup window |
For cementitious grout, I use joint width as the first filter: joints smaller than 1/8 inch generally call for unsanded grout, while 1/8 inch and larger usually call for sanded grout. If a joint is wider than 3/8 inch, I want a grout designed for that larger span rather than forcing a standard mix to do the job. On polished marble, honed stone, or glass tile, I am even more cautious because sand can leave marks that are hard to hide. After that choice, the old grout has to come out far enough for the new one to bite.
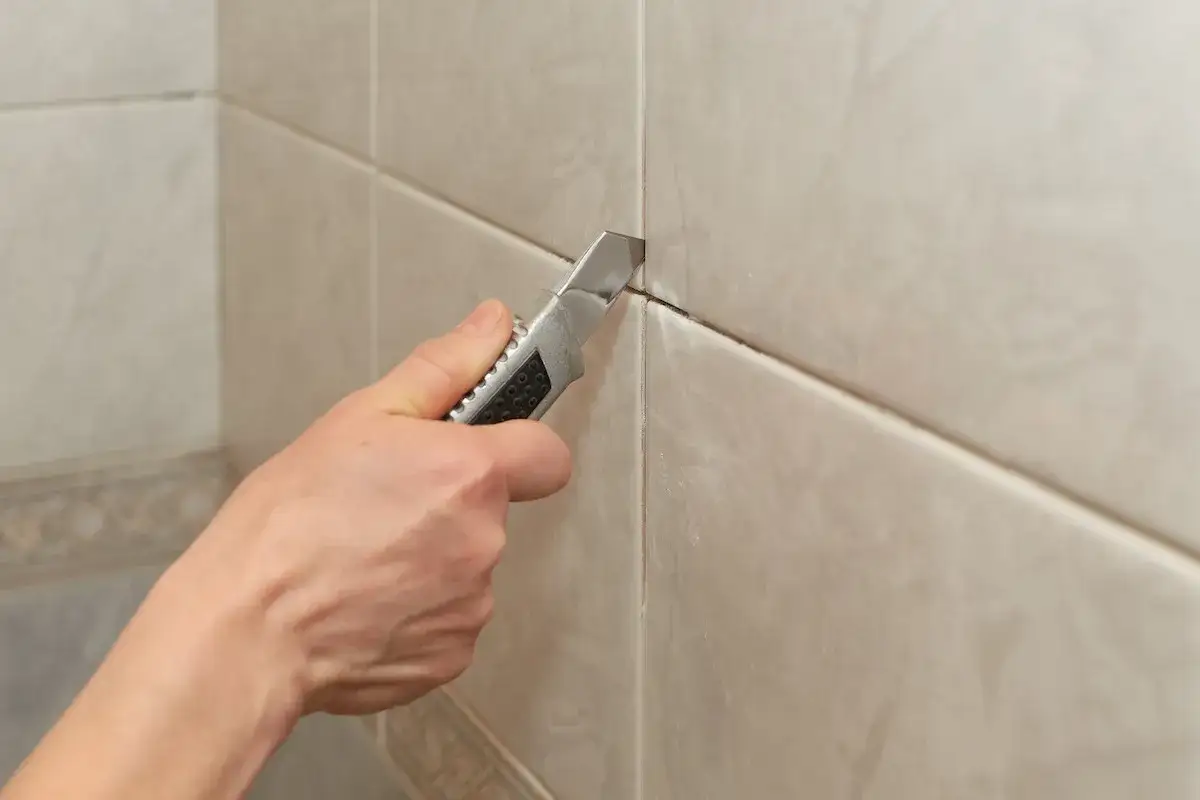
Remove enough of the old grout for the new bond to hold
This is the part that usually takes the longest, and I never rush it. Fresh grout needs clean side walls and enough depth to lock into the joint. If I only skim the surface, the new material is sitting on top of the old layer instead of anchoring into the joint, and that repair rarely lasts.
- Protect the tile edge and test the grout hardness in a small area first.
- Use a manual grout saw for delicate areas or an oscillating multi-tool for longer runs.
- Work down the center of the joint first, then clean the sides carefully.
- Aim for at least 1/8 inch of fresh depth, and on deeper joints I prefer closer to half the joint depth.
- Vacuum dust as you go so loose powder does not keep the new grout from bonding.
I slow down even more near glazed edges, corners, and around fixtures. One chipped tile edge can turn a clean regrout into a patchy repair, so I would rather spend an extra 20 minutes with a hand tool than repair a scratched surface later. Once the joints are open and dust-free, the finish depends on how I pack and wipe the new grout.
Pack the joints and clean at the right moment
Good grout work is not just about filling the gap. It is about compacting the material into the joint evenly, then removing the excess without pulling moisture and pigment back out of the mix. I keep the batch small, follow the water ratio on the bag, and avoid making the grout wetter just because it feels easier to spread.
- Mix only what you can use within the product’s working time.
- If the product calls for a slake time, give it the full rest before remixing.
- Spread grout diagonally across the joints with a rubber float held at about 45 degrees.
- Make a second pass to force grout fully into the joint instead of leaving voids.
- Wait until the grout firms up, then clean with a damp sponge using light pressure.
For many cement grouts, the first cleanup window is around 15 to 30 minutes at normal room temperature, but I still watch the grout instead of the clock. If it is still soft, I wait a little longer; if it is starting to skin over, I clean sooner. The sponge should be damp, not dripping, because too much water can wash pigment out of the joint and leave the color lighter than intended. With fast-setting or pre-mixed products, I work in smaller sections, often around 20 square feet or less, because cleanup gets unforgiving very quickly. The grout may look finished in the room, but the real strength comes from curing and sealing.
Let the grout cure, then seal only when it makes sense
Fresh grout is not ready the minute the haze is gone. Cement grout needs time to harden, and the surface needs to dry before a sealer goes on. In many bathrooms, I treat 48 to 72 hours as the minimum window before sealing cementitious grout, and I prefer the longer end of that range when the room is cool or humid.
Sealer is about stain resistance and maintenance, not waterproofing. That distinction matters in showers, where people sometimes expect sealer to solve a leak or a movement problem. It will not. Epoxy grout usually does not need sealing at all, which is one reason I like it in wet areas when the budget and cleanup window make sense. If a product does call for sealer over epoxy or adjacent stone, I follow that specific data sheet rather than guessing. Once the grout is cured and protected, the next question is whether grout was the correct material everywhere in the first place.
Know when grout is not the real problem
Some joints fail because the tile system is moving, not because the grout itself was weak. If the same crack keeps returning, or if the tile shifts when I press on it, I stop treating the symptom and look for movement, poor support, or failed waterproofing behind the tile. Regrouting over a moving surface is usually a short-term cosmetic fix.
Inside corners, tub-to-wall seams, shower curb edges, and any other change of plane are a different category altogether. A change of plane is where two surfaces meet at an angle, and those joints need flexibility. I use matched 100% silicone or another approved flexible sealant there, not rigid cement grout. That one detail prevents a lot of avoidable cracking in bathrooms, especially where hot water, vibration, and seasonal movement all show up at once. Once the structure is sound, a few habits keep the fresh joints looking good.
Keep fresh grout looking better for longer
- Run the exhaust fan after showers so moisture does not sit in the joints.
- Squeegee shower walls and glass instead of letting water dry into mineral film.
- Clean with a neutral pH cleaner and a soft brush, not harsh scrubbing.
- Check cement grout periodically for staining or loss of water beading, then reseal when needed.
- Inspect silicone corners and tub seams separately, because they age differently from grout.
If I had to compress the whole process into one rule, it would be this: remove more than you think, mix less than you think, and wait longer than you want before water goes back on the tile. That rhythm is what separates a fresh-looking patch from a repair that actually holds.
