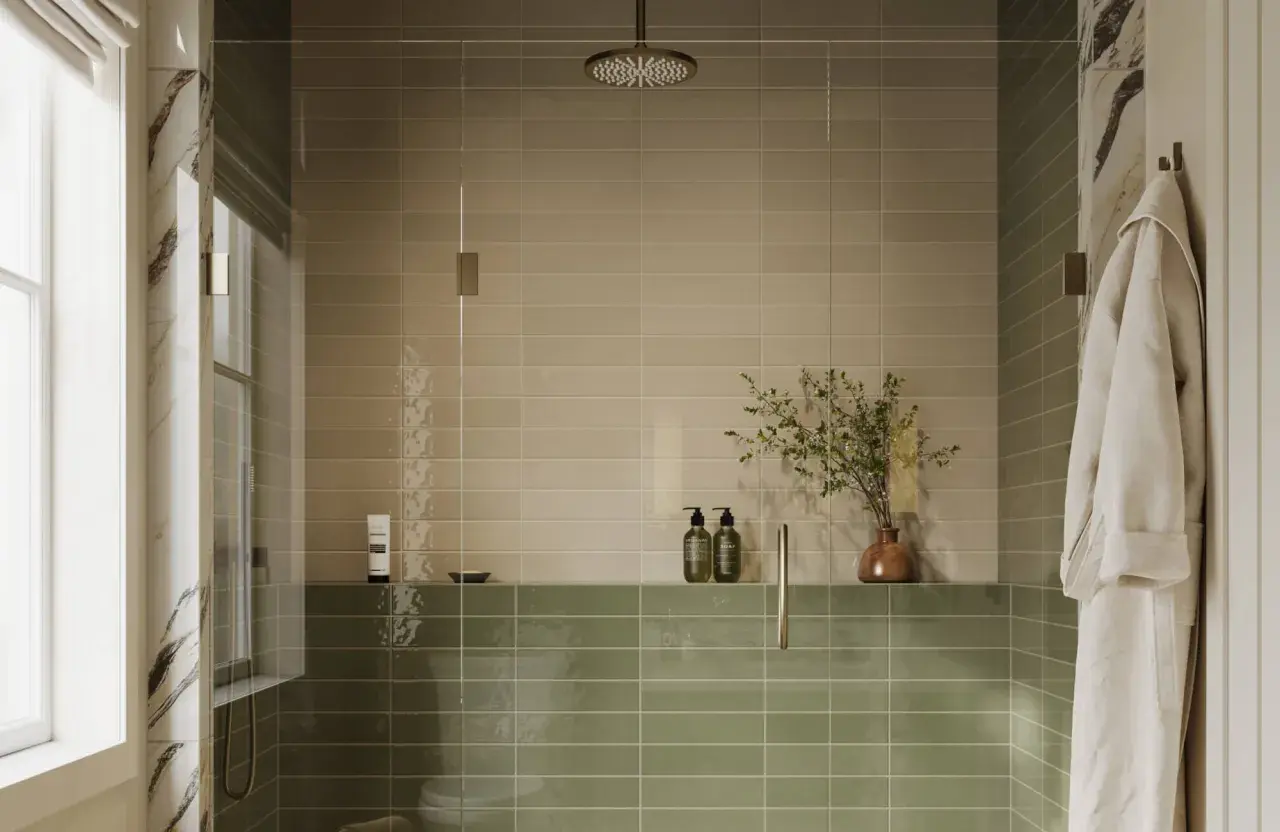
Choosing shower tile is less about chasing a showroom look and more about deciding how much cleaning, sealing, and upkeep you want to live with. The easiest showers to maintain usually combine a dense, water-resistant tile, a grout system that resists staining, and a layout that keeps grout lines to a minimum. In this guide, I focus on the materials and details that actually reduce work, plus the tradeoffs that matter once the shower is installed.
The quickest route to a shower that stays easy to clean
- Porcelain is the safest all-around choice for low upkeep because it is dense, moisture-resistant, and rarely needs sealing.
- Large wall tiles cut grout lines, which means fewer places for soap scum and mildew to settle.
- Epoxy grout or a high-performance grout system usually lowers maintenance more than the tile color or finish does.
- Shower floors still need traction, so small-format tile often makes sense there even though it adds grout.
- Natural stone can look excellent, but it usually asks for more sealing and closer day-to-day care.
A shower only feels low maintenance when the tile, grout, and waterproofing work together. The surface itself matters, but most of the cleaning burden comes from grout joints, corners, niches, and other spots where water lingers. That is why I think about maintenance as a system rather than a single product choice. Once you understand that, the best tile options become much easier to separate from the decorative ones.
Porcelain tile is usually the first material I look at because it is dense, highly water resistant, and easy to wipe clean. Glazed ceramic is also a solid option on shower walls, especially if budget matters, but it is less robust than porcelain in the wettest conditions. Natural stone sits on the other end of the scale: beautiful, but more porous, more likely to need sealing, and less forgiving if you want a shower that stays effortless.
That basic hierarchy leads directly into the next question: which tile formats and finishes make the biggest difference in daily cleaning?
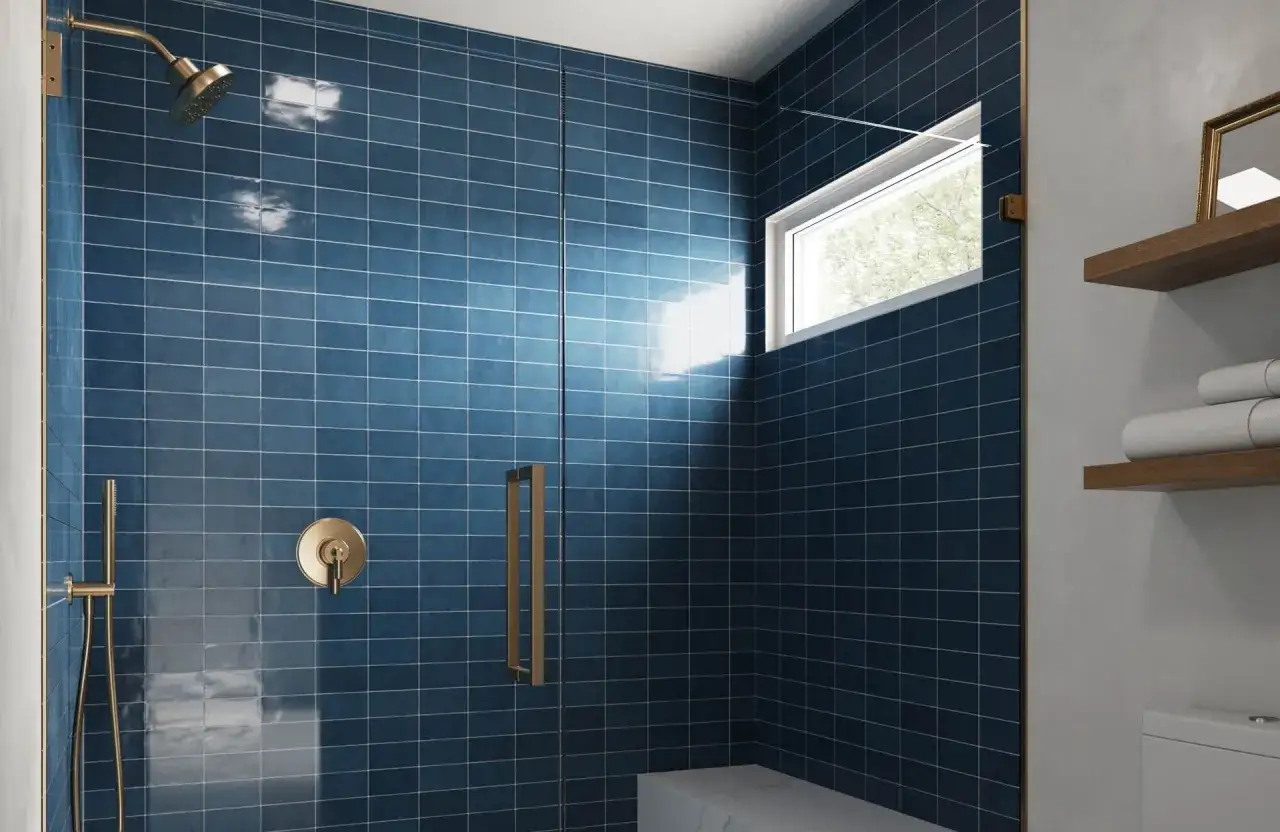
The tile materials I would shortlist first
When I narrow this down for real projects, I start with porcelain, then look at glazed ceramic and glass as secondary options. Natural stone is the one I would only choose if the owner wants the look enough to accept the extra care. The table below gives the practical version of that decision.
| Material | Upkeep level | Best use | Main tradeoff |
|---|---|---|---|
| Porcelain | Lowest | Most shower walls and floors | Usually the easiest tile to live with; water absorption is below 0.5%, but large-format pieces often need a skilled installer |
| Glazed ceramic | Low | Shower walls, tub surrounds, accent bands | Less dense than porcelain, so it is best kept off the most demanding wet zones |
| Glass tile | Low to moderate | Niches, accents, feature walls | Shows water spots and installation quality more readily than opaque tile |
| Natural stone | Moderate to high | Spa-style showers where maintenance is acceptable | Porous surfaces usually need sealing, and many stones need resealing every 1 to 3 years depending on type and use |
I keep coming back to porcelain because it handles moisture well, comes in convincing stone and concrete looks, and does not ask for constant resealing. If you want the calm look of marble without the same maintenance burden, a marble-look porcelain is often the smarter compromise. That leads naturally to layout, because the tile itself matters less if the surface is broken up by too many joints.
Layout choices that save the most cleaning time
Grout lines are where a shower starts to feel high-maintenance. Bigger wall tile means fewer joints, fewer edges for soap residue to cling to, and less visual noise overall. In practice, 12 x 24, 24 x 24, and even 24 x 48 formats are common choices for walls when the substrate is flat and the installer is experienced.
- Use large-format tile on the walls. Fewer joints usually means faster cleaning and a more seamless look.
- Keep the pattern simple. A stacked or grid layout is easier to wipe than a busy diagonal or heavily mixed pattern.
- Limit decorative breaks. Every niche trim, shelf edge, or accent band creates another line to clean.
- Let the shower floor do a different job. Small-format tile or mosaics are often better there because the extra grout improves traction and helps the floor follow the slope to the drain.
- Specify the right slip resistance. For wet interior floors, a DCOF of 0.42 or higher is the common benchmark used for safer wet-use performance.
That last point matters more than most people expect. A beautiful floor that feels slick is not a good low-maintenance choice, because safety problems usually lead to redesigns, mats, and more cleaning around the edges. Once the layout is set, grout and sealing are what determine whether the shower stays easy or slowly becomes a chore.
Grout and sealers are where the real difference shows up
If I had to choose one detail that changes shower maintenance the most, it would be grout. Standard cement grout is workable and familiar, but it usually needs sealing and periodic attention. Epoxy grout costs more and is harder to work with, yet it offers better stain resistance and does not need the same sealing routine. High-performance cement grouts sit in the middle: easier to use than epoxy, more resistant than older cement formulas, and often a solid choice for residential showers.
| Grout type | Maintenance level | Why people choose it | Watch out for |
|---|---|---|---|
| Epoxy grout | Lowest | Excellent stain and chemical resistance; no periodic sealing | Higher cost and a steeper installation curve |
| High-performance cement grout | Low to moderate | Good color consistency and easier handling than epoxy | May still need sealing or more frequent cleaning depending on the product |
| Standard cement grout | Moderate to high | Lower upfront cost and familiar installation | More likely to stain, discolor, or need sealing over time |
For the tile itself, glazed porcelain and glazed ceramic usually do not need sealing, while the grout often does. Natural stone is the opposite problem: it may look beautiful in the shower, but it usually needs regular sealing, and in many cases annual resealing is a realistic expectation. Daltile’s care guidance makes the same basic point: sealing helps, but it does not replace routine cleaning. That is why I treat grout, sealer, and ventilation as part of the design, not as afterthoughts. The next question is what to avoid if your goal is truly minimal upkeep.
What to avoid when you want less scrubbing
Some shower tile choices are attractive precisely because they are not low maintenance. I am not against them, but I would not recommend them to someone who wants the easiest possible shower to live with.
- Unsealed natural stone. Marble, limestone, travertine, and similar materials can stain and etch more easily than porcelain.
- Highly textured surfaces. They look interesting, but they hold soap film and are harder to dry quickly.
- Too many tiny tiles on the walls. Mosaic walls can be stylish, yet every extra joint adds cleaning time.
- Crackle glazes and porous handmade finishes. They can be beautiful, but they are less forgiving in a wet space.
- Overly busy trims and ledges. A shower niche packed with multiple borders and shelves is a grime collector if it is not planned carefully.
One good rule I use is simple: if a tile choice needs frequent resealing, delicate cleaners, or a lot of hand-detailing around each joint, it is probably not the best candidate for a shower that should stay easy. That does not mean the design has to be boring. It means the visual interest should come from scale, tone, and texture rather than from maintenance-heavy materials.
A simple care routine that keeps the shower easy to live with
Even the best materials still need a basic routine. The point of a low-upkeep shower is not to eliminate care; it is to keep care predictable and short. I prefer a system that takes a few minutes a week instead of a full restoration project every few months.
- Run the exhaust fan during the shower and for 20 to 30 minutes afterward.
- Use a squeegee on walls and glass if you live with hard water or notice spots quickly.
- Clean weekly with a pH-neutral tile cleaner unless the product instructions call for something different.
- Check caulked corners and movement joints every few months so small gaps do not become water problems.
- Reseal stone on the schedule recommended for that specific material, usually more often than porcelain or glazed ceramic.
That routine is modest, but it matters. Moisture management is what keeps grout from darkening and corners from failing, and good ventilation does more for long-term maintenance than most decorative upgrades ever will. If you are planning a new shower rather than rescuing an old one, the last step is to choose a combination that balances upkeep, safety, and budget without overcomplicating the install.
The spec I would choose for a typical primary shower
For most U.S. bathrooms, I would build around a satin or matte porcelain wall tile, a slip-rated small-format porcelain floor tile, and epoxy or high-performance grout in a shade close to the tile. That combination gives you the best blend of easy cleaning, moisture resistance, and visual calm without pushing you into the sealing and etching issues that come with stone.
From a budget angle, ceramic usually keeps the upfront price lower, porcelain sits in the middle, and natural stone plus specialty grout raises both installation and lifetime maintenance. A basic shower retile commonly lands around $800 to $3,000 installed in the U.S., while custom layouts, large-format pieces, or stone can move the project well above that range. I would rather pay a little more for a system that stays clean than save a few hundred dollars and inherit a shower that needs constant attention.
- Use a large-format porcelain on the walls when the room layout allows it.
- Keep the shower floor practical, not precious, and prioritize traction first.
- Choose grout color with the tile, not against it, if you want the surface to read cleaner for longer.
- Ask the installer about substrate flatness, mortar coverage, and joint sizing before the tile is ordered.
That is the kind of low maintenance shower tile setup I recommend when the priority is daily ease rather than constant upkeep. If you get the material, grout, and layout working together, the shower will still look polished years later, but it will demand far less from you in return.
