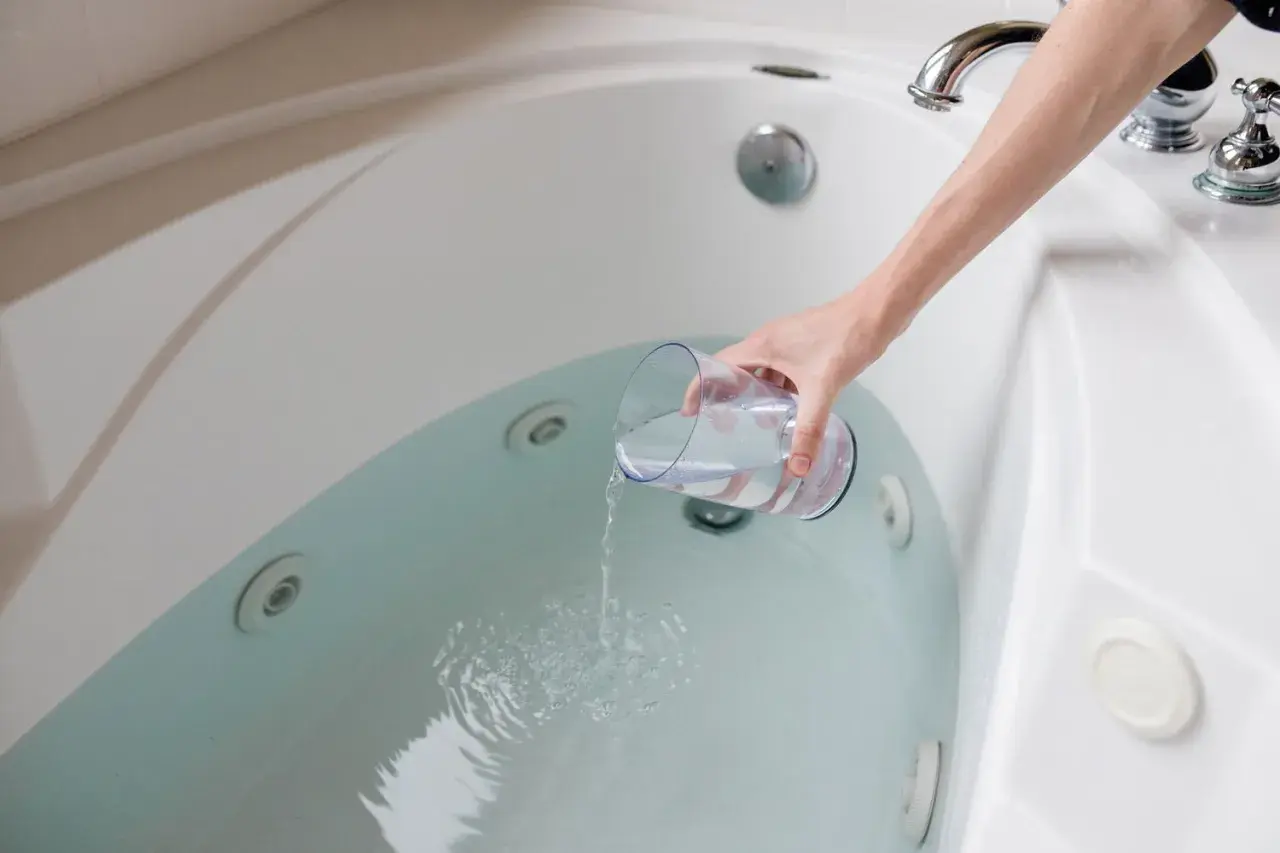
A clean bathtub should look bright without losing its finish, and the wrong cleaner can do more harm than a week of grime. The practical answer to how to clean bathtub buildup is to start with the gentlest method that matches the material, then escalate only when soap scum or hard-water film refuses to move. In this guide, I cover the routine that works for most tubs, the products I trust on common finishes, and the mistakes that shorten a tub’s life.
What matters most before you scrub
- Start mild. Warm water, a little dish soap, and a soft sponge solve most routine cleaning jobs.
- Match the cleaner to the surface. Acrylic, fiberglass, porcelain, and solid-surface tubs do not tolerate the same products.
- Use the right touch for the stain. Soap scum, hard-water film, rust, and mildew each need a different approach.
- Clean the drain too. Hair and biofilm are often the reason a tub still smells dirty after the surface looks clean.
- Avoid abrasion. Scrubbing harder is usually what creates dull spots, scratches, and permanent damage.
Use the gentlest routine first
For most tubs, I start with the least aggressive method and only move up if the surface still looks cloudy. That usually means warm water, a mild dish soap solution, and a microfiber cloth or soft sponge. If the tub is only lightly marked, this alone will remove most of the film without wearing down the finish.
- Take out bath products, toys, mats, and anything sitting on the rim.
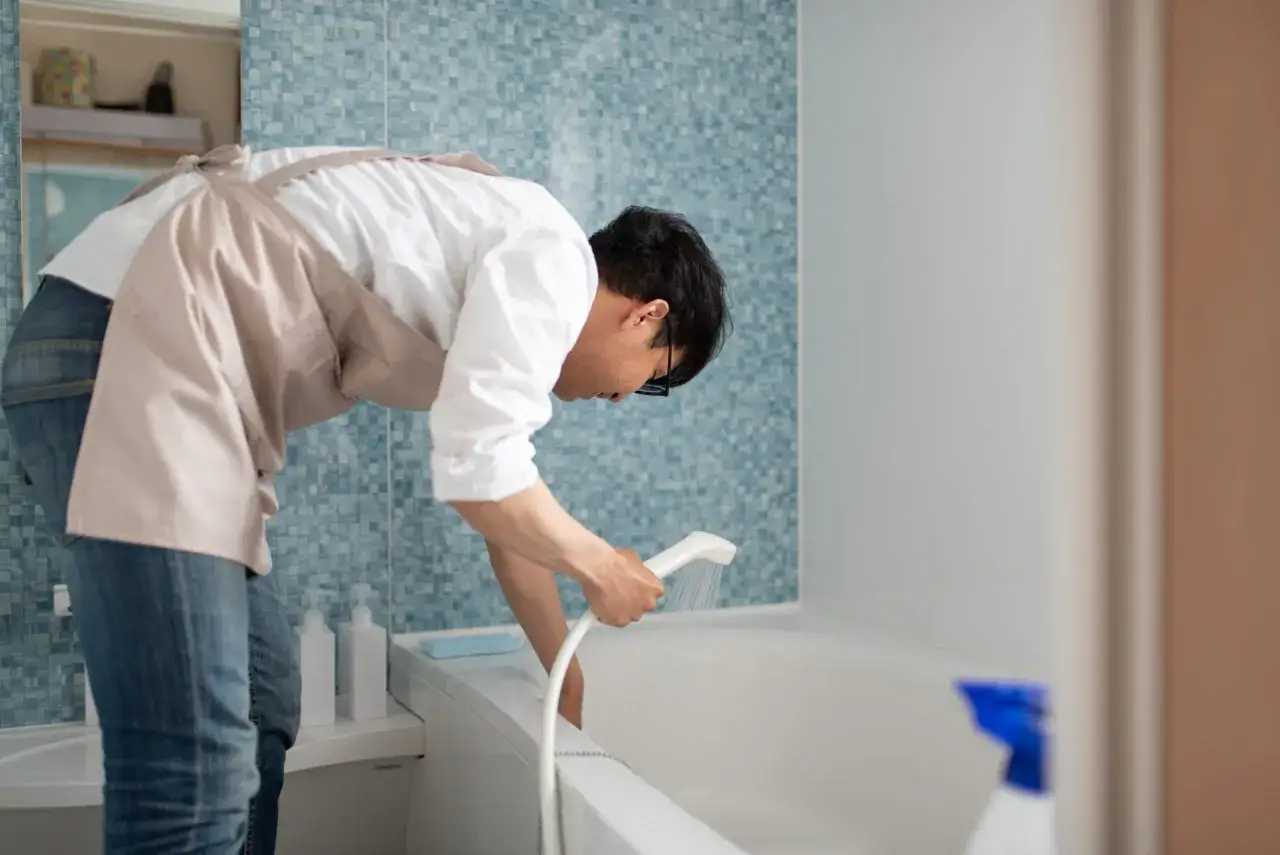
- Rinse the tub with warm water so loose grime does not get dragged across the surface.
- Mix a few drops of dish soap into a bucket of warm water or use a nonabrasive tub cleaner.
- Let the cleaner sit for 5 to 10 minutes if there is visible buildup.
- Wipe in small circles, then work through the tub from the top edge down to the basin.
- Rinse thoroughly so no residue is left behind.
- Dry with a clean towel or microfiber cloth to stop water spots from forming again.
If the tub has a textured floor for slip resistance, I use a soft nylon brush only on that texture, not on the smoother sides. Once the basic routine is working, the next question is whether the cleaner also fits the tub material.
Match the cleaner to the tub material
Material matters more than most people think. A cleaner that works beautifully on porcelain can leave acrylic dull, and a heavy-duty scrub on fiberglass can create scratches that never quite disappear. When the manufacturer gives specific care instructions, I follow those first.
| Tub material | What usually works | What I avoid | Why it matters |
|---|---|---|---|
| Acrylic | Mild dish soap, soft cloth, nonabrasive bathroom cleaner | Scouring pads, powdered cleansers, harsh solvents | Acrylic scratches and dulls easily, so the finish depends on a light touch. |
| Porcelain-enameled steel or cast iron | Mild cleaner, baking soda paste for spots, soft sponge | Steel wool, metal scrubbers, scraping with blades | The finish is durable, but chips and scratches are still permanent once they happen. |
| Fiberglass | Diluted bathroom cleaner, microfiber cloth, soft brush if needed | Abrasive powders, rough pads, aggressive scrubbing | Fiberglass shows wear fast, especially in dull patches and fine scratches. |
| Solid surface or resin | Manufacturer-approved cleaner and soft cloth | Strong solvents and abrasive pads | These finishes vary by brand, so the maker’s guidance matters more than general advice. |
When I am not sure about a finish, I test any new product in a hidden corner first. If a cleaner clouds the surface once, I do not give it a second chance. That caution becomes even more important when the issue is not general grime but a specific stain.
Remove soap scum, hard-water film, rust, and mildew without making scratches
Not every mark on a tub is the same problem. Soap scum behaves differently from mineral buildup, and rust is a different animal again. The fastest way to waste time is to scrub every stain with the same product and pressure.
| What you see | What I would try first | What to avoid |
|---|---|---|
| Soap scum | Warm water, dish soap, then a baking soda paste on the stubborn spots | Dry scrubbing with an abrasive pad |
| Hard-water film | A vinegar-based cleaner only on surfaces that tolerate acid, followed by a full rinse and dry | Letting mineral deposits sit and harden for weeks |
| Rust marks | A rust remover made for the tub’s finish or a gentle spot treatment approved by the manufacturer | Steel wool, knives, or aggressive scraping |
| Mildew around caulk or grout | A bathroom disinfectant, then better ventilation if it keeps returning | Mixing cleaners or sealing over active growth |
Soap scum is usually a mix of soap residue, body oils, and minerals, so it responds best to patience rather than force. Hard-water film is similar: the stain often looks worse than it is, but it comes off more cleanly when the cleaner has time to work. If your water is especially hard, I would rather clean a little more often than reach for a harsher product every time.
Clean the drain, overflow, and edges while the tub is empty
A tub can look clean and still feel off because the drain, stopper, or overflow plate is holding hair and biofilm. I treat those areas as part of the tub, not an afterthought. If I skip them, the bathroom often still smells stale even after the surface has been wiped down.
- Pull out visible hair from the drain opening and stopper.
- Wipe the overflow plate with the same mild cleaner you used on the tub.
- If the drain is slow, use a cup plunger designed for sinks and tubs, not a toilet plunger.
- Flush with hot tap water after loosening debris, but not boiling water.
- Use a small drain snake if hair is packed deeper in the trap.
- Check the caulk line around the tub edge for gaps or dark buildup that keeps trapping moisture.
If the drain stays slow after a basic cleanout, I stop there and treat it as a plumbing issue, not a cleaning problem. The same goes for recurring odor: it often means there is more going on below the surface. That is also why the next section matters so much.
Avoid the mistakes that shorten a bathtub’s life
I see the same cleaning mistakes over and over, and most of them come from trying to solve the problem too quickly. The reality is that many tubs are damaged by overcleaning before they are ever worn out by normal use.
- Using steel wool or scouring powders. They create micro-scratches that hold more dirt the next time around.
- Leaving strong cleaners on too long. More dwell time is not always better, especially on sensitive finishes.
- Mixing bleach with vinegar or ammonia. That combination can release dangerous fumes.
- Scraping stains with blades or knives. One bad angle can turn a stain into a permanent gouge.
- Ignoring small chips. Once moisture reaches exposed material, the damage can spread faster.
- Skipping the rinse and dry step. Residue left behind becomes tomorrow’s haze and spots.
Keep the tub easier to clean next time
The cheapest way to keep a bathtub looking good is to prevent the film from settling in the first place. I prefer short, boring maintenance over dramatic deep cleans, because the short version is what people actually keep doing.
| Habit | How often | Why it helps |
|---|---|---|
| Rinse the tub after use | Every bath or shower | Removes soap and oils before they dry into film |
| Wipe the surface dry | Whenever practical | Prevents hard-water spots and streaks |
| Ventilate the bathroom | After each shower, for 20 to 30 minutes if possible | Reduces moisture that feeds mildew |
| Deep clean with a soft sponge | Weekly or every 2 weeks | Keeps residue from hardening into a heavier job |
| Wash bath mats and check caulk | Weekly for mats, monthly for caulk | Stops grime from spreading back to the tub |
For busy households, consistency matters more than intensity. A two-minute wipe-down after use does more to protect the finish than a brutal monthly scrub. It also makes the tub feel like part of the bathroom’s maintenance rhythm instead of a project.
When a bathtub needs more than cleaning
Sometimes the problem is not dirt at all. If a tub is permanently dull, rough to the touch, cracked, or stained through the finish, no cleaner will bring it all the way back. At that point, I start thinking about repair, caulk replacement, or refinishing instead of another round of scrubbing.
That distinction matters because good cleaning preserves a healthy surface, while restoration fixes a damaged one. If the tub is still structurally sound, regular care will usually keep it in good shape for years. If the finish is already failing, more pressure is not the answer.
My practical rule is this: clean lightly, clean often, and let the material lead the method. That is the most reliable way to keep a bathtub looking cared for without turning routine maintenance into a repair job.
