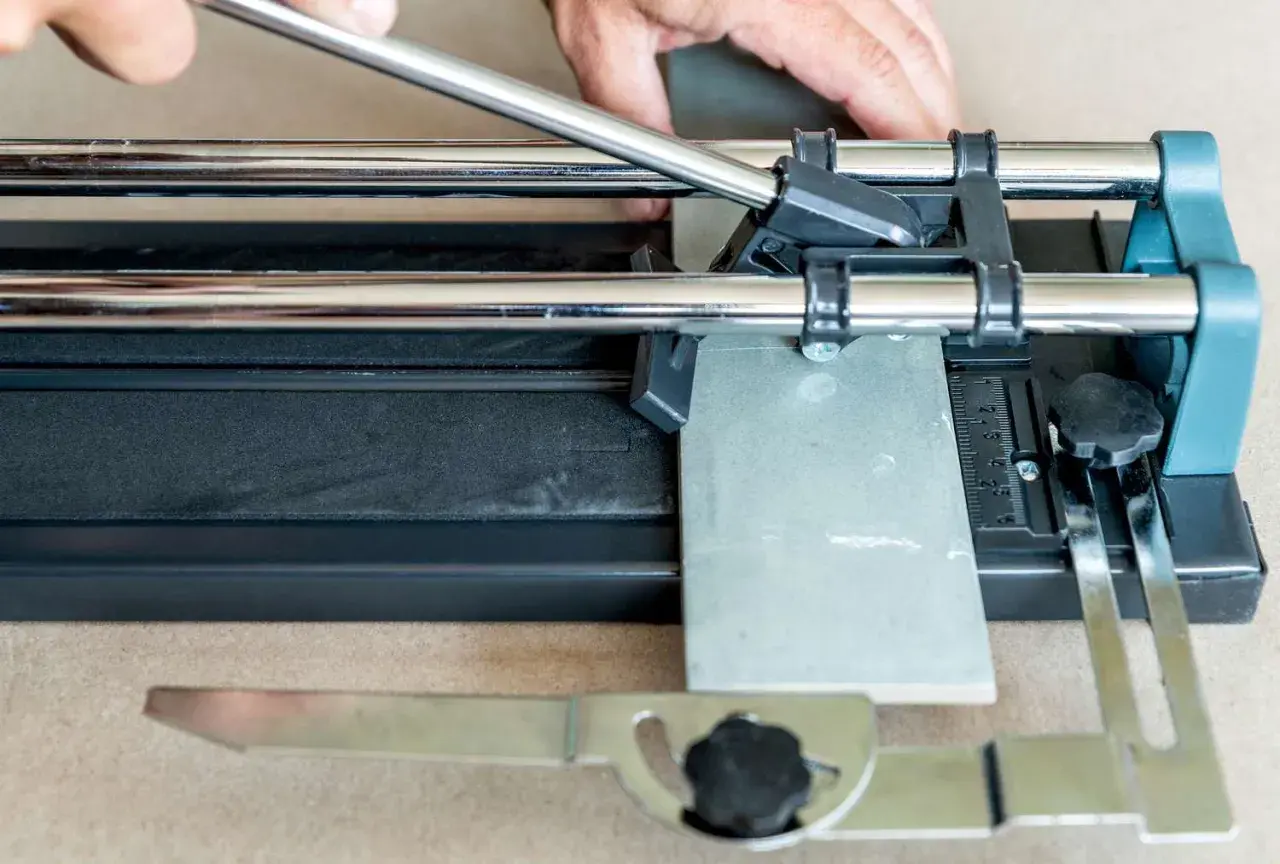
Knowing how to cut ceramic tile by hand matters when you are fitting a backsplash, trimming a tub surround, or closing a row with one clean custom piece. The goal is not to brute-force the tile; it is to choose the right manual method, mark accurately, and leave an edge that looks deliberate once it is grouted and sealed. In practice, that usually means one clean straight cut, a few careful notches, and a little edge cleanup.
What matters most before you start
- Use score-and-snap for straight cuts on glazed ceramic whenever possible.
- Use tile nippers for curves, corners, and small notches, not long straight lines.
- Score once, firmly; retracing the line usually makes the break worse.
- Keep the offcut wide enough to break cleanly; very narrow strips are risky.
- Finish every cut edge with a rubbing stone or fine file before installation.
- Plan the layout first so the visible edges are the cleanest ones.
Choose the right hand method for the cut
When I cut ceramic tile by hand, I start by asking one simple question: is this a straight trim, or is it a shape? Straight cuts and small adjustments are completely different jobs. The cleaner the cut needs to be, the more I want a score-and-snap method. The more irregular the shape, the more I lean on nippers and patient edge cleanup.
| Method | Best for | Strength | Main limit |
|---|---|---|---|
| Score-and-snap cutter | Long straight cuts in glazed ceramic | Fast, low dust, clean edge | Struggles with narrow slivers and L-cuts |
| Tile nippers | Curves, outlet corners, pipe reliefs | Easy to shape irregular areas | Leaves a rougher edge and removes material slowly |
| Carbide scorer and straightedge | Light trimming and one-off cuts | Cheap and compact | Less consistent than a proper snap cutter |
That split matters in bathroom work, because most trim pieces are not actually complicated. They are just short straight rips, outlet cutouts, or a small change at the end of a row. Once the cut type is clear, the setup becomes a lot easier.
Gather the tools that make the cut cleaner
You do not need power tools to make good ceramic cuts, but you do need a few precise hand tools. I keep the setup simple: a tape measure, a pencil or china marker, a square, a straightedge, a manual snap cutter or carbide scorer, tile nippers, a rubbing stone or fine file, and eye protection. Gloves help too, because chipped glaze is sharp.
| Tool | Why I use it | Typical U.S. DIY price |
|---|---|---|
| Tape measure, square, marker | For accurate layout and repeatable lines | $0 to $15 if you already own them |
| Manual snap cutter | For fast straight cuts on ceramic tile | About $20 to $80 for basic models |
| Tile nippers | For corners, curves, and small notches | About $10 to $25 |
| Rubbing stone or fine tile file | For softening the cut edge | About $5 to $20 |
| Safety glasses and gloves | For chips, sharp edges, and accidental slips | About $10 to $25 |
For most U.S. bathroom projects, that kit is enough. A basic manual cutter usually handles common ceramic wall tile well, often in the 3/8-inch thickness range, but always check the tool rating before buying. Once the bench is set up, the actual cutting is mostly about control.
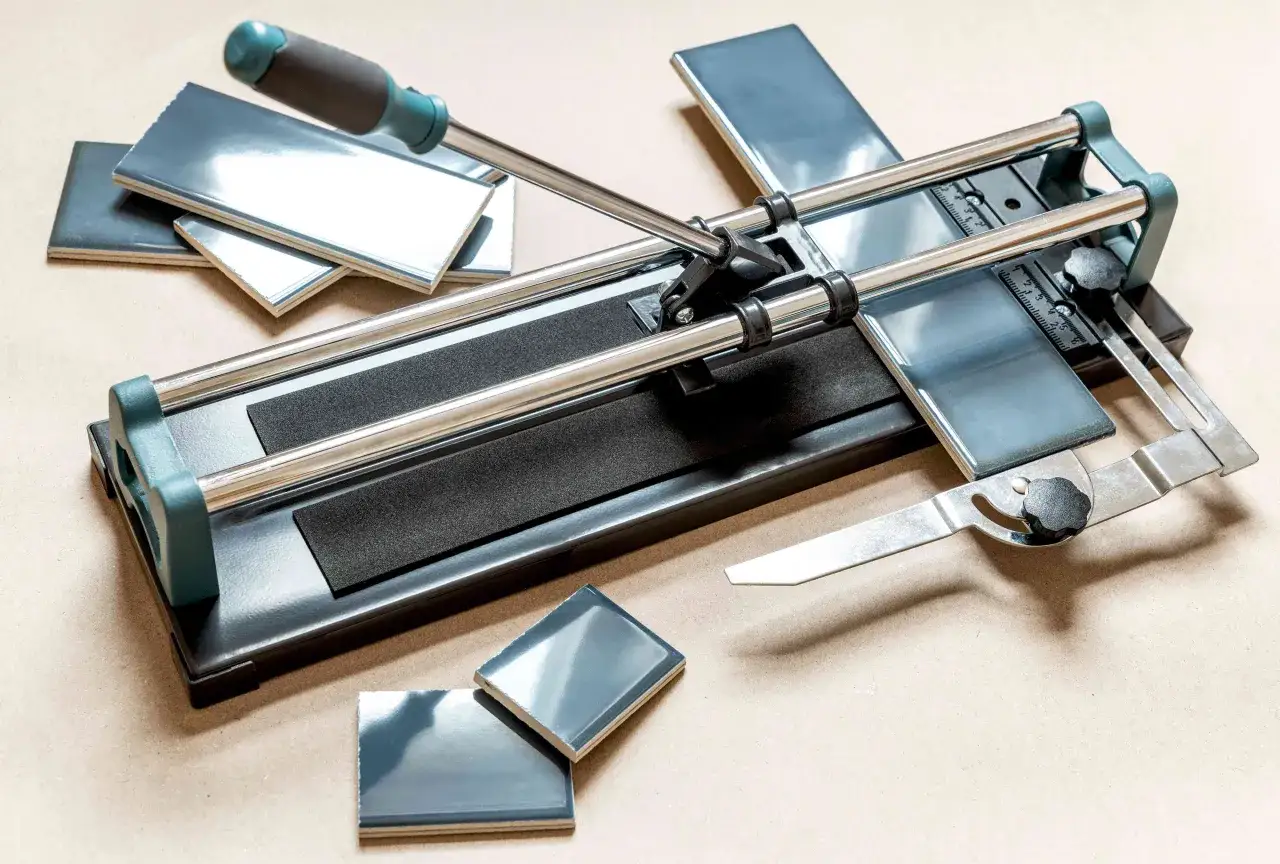
Make a straight score-and-snap cut
This is the cleanest manual method for glazed ceramic tile, and it is the one I reach for first. The trick is to treat the score line like a controlled crack, not a groove you keep deepening. One firm pass is usually better than two or three weak ones.
- Measure the tile and mark the cut line on the finished face with a pencil or china marker.
- Use a square or straightedge to extend the line all the way across the tile.
- Place the tile on the cutter so the score wheel lines up exactly with the mark.
- Press the cutter once with steady, even pressure and score from one edge to the other.
- Set the score line over the breaker bar or edge and snap the tile in one controlled motion.
- Check the cut, then smooth the edge with a rubbing stone before installation.
Two things matter most here. First, do not score twice unless the tile is unusually stubborn; repeated passes often make the break wander or chip. Second, keep the offcut wide enough to break cleanly. Once a strip gets very narrow, especially under about 1/2 to 1 inch, I stop trusting a snap and switch to a different approach.
If the cut is visible after installation, I also think about orientation. I want the factory edge where people will see it, and the cut edge where grout, caulk, trim, or another tile can hide the transition. That small planning choice is one of the easiest ways to make a DIY job look more finished.
Use nippers for curves, corners, and notches
Tile nippers are not for long straight cuts. They are for shaping the tile after the main line is marked, especially around outlets, pipe penetrations, vanity corners, and other awkward details. I usually treat them like a slow carving tool: remove a little, test the fit, and remove a little more.
- Mark the waste area clearly so you know exactly where the final edge should land.
- Stay just outside the final line at first; nippers are better at refining than at starting a perfect edge.
- Take small bites instead of trying to crush a large section at once.
- Approach corners gradually, because sharp inside corners chip easily.
- Finish the edge with a file or stone so it does not catch grout or crack during installation.
For outlet notches, I prefer two short straight relief cuts and then nibbling away the center. For rounder openings, such as a pipe pass-through, I work from the edge inward and accept that the hole will be slightly oversized. That is fine in a bathroom as long as the opening is hidden by a fixture trim ring or escutcheon. The method is slower, but it is much more forgiving than trying to force a perfect shape out of a brittle tile.
Avoid the failures that ruin ceramic tile
Most bad cuts do not come from the tool. They come from impatience. In my experience, the problems are predictable: the tile is scored too lightly, the line is scored twice, the tile is snapped without proper support, or the cut is too narrow to survive the break.
| Problem | What usually caused it | Better fix |
|---|---|---|
| Jagged break | Scored multiple times or snapped unevenly | Use one firm score and a clean, controlled break |
| Chipped glaze | Too much pressure at the start or end of the score | Keep pressure steady from edge to edge |
| Broken sliver | Offcut was too narrow | Leave more material and trim in smaller stages |
| Misaligned cut | Line was measured from the wrong edge | Dry-fit first and mark from the same reference point each time |
There is also a layout mistake that shows up all the time in bathrooms: people cut the visible pieces first and save the hidden ones for later. I do the opposite. I map the room so the cleanest tiles land in the most visible places, then I let the edge trims disappear under trim, cabinetry, or the next tile. That habit saves both time and regret.
Know when hand cutting stops being the smart choice
Hand methods work well for glazed ceramic, but they have limits. If the tile is unusually dense, the glaze is especially brittle, or the project demands many identical cuts, manual work gets slow and error-prone. The same is true when you need a very tight inside corner or a narrow strip that keeps crumbling before the tile separates.
I also stop pushing the hand method when the shape is more hole than cut. Small pipe openings, deep U-shapes, and complicated fixtures can be done by hand in a rough way, but they often look cleaner with a different cutting strategy. For a small backsplash repair, that may not matter. For a master bath wall that sits at eye level, it does.
One rule I use: if I cannot clearly describe the waste piece in one sentence, the cut is probably too fussy for a quick hand snap. At that point, I either simplify the layout or plan a more deliberate cutting method. That judgment call saves more tile than any single tool.
The bathroom cuts worth planning before you mix mortar
The cleanest tile jobs usually come from the least dramatic cuts. I plan the room around the cuts people will actually see, then I let the harder edges disappear where they belong. That means dry-fitting the first row, checking where the last piece lands, and keeping factory edges on exposed sides whenever possible.
For a tub surround or backsplash, I like to mark the obvious trouble spots before I set a single tile: outlets, valves, corners, and any edge that has to finish against drywall or trim. Once those are mapped, the rest of the work becomes simple repetition. That is the real advantage of manual cutting. It is not fast in the macho sense; it is efficient when the layout is planned well and the cuts are kept honest.
When a cut will be visible, I slow down, score once, and finish the edge so it blends into the installation instead of advertising the workaround.
