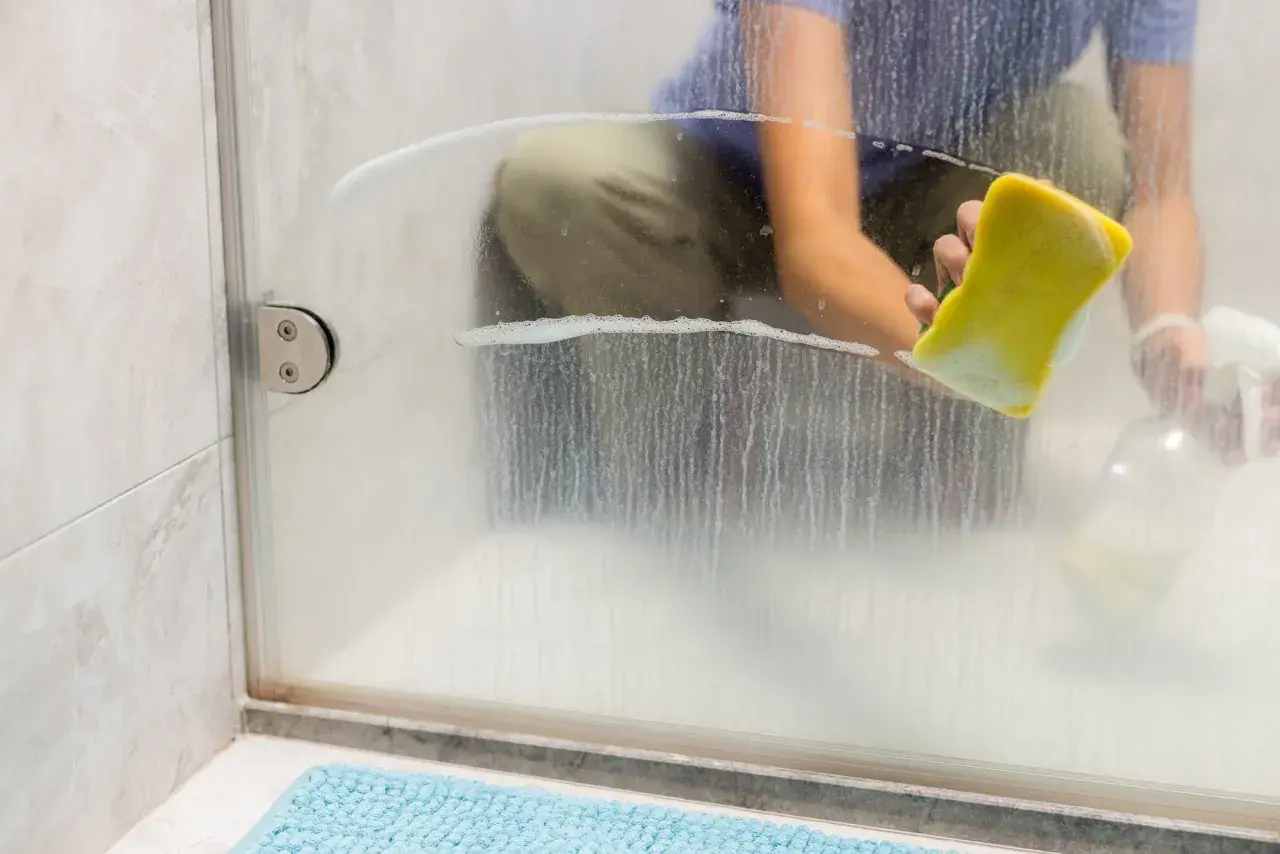
Knowing how to clean shower glass is less about scrubbing harder and more about treating the right residue the right way. Soap scum, mineral spotting, and true glass etching all look cloudy from a few feet away, but they do not respond to the same cleaner. In this guide, I walk through the fastest routine for fresh buildup, the products that earn their keep on stubborn marks, and the habits that keep the enclosure clear longer.
The quickest path to clear shower glass
- Fresh soap scum usually lifts with warm vinegar, a little dish soap, and a microfiber cloth.
- Hard water spots need an acid-based cleaner or a mineral remover, not just soap and water.
- A squeegee after every shower prevents far more buildup than an occasional deep clean.
- Abrasive pads, scouring powders, and razor blades can scratch glass or damage coatings.
- If the glass still looks hazy after cleaning, the problem may be etched surface damage, not dirt.
Identify the residue before you clean
I always start by asking what kind of cloudiness I am looking at, because the wrong cleaner wastes time and can make the finish look worse. Soap scum usually feels smeary or slightly greasy and builds up where body oils, shampoo, and minerals dry together. Hard water spots tend to look chalky white, sometimes with a brown or rust tint if the water has more iron in it. Etching is different again: the glass can look permanently frosted even after a proper cleaning.
That distinction matters. Soap scum is a surface film, so it can usually be dissolved. Mineral spots are deposits, so they need something acidic or specially formulated to break them down. Etching is physical damage to the glass, which means repeated scrubbing will not fix it. Once you know which one you are fighting, the rest becomes much simpler.
With that baseline in mind, the next step is choosing a routine that clears the glass without grinding on it.

The routine that removes most buildup without beating up the glass
For everyday to moderate buildup, I use a simple sequence that works quickly and does not depend on elbow grease. First, rinse the panel with warm water so the surface is damp and any loose debris is gone. Then spray a cleaning mix over the glass, paying attention to the lower half of the door, corners, and the edge where the door meets the frame.
- Mix warm distilled white vinegar with a little dish soap, or use a mild glass-safe cleaner if the door has a special coating.
- Let it sit for 5 to 10 minutes. On heavier buildup, give it up to 15 minutes, but do not let it dry on the surface.
- Wipe with a microfiber cloth or a non-abrasive sponge, working from top to bottom.
- Rinse thoroughly with clean water so no cleaner is left behind to streak.
- Dry the glass with a lint-free cloth or finish with a squeegee.
If the buildup is stubborn, I repeat the pass instead of switching immediately to something harsher. That second, patient pass usually removes what the first one loosened. On shower enclosures with coated glass, I also check the manufacturer’s care instructions before I use anything acidic, because some protective finishes prefer a milder detergent and a soft cloth.
Once the basic method is clear, the real question becomes which cleaner belongs to which problem.
Choose the cleaner that matches the mess
Not every shower door needs the same product. When I compare cleaners, I look at the type of residue, the speed of the result, and the risk to the glass or surrounding finishes. This is the simplest way to decide what earns a spot under the sink.
| Cleaner | Best for | Why it works | Limit |
|---|---|---|---|
| Warm vinegar with a little dish soap | Fresh soap scum and light mineral film | The acid helps dissolve residue while the soap loosens greasy buildup | Avoid use on natural stone nearby, and rinse well |
| Baking soda paste | Thicker patches and spot treatment | It adds gentle body without being as aggressive as a scrub powder | Messier to apply and still needs a thorough rinse |
| Mineral-removing bathroom cleaner | Chalky hard water spots | Formulated to dissolve calcium and similar deposits faster than soap-based cleaners | Follow the label and ventilate the room |
| Eraser-style sponge | Small stubborn marks | Convenient for isolated spots that resist a cloth | Use lightly; it can be too aggressive on some coated glass |
My rule is simple: if vinegar handles the problem, I stay with it. If the glass still looks chalky after a careful pass, I move to a dedicated hard-water cleaner instead of scrubbing longer. That keeps the process efficient and lowers the risk of dulling the surface.
Of course, the products you do not use matter just as much as the ones you do.
Avoid the mistakes that scratch or haze the surface
Most bad results on shower glass come from overcorrection. People see a cloudy panel, reach for the most aggressive cleaner they own, and end up with scratches, streaks, or damaged trim. I see the same handful of mistakes again and again.
- Using abrasive pads, powdered scouring cleaners, or metal scrubbers on the glass.
- Letting cleaner sit until it dries on the panel and leaves residue behind.
- Using vinegar or other acids on natural stone, marble, or travertine around the shower.
- Mixing cleaning products, especially anything that includes bleach.
- Assuming an etched surface is just dirt and scrubbing it harder.
- Using a harsh eraser-style sponge on coated glass without testing a small area first.
I also avoid cleaning in a rush while the shower is still piping hot and full of steam. A warm surface is fine; a dripping, oversteamed enclosure makes it harder to see residue and easier to leave streaks. If the door has a protective coating, I treat that finish as part of the surface, not an afterthought. Once the wrong tool scratches it, you cannot scrub that damage away.
The better approach is prevention, which is less glamorous but far more effective.
Keep the glass clearer between deep cleans
The biggest difference comes from what happens after the shower, not during a monthly cleaning marathon. A glass panel that gets dried and ventilated regularly stays clear much longer, even in homes with hard water.
- Run the bathroom exhaust fan during the shower and for 20 to 30 minutes afterward.
- Use a squeegee on the inside of the door after each shower.
- Wipe the bottom edge and corners with a microfiber cloth where droplets collect.
- Keep the door slightly open when the shower is dry so air can circulate.
- Use a light daily spray or a mild wipe-down if your water leaves spots quickly.
I like the squeegee habit because it takes less than a minute and prevents the kind of buildup that turns into a weekend project later. If your water is especially mineral-heavy, that little bit of daily drying is doing more work than any fancy bottle on the shelf. And if you want even less maintenance, coated glass or a quality water-softening setup can make a real difference over time.
Those habits handle ordinary wear, but they cannot solve every cloudy panel, which is where the last distinction matters.
When cloudy glass is no longer just dirty
If the glass still looks dull after a proper cleaning, and the haze does not change when you switch from vinegar to a mineral remover, you may be dealing with etching or deep mineral damage. That is the point where more cleaner is not the answer. A glass restoration specialist can sometimes improve the look, but in severe cases replacement is the more realistic fix.
For bathroom upgrades, I think this is one of the places where design and maintenance meet. Choosing coated shower glass, keeping the enclosure well ventilated, and selecting fixtures that do not trap water at the edges all reduce future cleaning work. Those choices are easy to overlook during a remodel, but they pay you back every week after installation.
Clear shower glass is usually not about one miracle product. It is about matching the cleaner to the buildup, drying the surface consistently, and knowing when the problem has moved beyond surface residue. If you handle those three things well, the enclosure stays brighter, looks newer, and takes far less effort to maintain.
