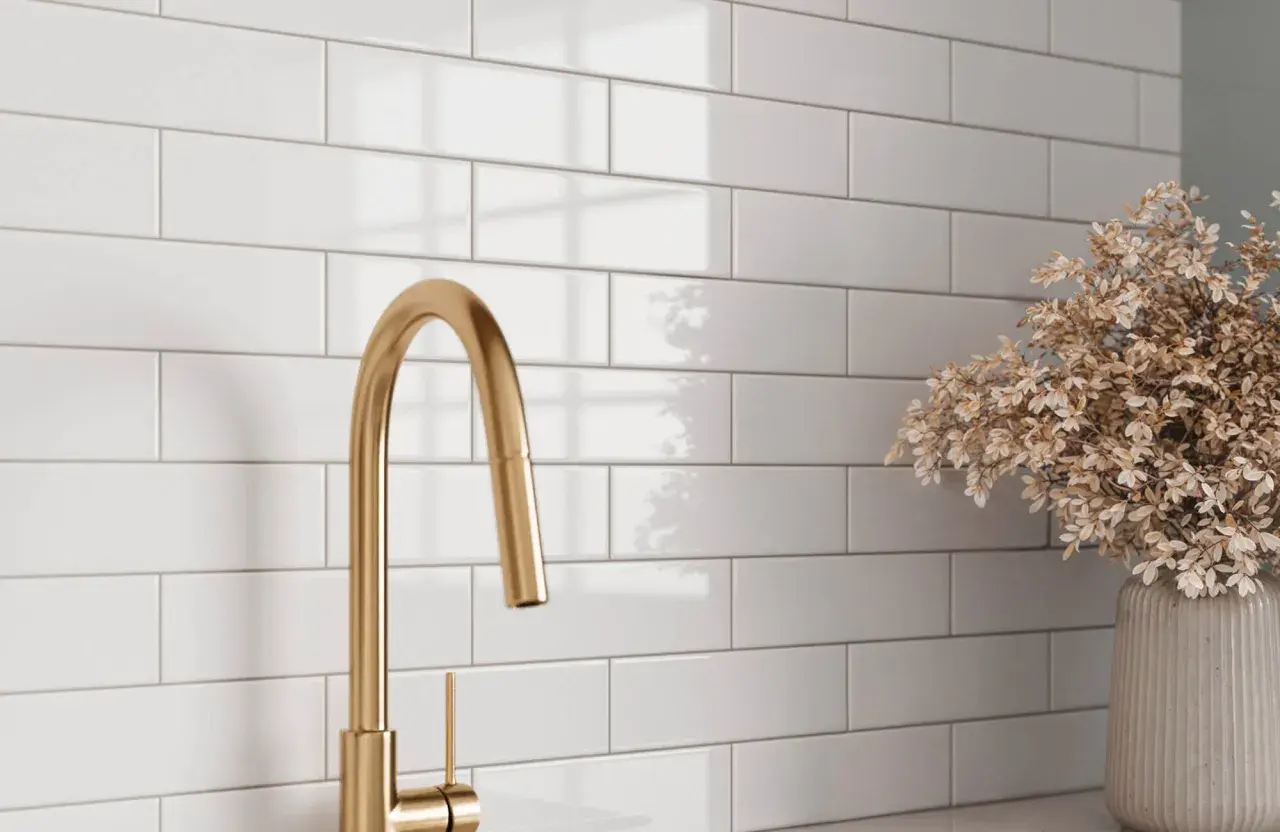
If you want a practical take on how to grout subway tile, the real work starts with the joint width, the grout formula, and how much time you give yourself before cleanup. The difference between crisp, even lines and a patchy finish usually comes down to prep and timing, not brute force. In the guide below, I walk through selection, packing, cleanup, curing, sealing, and the mistakes that most often show up on bathroom walls and backsplashes.
The cleanest grout lines come from the right mix, the right timing, and a light hand
- Match the grout to the actual joint width first, then choose the color.
- Keep the joints clean, dry, and open so the grout can bond instead of sitting on debris.
- Work in small sections and clean diagonally with a damp sponge, not a soaking one.
- Use caulk, not grout, at corners and other movement joints.
- Let cementitious grout cure fully before sealing it or scrubbing it hard.
Choose the grout that fits the joint and the finish
I still start with joint width, because grout chemistry comes second to the actual spacing on the wall. For cementitious grout, the Tile Council of North America gives a simple rule of thumb: under 1/8-inch usually calls for unsanded grout, and 1/8-inch and wider usually calls for sanded grout. That matters on subway tile, where the joint is often narrow enough that the wrong formula can shrink, scratch, or look rough once it cures.
| Grout type | Best use on subway tile | Why I like it | Watch-outs |
|---|---|---|---|
| Unsanded cement grout | Very narrow joints, usually under 1/8-inch, especially on glossy ceramic walls and backsplashes | Smoother finish, easier on delicate tile edges | Not ideal for wider joints; can shrink if pushed beyond its range |
| Sanded cement grout | 1/8-inch joints and wider | Stronger in larger joints and more durable in many installs | Can scratch soft or highly polished tile; test first |
| Epoxy grout | Showers, steam-heavy spaces, stain-prone areas | Very dense, stain-resistant, and low maintenance | More expensive and less forgiving during cleanup |
| Ready-to-use or single-component grout | DIY walls and backsplashes where consistency matters more than open working time | No mixing error, consistent color, convenient for smaller jobs | Product-specific handling and a higher price point |
Color deserves more attention than it usually gets. On classic white subway tile, white grout reads seamless, light gray softens the grid, and charcoal gives the wall a sharper architectural look. In a bathroom, I usually lean toward a mid-gray because it hides daily wear better without making the tile look busy. Once you know which grout belongs in the joint, the next job is making sure the tile is ready to receive it.
Prepare the joints so the grout can actually fill them
Grout fails quietly when the prep is sloppy. Before I open the bucket, I want the mortar cured, the joints clean, and the tile face free of dust or dried thinset. MAPEI’s installation guidance also reminds installers to keep the joints open, remove spacers from the joint area, and leave enough depth for the grouting material to fill the space instead of sitting on top of it.
- Wait for the setting mortar to cure fully before grouting. Twenty-four to 48 hours is common, but the mortar label wins every time.
- Clear out thinset ridges, spacer tabs, dust, and loose debris from the joints.
- Make sure the joints are dry and free of standing water.
- On beveled subway tile, measure the joint at the body of the tile, not across the top edge of the bevel.
- If the tile is porous, textured, or prone to staining, consider a grout release or a pre-sealer before grouting.
I also check how much joint depth I have left. Leaving roughly two-thirds of the tile thickness clear gives the grout room to compact properly instead of bridging over mortar crumbs. That small habit makes the finished line look deeper and more consistent, which is exactly what subway tile needs. Once the joints are clean and open, the actual packing goes quickly.
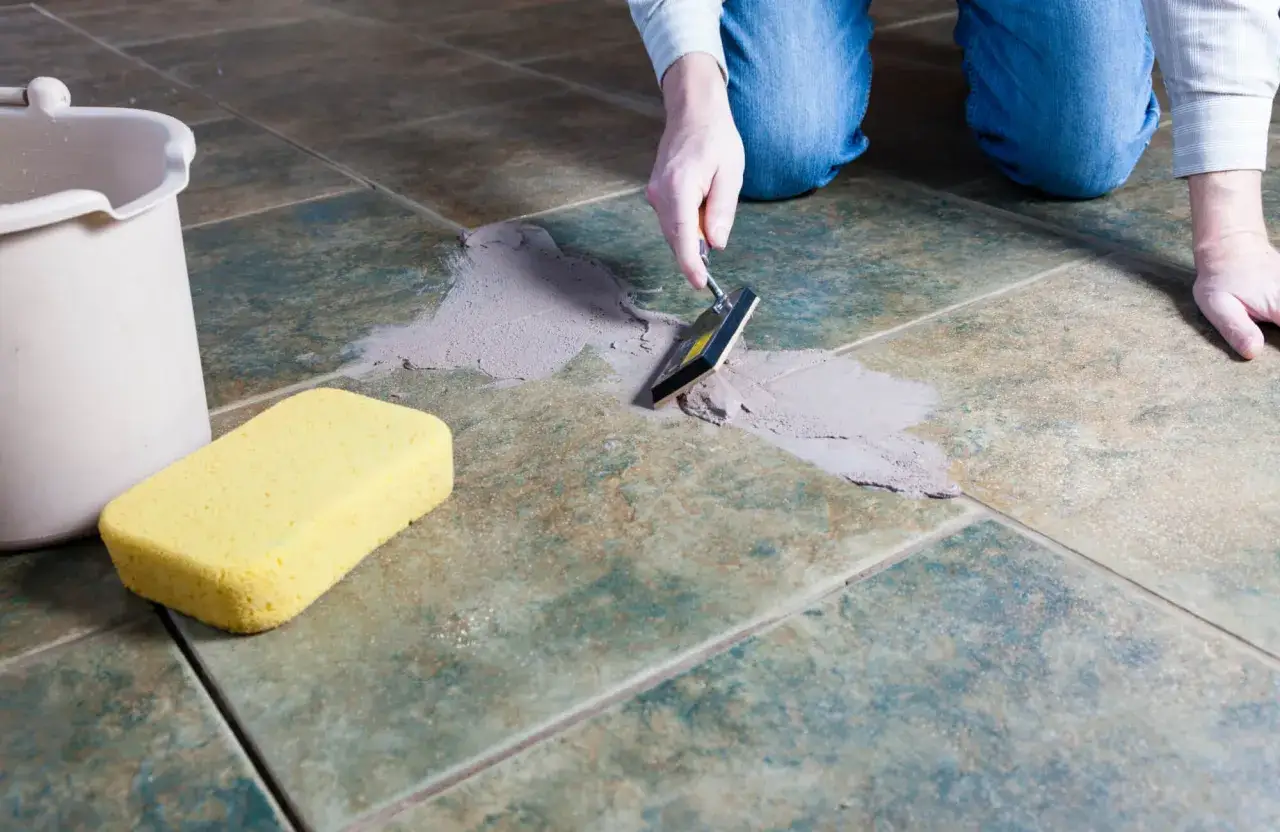
Pack the joints in small sections and clean diagonally
This is the part most people rush, and it shows. I mix only as much grout as I can place and clean before it firms up, because a wall section that is too large becomes a cleanup problem very fast. On cementitious grout, I aim to keep the work small enough that I can finish the surface before the mix starts to harden in the bucket or on the tile.
- Mix the grout exactly to the label directions. If the product needs a slake time, let it sit, then remix without adding extra water.
- Load a rubber grout float and hold it about 45 degrees to force grout into the joints.
- Use firm pressure and make sure the joints are completely full, not just skimmed over.
- Scrape off the excess with the float held closer to 90 degrees, moving diagonally across the tile face.
- Work in small sections, usually around 10 to 20 square feet at a time for a wall, so the grout does not outrun your cleanup window.
- Wait until the grout firms up, then clean with a damp sponge, not a dripping one, rinsing the sponge often and changing the water frequently.
- Buff the surface with a dry microfiber cloth or cheesecloth after the initial cleanup if a light haze remains.
The reason I clean diagonally is simple: it pulls residue off the tile without digging grout out of the joint. That detail matters on smooth ceramic subway tile, where one sloppy wipe can leave the lines shallow or inconsistent. MAPEI’s grouting instructions also emphasize working one small section at a time and wiping diagonally, and that is still the most reliable approach I have found on walls. After that, the seams that need to move are the ones that deserve special treatment.
Treat corners and wet areas as movement joints, not grout joints
Grout is rigid. Bathrooms are not. That is why I never treat inside corners, tub edges, shower pan transitions, or the line where a backsplash meets the countertop like ordinary grout joints. Those areas move independently, and the Tile Council of North America treats them as movement joints rather than places for standard grout.
| Location | Best material | Why |
|---|---|---|
| Inside corners | Color-matched silicone or another flexible sealant | Allows the two planes to move without cracking |
| Tile-to-tub or tile-to-shower-pan joint | 100% silicone, matched to the grout color when possible | Handles movement and moisture better than grout |
| Countertop-to-backsplash joint | Flexible caulk | Prevents cracking where the wall and counter expand differently |
| Field joints between tiles | Grout | Designed to fill the regular spacing between tiles |
I prefer silicone in those transition joints even when it is slightly more work to get the color right, because a cracked corner looks worse than a seam that is discreetly flexible. If the caulk ages a little differently from the grout, that is still a better outcome than a fracture line that keeps coming back. That leaves the curing window, where the final color and protection settle in.
Let the grout cure before you judge the color
Fresh grout almost never looks exactly like the final result. It usually lightens and evens out as it cures, especially with cement-based products. That is why I resist the urge to overclean the same day or to declare the color wrong before the grout has had time to dry properly.
- Keep the tile dry and avoid heavy scrubbing while the grout is still curing.
- Let cementitious grout cure fully before sealing it; many sealers call for at least 24 to 72 hours, and some products want 48 hours or more.
- Seal the grout, not the glazed tile face, unless the tile manufacturer says otherwise.
- If the grout haze remains after the initial wipe-down, use a cleaner made for grout haze and follow its label instead of reaching for an all-purpose acid cleaner.
- Remember that epoxy and many modern ready-to-use grouts often do not need a separate sealer, but the product instructions still control.
I seal cementitious grout because bathroom walls and backsplashes take more water, soap, and everyday grime than people expect. A penetrating sealer is usually the cleaner choice when you want protection without changing the look of the joint. If the grout color looks slightly uneven at first, give it time before you panic; the last thing I watch for is the small errors that make a good wall look rushed.
The mistakes that make subway tile look tired fast
Most bad grout jobs do not come from one dramatic failure. They come from a handful of small habits that stack up.
- Mixing the grout too wet, which weakens color consistency and can cause shrinkage.
- Spreading too much area at once, which forces you to overwater the cleanup.
- Using too much pressure with a sponge, which can hollow out the joints.
- Leaving thinset or spacer residue in the joints, which prevents full grout depth.
- Trying to grout corners and plane changes instead of caulking them.
- Choosing sanded grout for a delicate glossy tile without testing first.
- Sealing too early, before the grout has dried enough to accept it evenly.
- Picking grout color from a sample chip instead of seeing it beside the actual tile and bathroom lighting.
That last one surprises people more than it should. A grout color that looks soft and neutral in a store can read much cooler or warmer under vanity lighting, daylight, or LED strips. I always test on a scrap board or in an out-of-the-way corner before I commit to the whole wall. With those habits out of the way, the job ends where it should: on a clean, quiet line rather than on a rescue mission.
What I check one last time before I call the grout done
Before I pack up, I walk the wall once more in strong side light. I am looking for full joints, no pinholes, no smears in the corners, and no haze hiding in the low spots between tiles. If anything looks thin or uneven, I fix it immediately, because fresh grout is still forgiving in a way cured grout is not.
For subway tile, the best finish usually comes from restraint: the right joint size, the right product, a small working area, and a cleanup routine that is firm but not wet. If you keep the joints open, respect the movement joints, and let the material cure on its own schedule, the installation will look sharper and stay cleaner longer. I also like to stand back and check the wall under the room’s real lighting, because that is the view the finished bathroom will actually live with.
