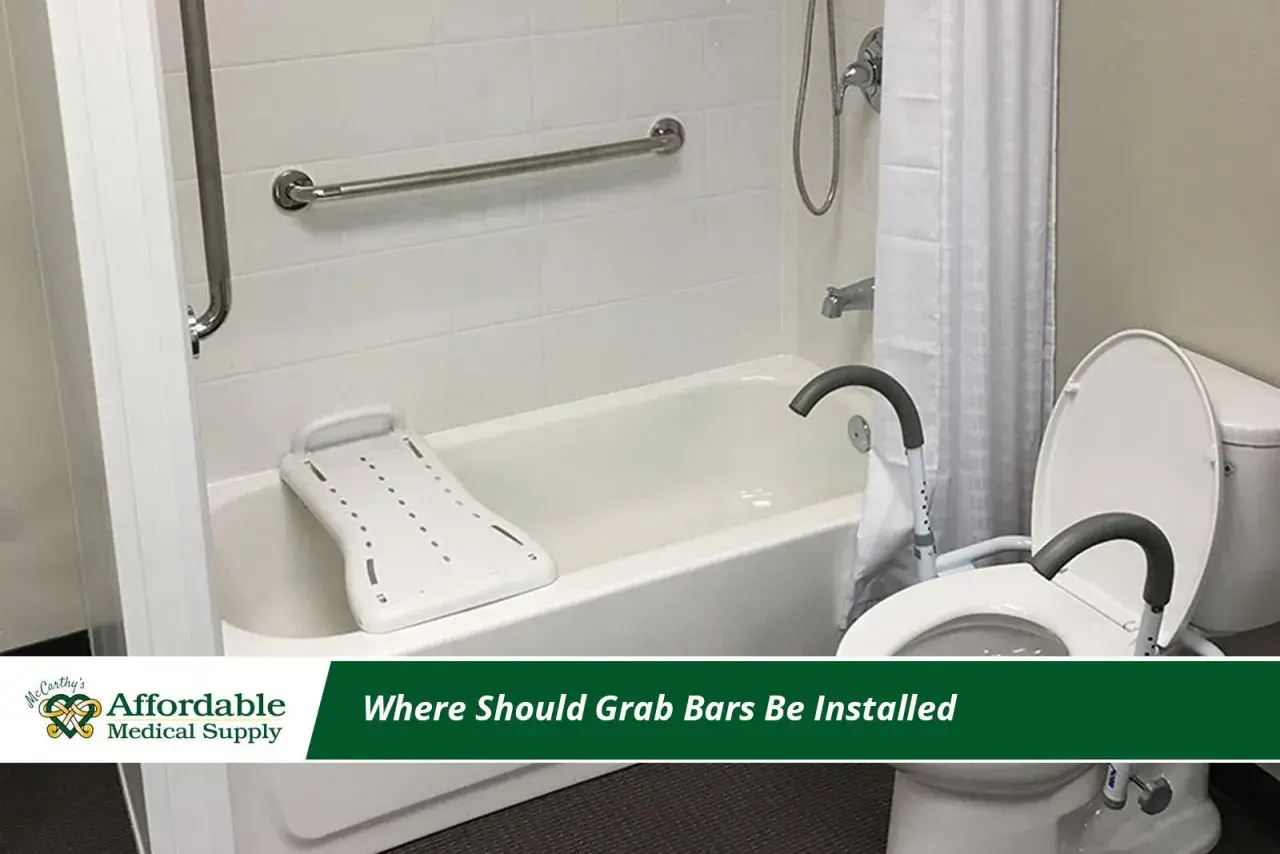
Bathroom safety often comes down to a few inches of placement and the hidden structure behind the wall. This guide to grab bar installation covers where bars actually help, how to choose a model that feels solid in wet conditions, and the steps that matter when you drill into tile, drywall, or backer board. I also cover when a DIY job is reasonable and when I would hand the work to a pro.
Key things to get right before you drill
- Placement matters more than appearance. Put the bar where the body actually transfers, not just on an open wall.
- Solid backing is non-negotiable. A true support bar should fasten into studs or blocking, not rely on tile or drywall alone.
- Typical grip sizes are practical, not decorative. A 1.25 to 1.5 inch diameter is the range I usually want for a confident hold.
- Height is a starting point, not a rule. Around 33 to 36 inches from the floor or tub rim works for many bathrooms, but user comfort wins.
- Budget for more than hardware. A straightforward professional install is often a few hundred dollars per bar in the U.S., and wall repairs can raise the total.
- Test the finished bar like it matters. A bar should feel rigid under controlled body weight, not just look straight.
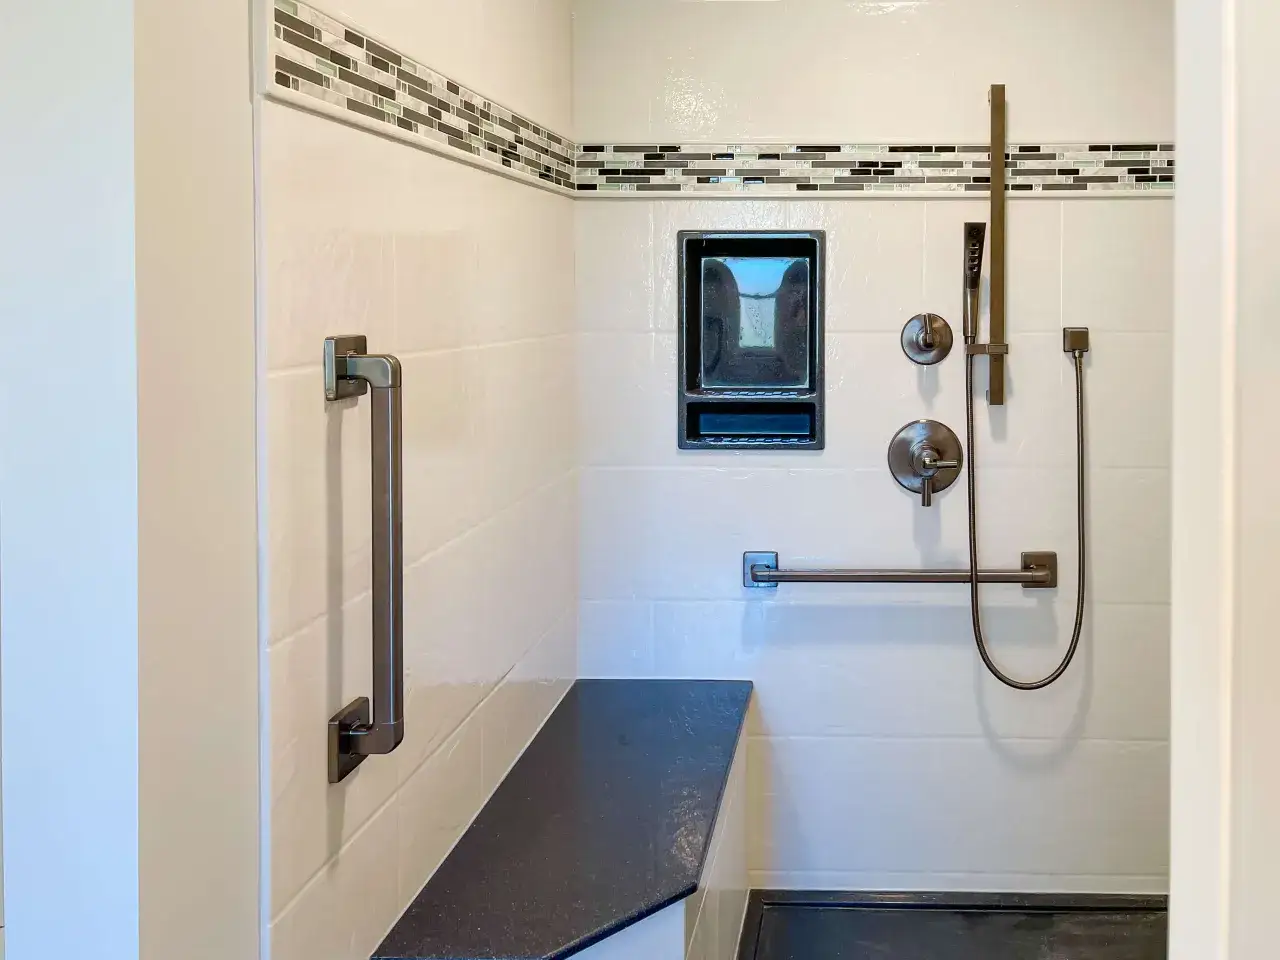
Where the bars belong in a bathroom
What I look for first is the movement path: stepping into the shower, rising from the tub edge, or pushing up from the toilet. Those are the spots where a hand needs support immediately, without twisting or reaching across water. In a private home, I use ADA dimensions as a practical baseline, even when the space itself is not a commercial accessible restroom.
| Location | Typical placement | Why it helps | Design note |
|---|---|---|---|
| Shower entry | Vertical or angled bar near the opening, usually around the entry side | Helps with stepping over the threshold and steadying the first move in or out | Keep it clear of the door swing and shower controls |
| Inside shower | Horizontal bar on the back or side wall, often around 33 to 36 inches high | Supports balance while turning, washing, and shifting weight on wet tile | A horizontal bar is usually the easiest to read and use quickly |
| Tub entry | Vertical bar near the lip or a horizontal bar on the long wall | Makes it easier to step over a tub wall and control descent | This is one place where a vertical grip often feels more natural |
| Toilet transfer zone | Side wall and rear wall support if the room allows it | Helps with sitting down, standing up, and pivoting safely | Think about the transfer path, not just the wall space |
| Near the vanity | Only if someone truly uses the sink area for balance | Useful in tighter rooms where the vanity becomes part of the movement pattern | Do not treat a sink as a substitute for a real support bar |
For toilets, the familiar benchmark is a side wall bar at 42 inches minimum and a rear wall bar at 36 inches minimum in accessible layouts, with the gripping surface usually sitting about 33 to 36 inches above the floor. For tubs and showers, the same height range is a strong starting point, but the exact spot should reflect the user’s reach, height, and transfer style. Once the placement is right, the next decision is the bar itself, because not every handle is meant to carry real weight.
Choose the right bar before opening a tile wall
The safest-looking bar is not always the best one. I want a grip that fits the hand, resists corrosion, and matches the way the room is used. In a bathroom, that usually means a straightforward, well-anchored design over something flashy or overly slim.
| Bar type | Best use | Tradeoff |
|---|---|---|
| Straight horizontal | General shower, tub, and toilet support | Simple and versatile, but placement has to be more exact |
| Vertical | Entry and exit points, especially at a tub or shower threshold | Great for pulling and stepping, less useful for long steadying movements |
| L-shaped or angled | Users who want one point to grab while turning or transferring | More specific to the room layout and the person using it |
| Fold-down | Accessible layouts with limited space | More hardware, more cost, and more maintenance |
For most homes, I look for a 1.25 to 1.5 inch diameter and a rating of at least 250 pounds, with higher ratings preferred when the bar is near a tub or shower transfer point. Stainless steel and quality powder-coated finishes both make sense in wet rooms; the key is not the finish alone, but whether the bar feels dry and secure in the hand. I also avoid suction-cup or adhesive-only products as primary support. They may be fine as temporary aids in limited situations, but they are not what I would trust for a real transfer point.
If the bathroom design matters as much as the safety function, I usually favor a finish that coordinates with the rest of the hardware rather than one that shouts for attention. A good support bar should look intentional, not clinical, and that is one reason the best models are often the least dramatic. With the right hardware in hand, the install itself becomes a matter of structure, not guesswork.
How the installation actually works
The part most people underestimate is what happens behind the tile. Tile is a finish, not structure, so the bar has to be anchored into something that will not move when body weight shifts onto it. If the wall has studs or solid blocking in the right place, the job is straightforward. If it does not, I would rather open the wall and add blocking than pretend a generic anchor is enough.
- Find the studs or confirm there is blocking where the bar will sit.
- Hold the bar in place, check the height, and make sure the grip does not clash with controls, niches, doors, or fixtures.
- Mark the holes carefully and verify the bar is level before drilling.
- Use the right bit for the wall surface, especially on tile or stone, and drill slowly so the finish does not chip.
- Seal the penetrations so moisture does not migrate into the wall assembly.
- Fasten the bar with corrosion-resistant hardware into sound structure, then tighten evenly.
- Test the bar gradually with controlled pressure, then inspect it again after the first few uses.
A few details matter more than most people expect. I want the flange to sit flat, the screws to bite into real framing, and the bar to leave enough clearance from the wall for a full hand grip. I also want the penetrations sealed, especially in a shower or tub surround, because water that reaches the wall cavity can create a bigger problem than the bar itself ever solves. If the wall lacks the right backing, the real question becomes whether the job is still a DIY project at all.
DIY or hire a pro
Cost is usually the reason people try to do this themselves, and sometimes that makes sense. In 2026, I would budget roughly $200 to $350 per bar for a straightforward professional install in the U.S., with a wider real-world range when tile repair, blocking, or extra labor is involved. Simple DIY material costs can be much lower, but the savings shrink fast once you buy the right bits, sealant, fasteners, and any patching supplies.
| Scenario | Typical cost | Best choice |
|---|---|---|
| Replacement into known studs | Low to moderate | Reasonable DIY if you are comfortable with tools |
| New bar on a tile wall with visible studs behind it | Moderate | DIY possible, but only if you are confident drilling tile cleanly |
| Wall without backing in the right spot | Higher once the wall is opened and repaired | Hire a pro or plan a blocking upgrade |
| Full accessibility remodel | Highest | Pro installation makes more sense because the bar is part of a larger system |
I would call a pro when the wall is tile, stone, plaster, or I cannot confirm the framing with confidence. I would also hand it off if the bathroom is being remodeled for aging in place, because the best time to add blocking is before the wall is closed. The money is only part of the decision; the bigger issue is whether the finished bar will actually hold up under real use.
The mistakes that create false confidence
A bar that looks secure can still be wrong in practice. Most failures I worry about come from placement errors or weak fastening, not from the concept of the bar itself. The common mistakes are easy to name and easy to avoid if you slow down for five minutes before drilling.
- Mounting to finish material instead of structure. Tile, drywall, and decorative panels are not support surfaces.
- Choosing the wrong height for the user. A standard dimension is useful, but the person using the bar should not have to reach awkwardly or twist hard.
- Putting the bar too far from the transfer point. A support bar that is six inches away from where the hand naturally goes is less useful than a shorter bar in the right place.
- Crowding the wall around the grip. Soap dispensers, towel bars, niches, and toilet paper holders can get in the way fast.
- Using the bar as storage. It is not a towel rack, and it should never be treated like one.
- Skipping a load test. A bar should feel rigid under gradual body weight, not just pass a visual check.
One practical rule I use: if the bar wiggles, even a little, it is not ready for daily use. That kind of movement means the problem is structural, not cosmetic. Once those failure points are removed, the bathroom can be improved with a few other changes that make the bar easier to use.
The rest of the bathroom should work with the bar
The best bathroom upgrades do not work in isolation. A grab bar is more effective when the floor is less slippery, the lighting is brighter, and the user does not have to twist around a towel hook or step over a high threshold. I see the bar as part of a small support system, not a standalone fix.
- Add non-slip surfaces. A textured mat or self-stick strips in the tub or shower reduce the chance that the bar has to do all the work.
- Improve lighting. Brighter light makes hand placement and footing easier, especially at night.
- Consider a handheld showerhead. This reduces awkward reaching and helps users stay balanced.
- Use a shower seat when standing is tiring. That combination often works better than trying to rely on one handhold alone.
- Rough-in future blocking during a remodel. If I know a bathroom may need more support later, I add the backing now and avoid opening finished walls later.
Maintenance is simple but worth doing. I check screws, caulk, and overall rigidity every few months, and I clean the bar with mild soap instead of harsh abrasives that can make the grip feel worse. If you are planning ahead for aging in place, the smartest move is often to install the blocking before you think you need it; that keeps future changes easy, clean, and far less expensive than repairing a finished wall later.