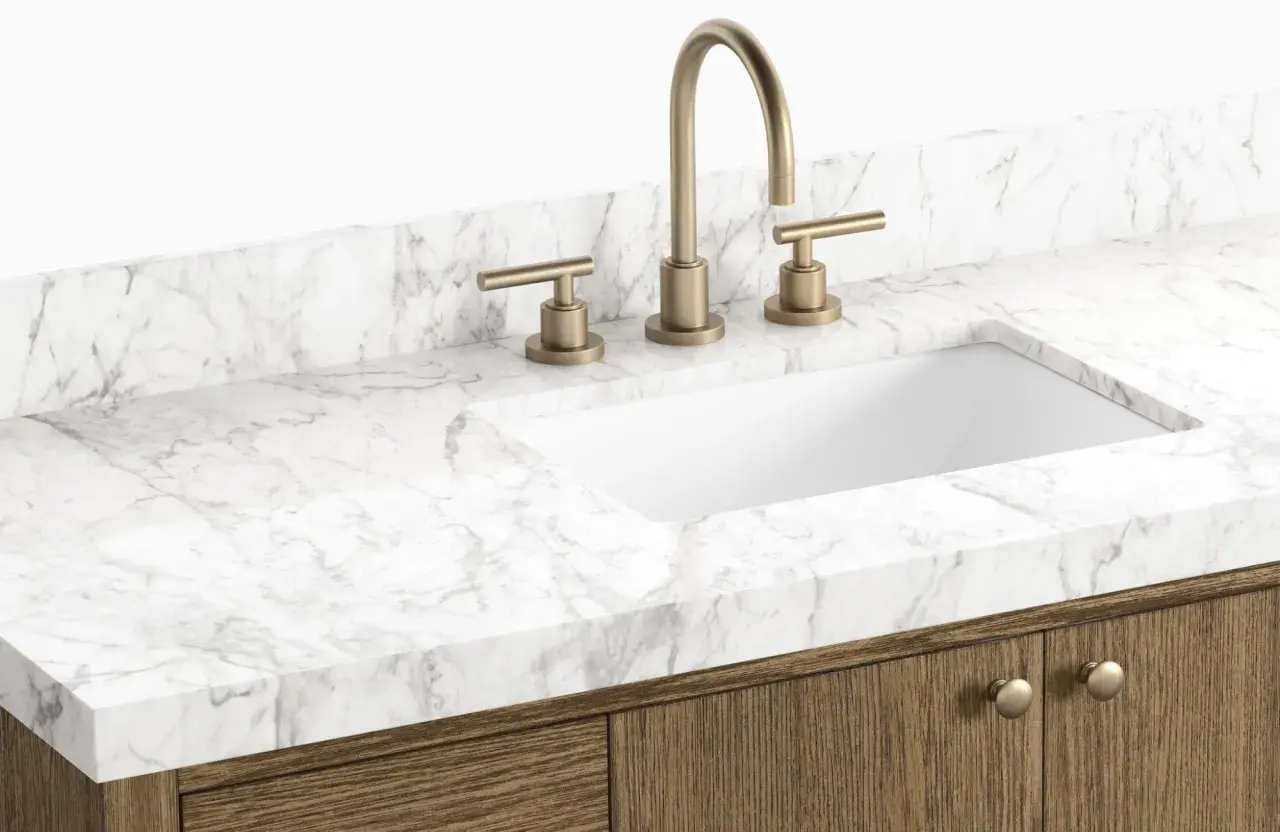
Replacing a bathroom countertop is one of the fastest ways to make a vanity feel cleaner, newer, and easier to use. The job is usually straightforward, but only if the measurements, sink opening, faucet layout, and cabinet condition all line up. In the sections below, I walk through the removal and installation process, the material choices that actually matter in a bathroom, and the mistakes that turn a simple upgrade into a leak-prone mess.
What matters most before you start
- Measure the vanity top carefully before you order anything, including width, depth, sink cutout, and faucet drilling.
- Check the cabinet for water damage or movement first; a new top will not fix a weak base.
- Turn off the water, disconnect the plumbing, and cut old caulk before you try to lift the old surface.
- Set the new top on a level cabinet and use silicone as a sealant, not as a way to force a bad fit.
- For many US homes in 2026, total replacement cost usually lands around $400 to $4,300, with plumbing adjustments often adding $350 to $1,800.
- Quartz, solid surface, and cultured marble are usually easier to live with than grout-heavy tile or porous stone in a busy bathroom.
What I check before I order a new top
I always start with the vanity itself, not the countertop display. The cabinet sets the limit on what will fit, and bathroom vanities are less forgiving than they look in a showroom. I measure the width at the front and back, the depth from the front edge to the back wall, and the exact space around the sink and faucet so I do not end up trimming or drilling on site.
| What I measure | Why it matters | What I note |
|---|---|---|
| Width | Cabinets and walls are rarely perfectly square | Front width and back width |
| Depth | Controls overhang and clearance at the wall | Front edge to back edge |
| Sink opening | Must match the sink style and bowl size | Undermount, drop-in, vessel, or integrated |
| Faucet drilling | Prevents rework and awkward hole layouts | Single-hole, 4-inch centerset, or widespread |
| Backsplash height | Affects wall finish and caulk line | Standard, low-profile, or custom height |
I also look at the wall behind the vanity. If the drywall is wavy, the floor slopes, or the cabinet is out of level, I want to know that before the new surface arrives. Once I know the top will fit, I decide whether the base is worth saving or whether the cabinet should be replaced at the same time.
When the vanity base should stay and when it should go
This is the part people skip, and it is usually where regrets start. A new top can hide a weak cabinet for a while, but it cannot make a rotted base stronger. If the vanity is swollen from past leaks, soft at the sink cutout, or loose where it meets the wall, I treat that as a cabinet problem, not a countertop problem.
- Keep the base if the cabinet is solid, level enough to shim, and the damage is limited to old caulk or minor surface wear.
- Repair the base if there is isolated water damage, stripped fasteners, or a small area that can be reinforced cleanly.
- Replace the base if the cabinet is warped, the particleboard is swollen, or the sink area has lost structural strength.
I pay attention to one simple test: if I push on the front rail and the cabinet flexes, I stop thinking about cosmetics and start thinking about structure. A countertop only performs well when the support under it is honest, flat, and dry. With that decided, the actual removal is much cleaner.
How I remove the old countertop without damaging the vanity
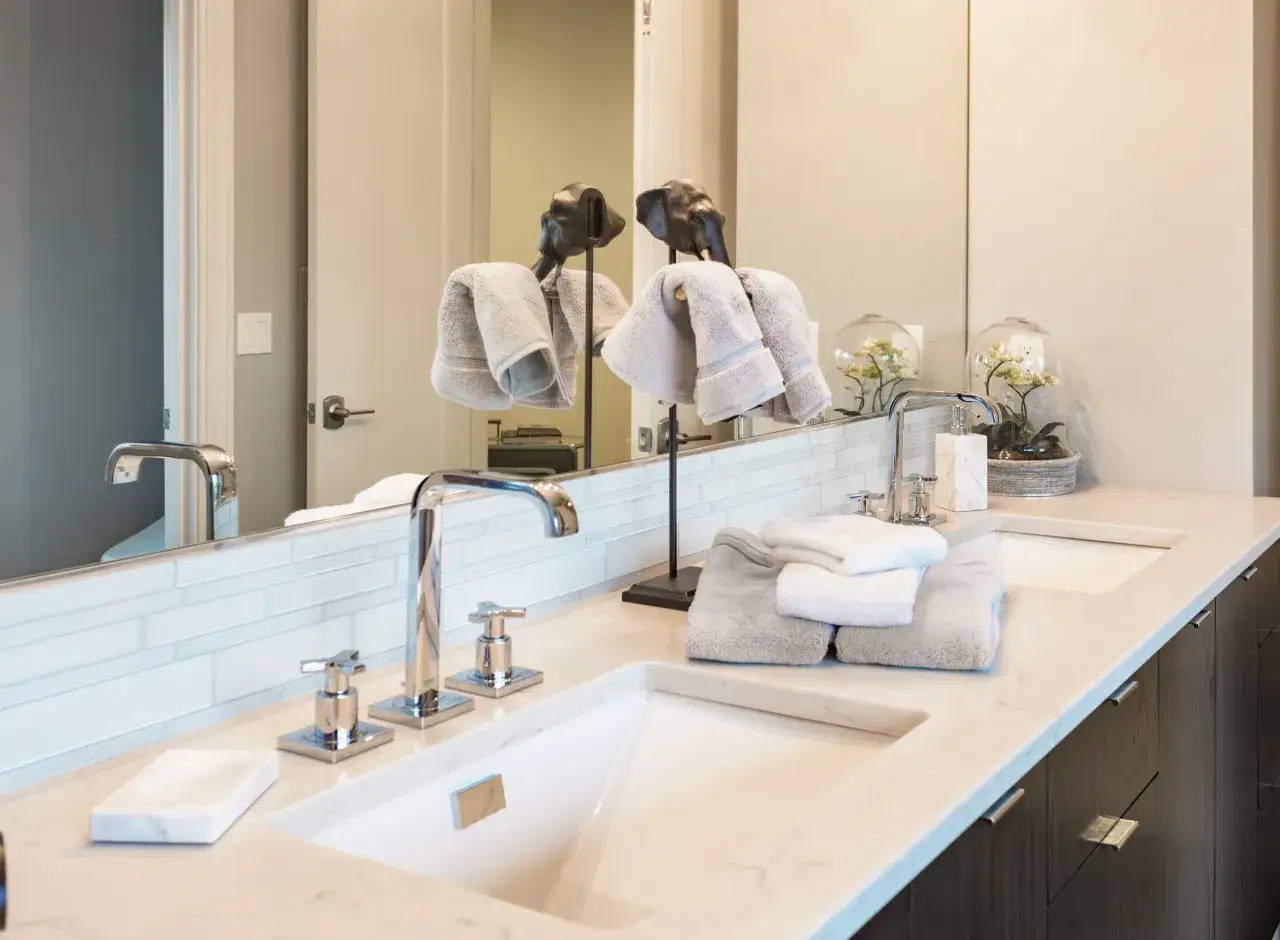
The safest removal is controlled, not aggressive. I shut off the water first, open the faucet to relieve pressure, and put a bucket under the trap before disconnecting anything. After that, I remove the faucet supply lines and the drain connections, because trying to pry the top off with plumbing still attached is how people crack sinks and bend pipes.
- Turn off the water at the shutoff valves or the main line if the valves are missing or unreliable.
- Open the faucet to drain pressure and catch any residual water in a bucket.
- Disconnect the supply lines and the P-trap with the correct wrench.
- Cut the caulk along the backsplash, wall, and sink edge with a utility knife.
- Loosen any clips, brackets, or adhesive points under the top.
- Lift the old countertop straight up with help if it is stone, quartz, or a large one-piece vanity top.
- Scrape away leftover adhesive and old sealant before you move on.
If the old top is integrated with the sink, I treat it as one assembly and remove it that way. With a heavy stone or quartz surface, I never try to muscle it off alone; one bad lift can chip the wall, damage the cabinet, or injure your back. Once the old surface is out, the cabinet should be clean, dry, and ready for a test fit.
How I fit and set the replacement top
I dry-fit the new top before I commit to any adhesive. That quick test tells me whether the overhang is even, whether the wall is straight, and whether the sink bowl has enough clearance. If the cabinet is slightly out of level, I shim the base before the top goes down. Silicone can seal a gap, but it is not a leveling system.
- Set the top in place without adhesive first and check the fit at the wall and front edge.
- Confirm that the sink opening, faucet holes, and backsplash line up before you seal anything.
- Use a thin, even bead of silicone or the manufacturer’s recommended adhesive on the cabinet rail.
- Lower the top carefully and press it into position without sliding it around too much.
- Check level again and make small shim adjustments if needed.
- Install the backsplash and caulk the seam only after the top is stable.
I also prefer to leave the final water use until the silicone has cured, which is usually about 24 hours unless the product says otherwise. That waiting period sounds small, but it makes a big difference in how clean the caulk line looks and how well the bond holds up. Once the surface is stable, the plumbing details become the next point of failure.
Sink, faucet, and plumbing details that matter
The countertop and the fixtures have to work together, and that is where a lot of bathroom projects get awkward. The sink style changes the way the top is cut, the faucet hole pattern changes the drilling layout, and the drain position determines whether the plumbing lines up cleanly underneath. I like to check those three pieces together instead of treating them as separate decisions.
| Fixture setup | What it means | How it affects installation |
|---|---|---|
| Undermount sink | The sink mounts below the top | Cleaner look, but the cutout must be precise and the sink needs solid support |
| Drop-in sink | The rim sits on top of the counter | Usually easier to install and more forgiving on cut edges |
| Integrated sink | The sink and top are one piece | Simple to clean, but the whole assembly is replaced together |
| Vessel sink | The bowl sits above the countertop | Needs the right faucet height and often a different visual layout |
I also check the faucet holes before I order. A 4-inch centerset faucet will not match a widespread layout without changes, and changing the pattern on stone or quartz usually means more work than people expect. If the drain lines, trap, or supply lines look old, I replace them now instead of gambling on a second leak later. Fixture compatibility is where a good-looking upgrade becomes a durable one, and that is what makes material choice matter next.
Which countertop materials are easiest to live with
For bathrooms, I care less about showroom drama and more about moisture resistance, seam quality, and how easy the surface is to wipe down after daily use. Standing water, toothpaste, soap residue, and hair dye are much less forgiving than they look on a sample board. For that reason, I usually lean toward low-maintenance surfaces with fewer joints and less porosity.| Material | What it does well | Tradeoffs | Best fit |
|---|---|---|---|
| Laminate | Lowest cost, light weight, quick install | Edges can swell if water sits, and damage is harder to repair cleanly | Budget refreshes and guest baths |
| Solid surface | Seam-friendly, easy to clean, softer feel | Scratches more easily than stone | Family bathrooms and modern, simple layouts |
| Quartz | Durable, low maintenance, moisture resistant | Heavier and usually more expensive | Main bathrooms and high-use spaces |
| Granite | Natural look, strong surface, premium feel | May need periodic sealing and can show seams | Traditional or upscale bathrooms |
| Cultured marble | Often preformed with an integrated sink, quick to replace | Can look dated and may scratch or discolor over time | Fast replacements where convenience matters |
| Tile | Flexible styling and DIY appeal | Grout needs maintenance and creates more leak points | Vintage looks or custom design work |
If I want the least drama in a bathroom, I usually prefer quartz, solid surface, or a good cultured marble top. They handle moisture better than grout-heavy tile, and they are less fussy than porous natural stone. The right material depends on budget, but also on how much cleanup and upkeep you want after the installation is done.
DIY or hire a pro
Some countertop swaps are practical DIY jobs. Others are not worth the risk. If the new top is pre-made, the sink is standard, the cabinet is square, and the plumbing is simple, I am comfortable treating it as a one-day project. In 2026, I usually see total replacement costs in the US land somewhere around $400 to $4,300, and plumbing adjustments can add another $350 to $1,800 depending on what has to move.
- DIY makes sense when the top is standard size, the sink cutout is pre-made, and the cabinet is already solid.
- Hire a pro when you are dealing with stone, quartz, custom cutouts, wall repair, or any plumbing reroute.
- Use a pro if the bathroom is tight and the top is heavy enough that one person cannot position it safely.
- Bring in help if the sink is undermount and needs careful support, adhesive, and cure time.
What I tell people is simple: the labor is not the hard part, the consequences are. A small measurement mistake on a cheap laminate top is annoying; the same mistake on quartz is expensive. Once that tradeoff is clear, the last thing to focus on is how to avoid the mistakes I see most often.
The mistakes I see most often
Most bad installs come from rushing the prep. The surface itself is only one piece of the job, and if any of the support, plumbing, or layout details are wrong, you will feel it later in the form of a leak, a crack, or a top that never quite sits right.
- Ordering a top before checking the faucet drilling and sink cutout.
- Skipping the dry fit and discovering the wall is not square after the adhesive is already set.
- Trying to level a warped cabinet with caulk instead of shims.
- Reusing old supply lines and trap parts that should have been replaced.
- Using too much silicone, which leaves a messy squeeze-out and still does not fix a bad fit.
- Turning the water back on before the sealant has cured.
- Ignoring hidden cabinet damage because the top “looks fine” from above.
I also see people underestimate cleanup. Old caulk, dust, and adhesive residue make the new seal look sloppy and can interfere with adhesion. If the cabinet and wall are clean before the new top goes on, the finish looks sharper and the install usually lasts longer. That is the difference between a quick cosmetic change and a durable bathroom upgrade.
The part I never skip before calling it done
My final check is always simple: I run the water, watch the drain, and inspect every connection under the sink with a dry paper towel. Then I look at the caulk line, the backsplash seam, and the edge where the countertop meets the wall. If anything feels loose, I fix it before the room goes back into regular use.
That last pass matters more than most people think. A bathroom countertop replacement should leave the vanity cleaner, tighter, and easier to maintain, not just newer-looking. When the cabinet is solid, the measurements are accurate, and the fixture layout is planned up front, the result is a surface that works every day instead of one that only photographs well.