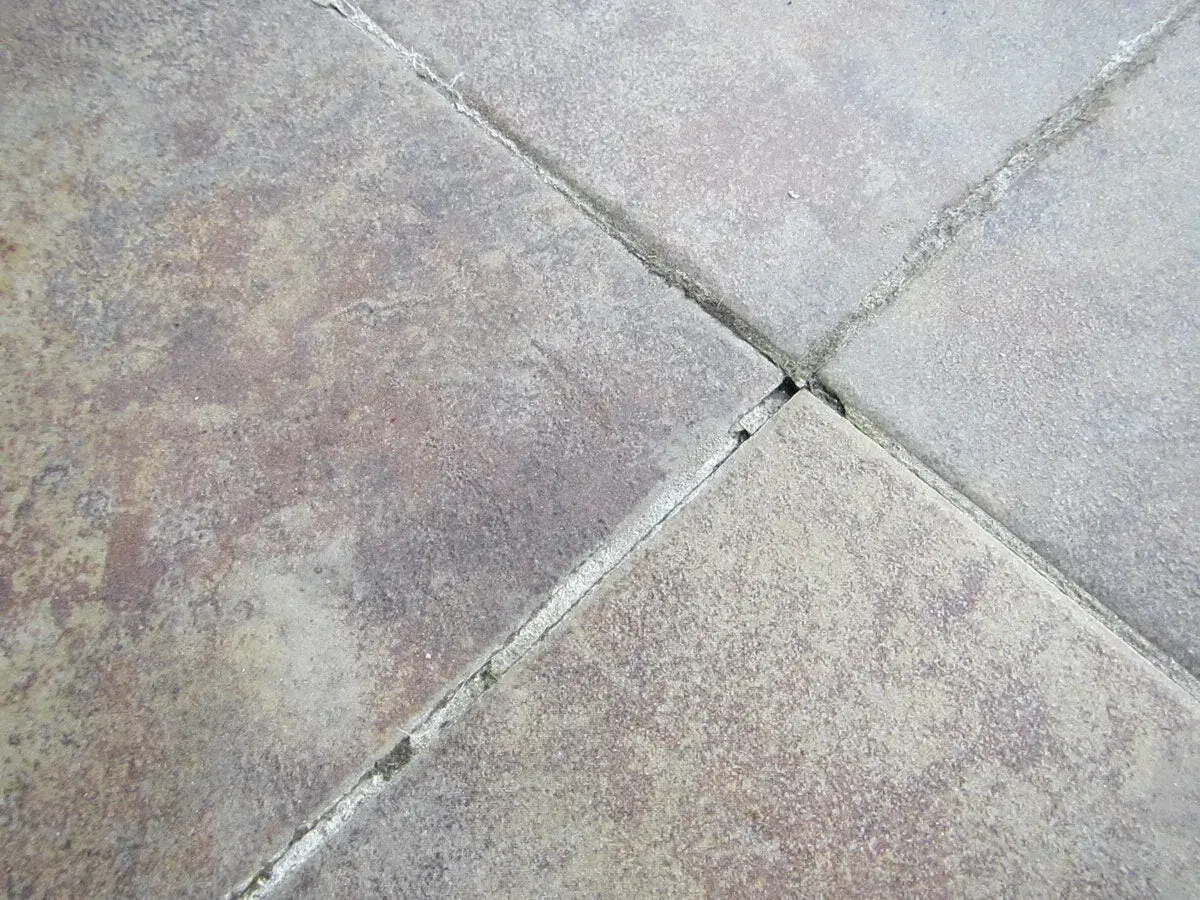
Tile grout cracking is usually less about the grout itself and more about movement, moisture, or the wrong materials in the wrong place. In a bathroom, that can be a cosmetic nuisance or the first visible sign of a deeper tile or waterproofing problem. I’ll walk through the common causes, how to tell a surface crack from a structural issue, and what actually works when you repair it.
Here is the practical way to read a cracked grout line
- Hairline cracks in one joint are often local and fixable, especially if the tile around them is still solid.
- Cracks in corners, around tubs, and where tile changes direction usually need flexible silicone, not rigid grout.
- Repeated cracking in the same spot points to movement below the tile, not just surface wear.
- Loose tile, a hollow sound, staining, or a musty smell can mean water has already reached the assembly underneath.
- In the U.S., professional grout repair often lands in the low hundreds for small jobs and rises quickly when a shower or larger area needs regrouting.
Why grout cracks in the first place
When I inspect a bathroom, I start with the assembly underneath the tile, not with the grout color. The substrate, meaning the surface under the tile, can expand, shrink, or flex a little, and cement grout does not tolerate that movement for long. Add moisture, the wrong joint width, or a mix that was too wet, and cracks show up fast.
- Movement in the structure is the biggest culprit. Floors can deflect slightly when walked on, walls can shift, and concrete can expand or contract with temperature and moisture changes.
- Wrong materials at corners and transitions are a common installation mistake. Grout is rigid; corners, tub edges, and wall-to-floor joints are not.
- Too much water in the mix weakens cement grout and makes shrinkage more likely as it cures.
- Incorrect grout for the joint width can cause trouble. Very narrow joints need a different product than wider ones.
- Water intrusion can degrade grout over time, especially in showers, if the waterproofing layer or maintenance is poor.
I also pay attention to what the tile is doing, not just the joint. If the tile is loose or the crack keeps reopening after a repair, the problem is usually deeper than the surface finish. Once you know the source, the next step is reading the crack pattern itself.
What the crack pattern is telling you
Not every crack means the same thing. A single hairline line in the middle of a field is a different problem from repeated cracking at an inside corner or at the joint between a shower wall and the tub. I use location first, because location usually tells you whether the fix is cosmetic or structural.
| Crack pattern | Most likely cause | What I would do next |
|---|---|---|
| Hairline crack in one joint only | Minor shrinkage, a small mix error, or a tiny amount of movement | Spot-repair it, then watch whether the line returns |
| Crack at an inside corner or perimeter edge | A rigid grout joint was used where the assembly needs flexibility | Remove the hard grout and replace it with matching silicone caulk |
| Cracks that repeat along the same line | Substrate movement, missing movement joints, or deflection under the tile | Inspect the structure before doing another cosmetic repair |
| Crumbly, sandy, or missing grout | Age, moisture exposure, or a weak original installation | Regrout the area and check for water-related damage |
| Cracks with loose tile or a hollow sound | Bond failure or movement in the tile assembly | Stop patching and evaluate the tile, backer, and substrate |
This is where a lot of homeowners waste time. They try to keep filling a moving joint with the same hard material, and the crack comes back because the joint was never supposed to be rigid in the first place. That distinction matters, because the repair depends on the grout type as much as the crack itself.
The grout type matters more than most people think
If the joint is filled with the wrong material, the crack may be inevitable. For narrow joints and delicate tile, unsanded grout is often the better fit; wider joints usually call for sanded cement grout; and wet corners or changes of plane need flexible silicone, not hard grout. Epoxy grout can outperform cement-based mixes in stain resistance and moisture resistance, but it does not solve movement problems by itself.
| Material | Best use | Weak point |
|---|---|---|
| Sanded cement grout | Wider joints on floors and durable wall installations | Can scratch soft tile and crack if mixed too wet or used where the joint is too narrow |
| Unsanded cement grout | Thin joints, wall tile, and more delicate surfaces | Can shrink or weaken if forced into a wider joint than it was made for |
| Epoxy grout | Showers, backsplashes, and high-moisture areas that need stain resistance | More expensive, less forgiving, and harder to install cleanly |
| 100% silicone sealant | Corners, tub edges, shower-pan transitions, and other movement joints | Not meant for field joints where a grout line is supposed to stay rigid |
My rule is simple: if the joint must move, use a product that can move with it. That is why TCNA movement-joint logic matters so much in bathrooms and showers. Once the material choice is right, the actual repair becomes much more reliable.
How I repair a small crack without making the problem worse
For a small isolated crack in otherwise solid tile, the goal is not to smear more material on top. I remove loose grout, clean the joint fully, and refill it with the right product for that location. In a dry field joint, that may be new grout; in a corner or perimeter joint, it should usually be silicone.
- Press on the nearby tile and tap it lightly. If anything feels loose or hollow, stop and investigate the assembly first.
- Remove the damaged grout with a grout saw or oscillating tool, but only deep enough to get rid of the weak material.
- Vacuum the joint and wipe it clean so the new material can bond properly.
- Pack in the replacement grout or sealant fully, then tool the surface smooth and even with the surrounding line.
- Let it cure for the full time listed on the product label before exposing it to water or heavy use.
Never grout over a joint that is supposed to move. If you do, the crack usually comes back, sometimes faster than before. And if the surrounding grout is chalky, stained, or breaking apart in several places, I would treat the repair as a regrout, not a quick patch. From there, the real question becomes whether the surface is still sound enough to keep, or whether the tile assembly needs deeper attention.
When regrouting is enough and when the surface needs more help
Regrouting makes sense when the tile is sound, the crack is localized, and the damage is limited to the joint itself. It is the wrong move when the crack keeps coming back in the same place, when tiles are loose, or when the wall feels soft or shows staining. At that point, I start thinking about movement, waterproofing, or even hidden damage behind the tile.
- Regrout it when the tile is stable, the crack is isolated, and the surrounding joints still look healthy.
- Recaulk it when the crack is at a corner, perimeter, tub edge, or another change of plane.
- Inspect deeper when cracks run across multiple joints, line up in a pattern, or reappear after repair.
- Replace more than grout when there is loose tile, visible water damage, a musty smell, or a soft wall or subfloor.
This is the point where grout stops being the problem and starts acting like a warning sign. If the structure is sound, the next step is preventing the same failure from coming back.
How to keep new cracks from returning
Prevention is mostly about giving the assembly a place to move. In bathrooms, that means using flexible sealant at changes of plane, installing the right backer board and waterproofing in wet zones, and choosing grout that matches the joint width. I also like regular maintenance: run the fan during showers, wipe excess water off the tile, and inspect corners before a small issue becomes a leak.
- Use caulk, not grout, at inside corners, tub edges, shower-pan seams, and wall-to-floor transitions.
- Match the grout type to the joint width instead of forcing one product to do every job.
- Respect movement joints in larger installations so the tile field can expand and contract safely.
- Keep the room dry with ventilation, quick wipe-downs, and routine inspection of problem joints.
- Treat grout sealer as maintenance, not as structural reinforcement.
I like to be blunt about this: sealer can help with staining and moisture resistance, but it will not stop a joint that is cracking because the assembly is moving. That is why the repair budget matters too, because the right fix depends on how far the damage has spread.
What the repair usually costs in the US
For homeowners in the U.S., the price depends on whether you are patching a small area, regrouting a shower, or dealing with damage behind the tile. The numbers below are realistic planning ranges, not hard quotes, but they are useful when you are deciding whether the job is worth doing now or needs a larger repair plan.
| Repair option | Typical cost range | Best for | Watch-outs |
|---|---|---|---|
| DIY spot repair | Usually under $50 to $100 in materials | One or two hairline cracks in an otherwise solid area | Does not solve movement or hidden water problems |
| Professional grout repair | About $3 to $25 per square foot | Localized cracking, crumbling, or missing grout over a small to medium area | Cost rises quickly if the pro has to remove a lot of damaged material |
| Shower regrout | Roughly $600 to $2,500 total | Shower walls or surrounds where the tile is still in good shape | Hidden leaks, mold, or damaged backing can push the price much higher |
| Water-damage repair behind tile | Often $1,500 to $2,000 or more | Cases where moisture has already reached the substrate or framing | This is no longer a grout-only project |
The cheapest repair is still the one that addresses the cause the first time. If the crack is cosmetic, a focused repair is fine. If the tile system is moving or leaking, patching the surface is just buying time.
The signs I would never ignore in a bathroom
Two clues matter more than the crack itself: a joint that keeps reopening after repair, and any sign that the tile no longer feels rigid underfoot or on the wall. Those are the moments when I stop treating it as a finish problem and start treating it as an assembly problem. If you catch it early, the repair is usually straightforward; if you wait for soft spots, mold, or loose tile, the job gets bigger fast.
My rule is simple: stabilize the movement, repair the joint with the right material, and only then worry about color matching and appearance. That sequence saves more bathrooms than any fast cosmetic patch ever will.